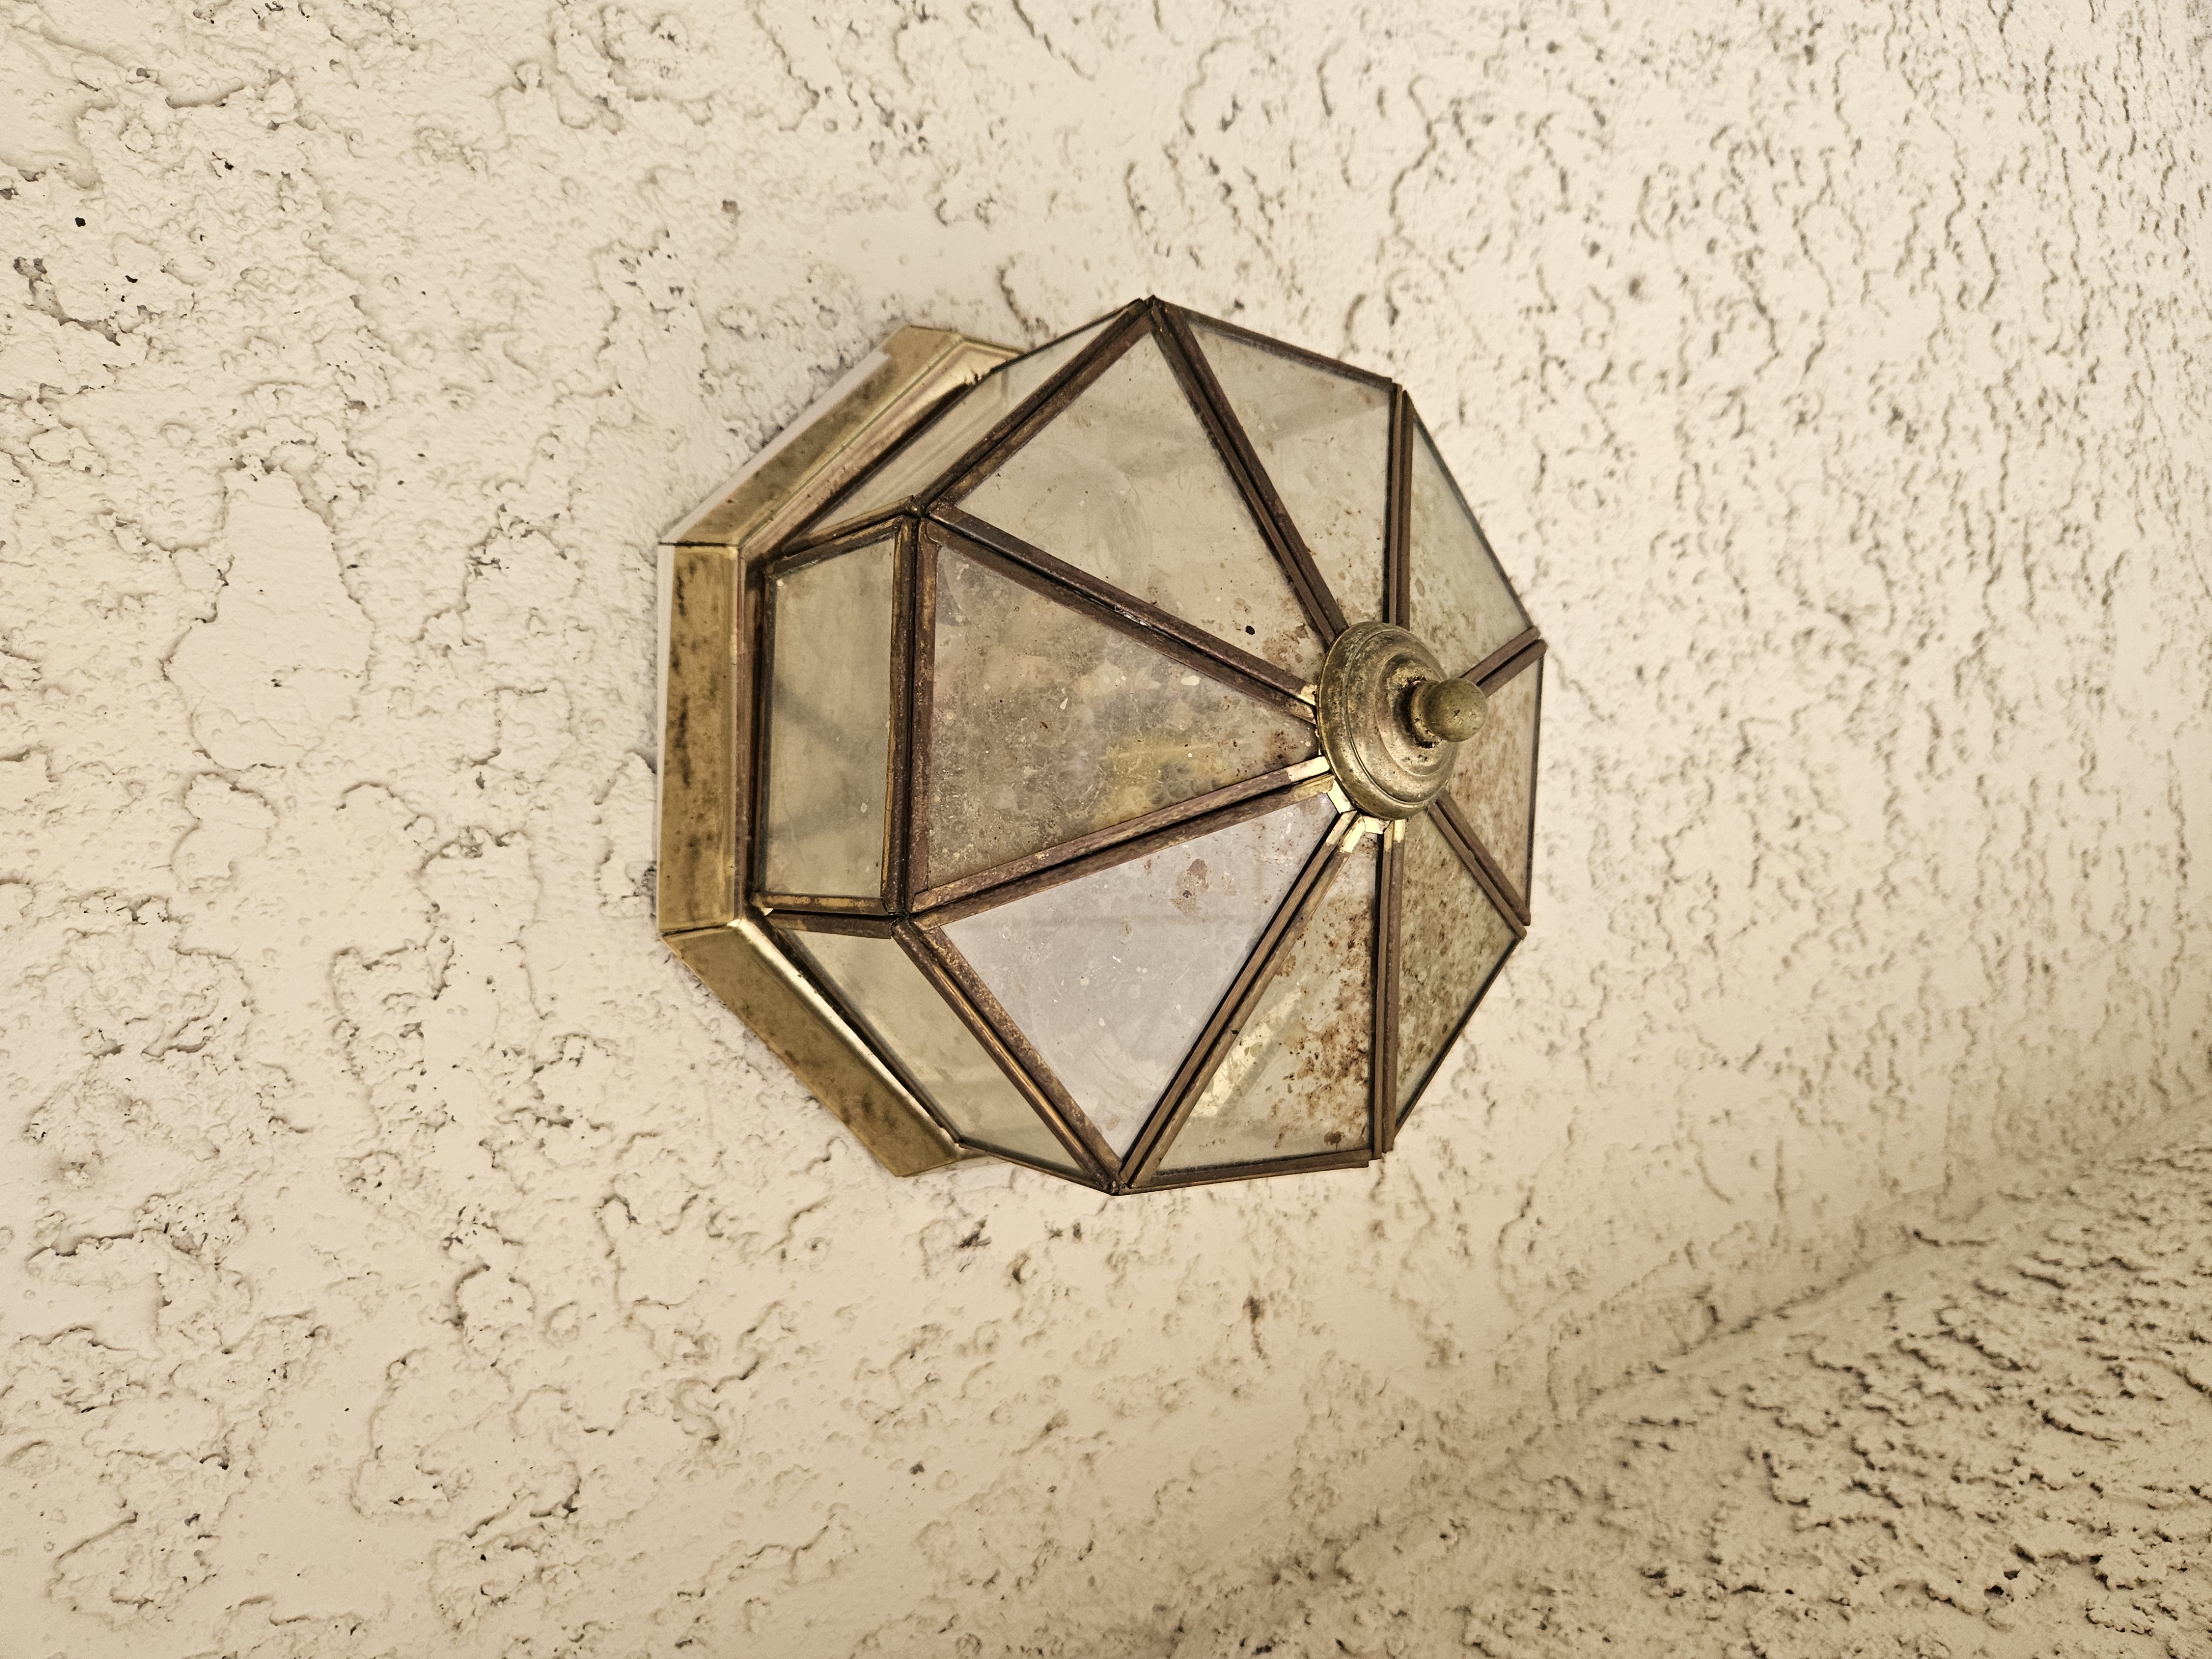
 Before
Original patio light fixture
Aging fixture with lower output and weather wear.
See the Difference
More than finished photos — these projects show the process, installation details, troubleshooting measurements, and verification behind the work.
The goal is simple: careful execution, clean results, and documented checks when they add value.
Ceiling fan installs, light fixture upgrades, switch and outlet replacements, GFCI protection, and circuit troubleshooting to find and fix the root cause.
Before
Original patio light fixture
Aging fixture with lower output and weather wear.
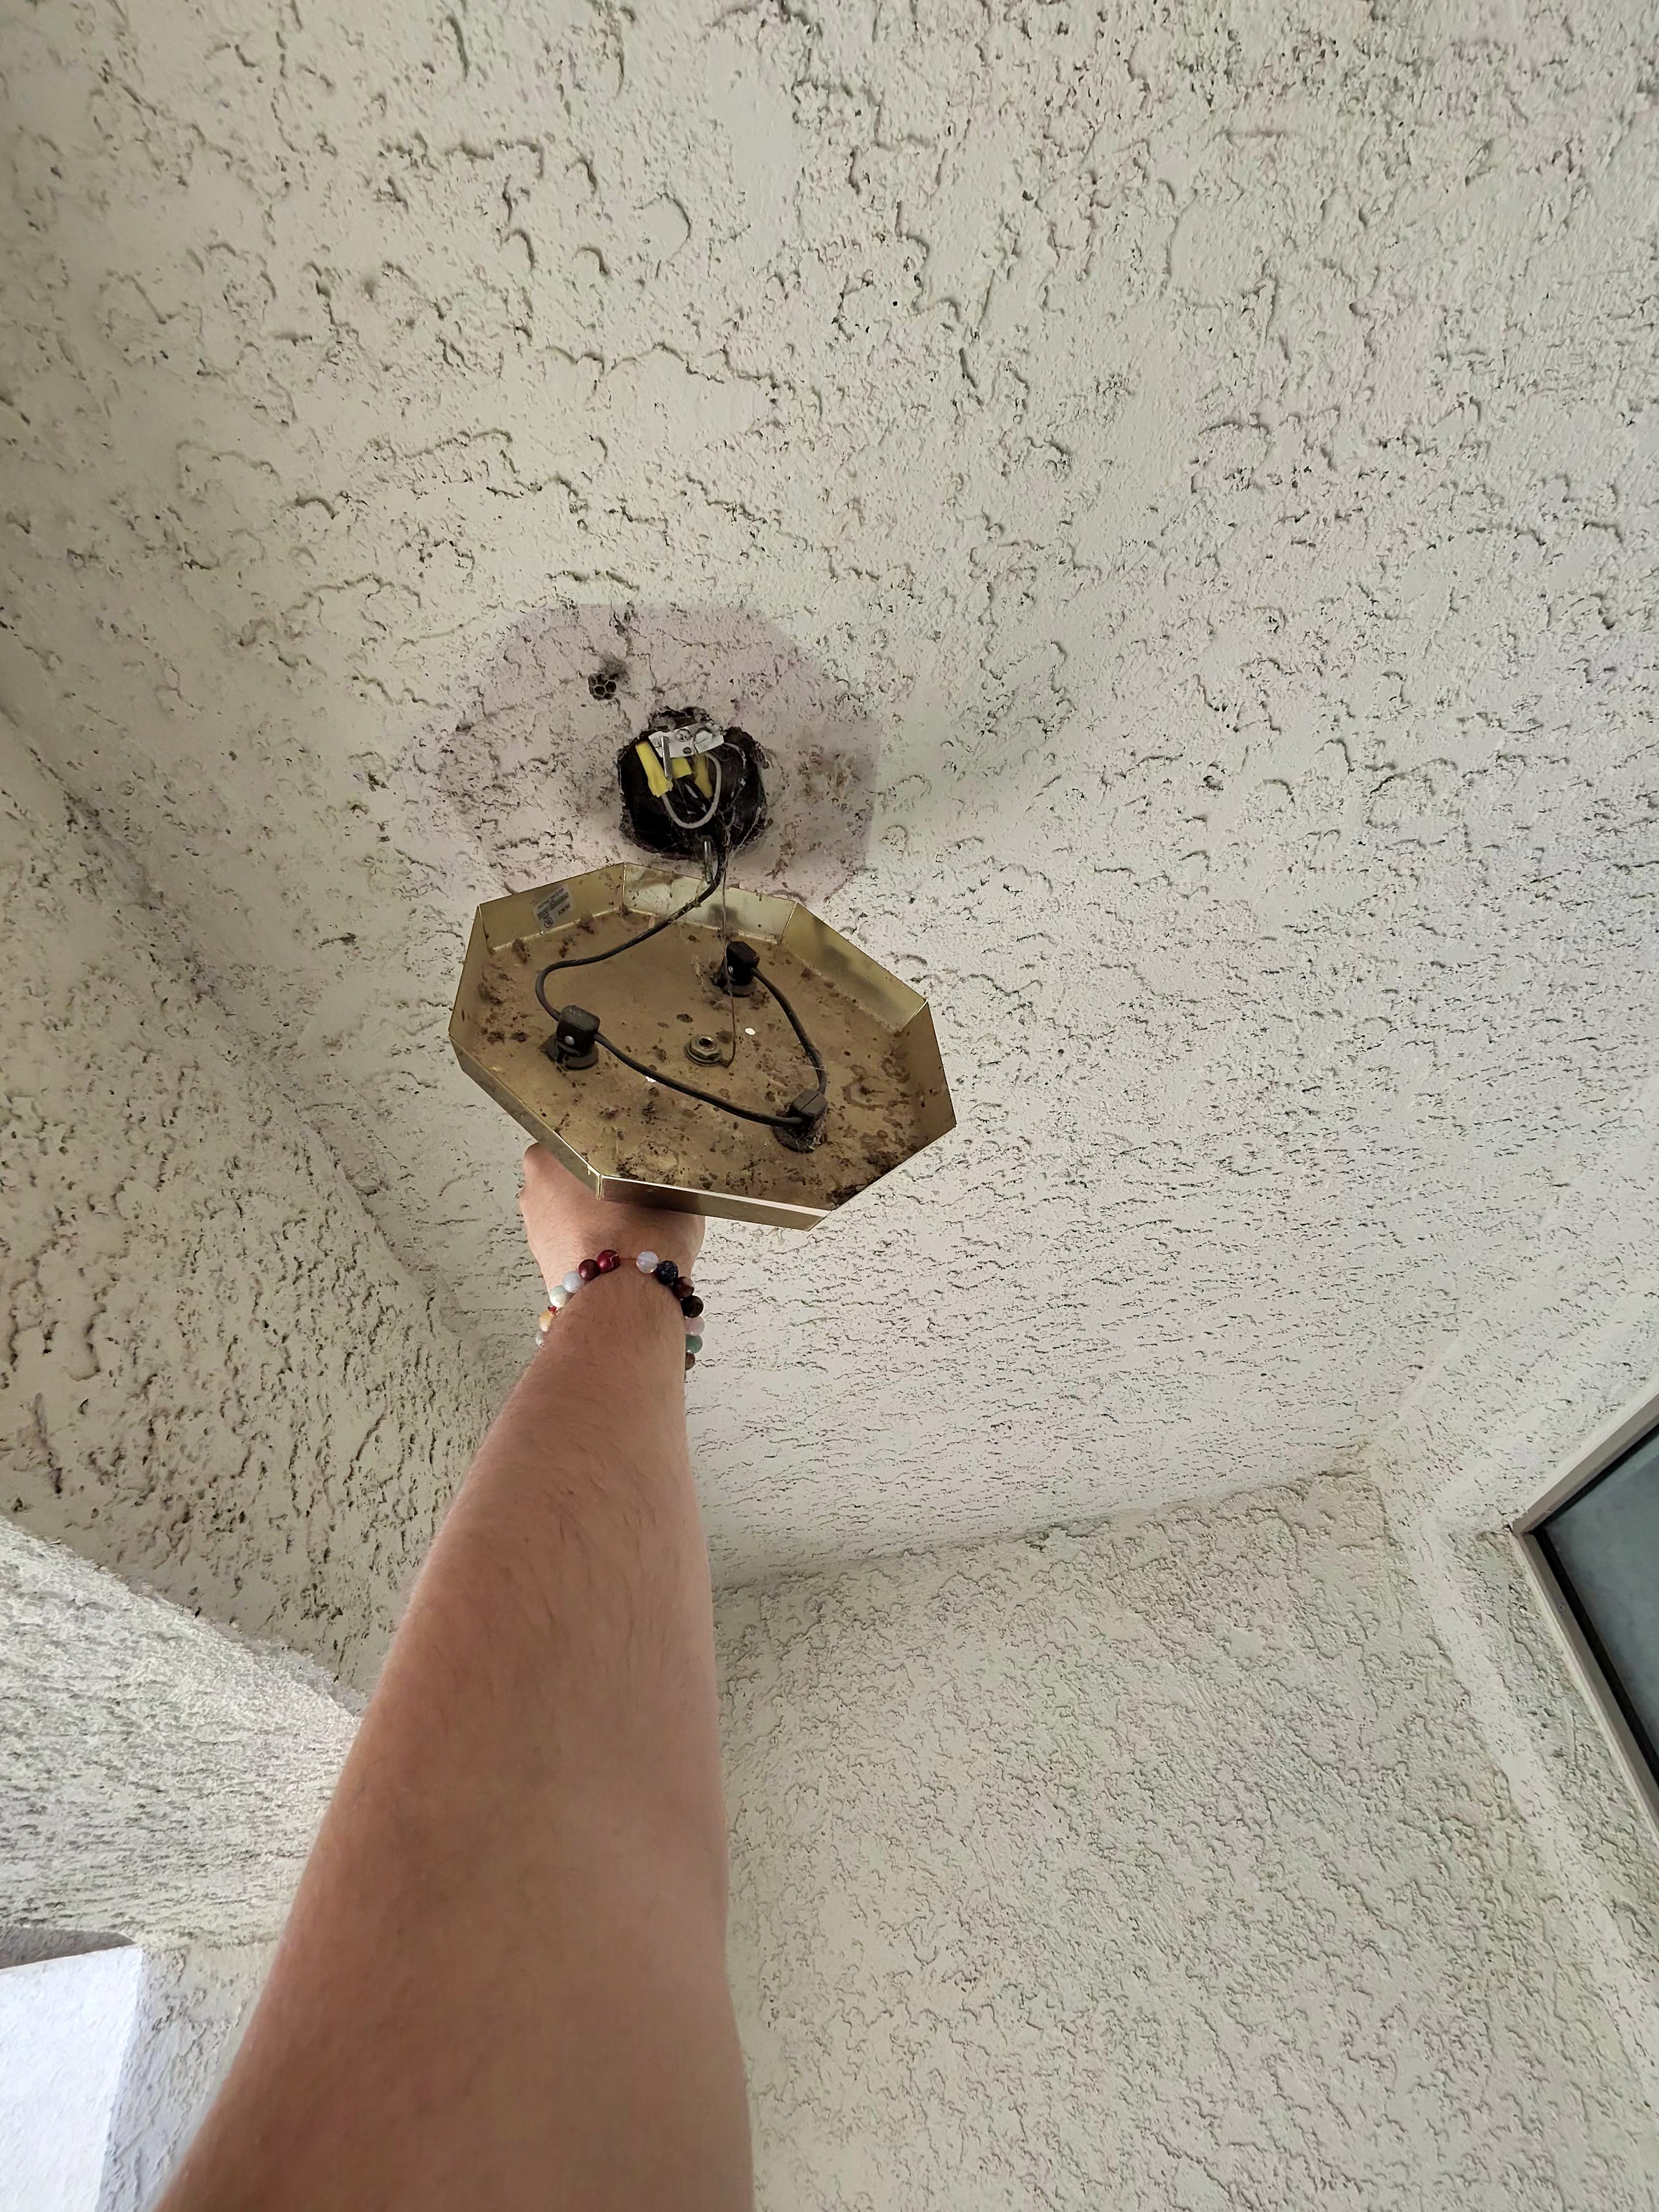 Process
Fixture removal and wire access
Connections exposed for clean, organized replacement work.
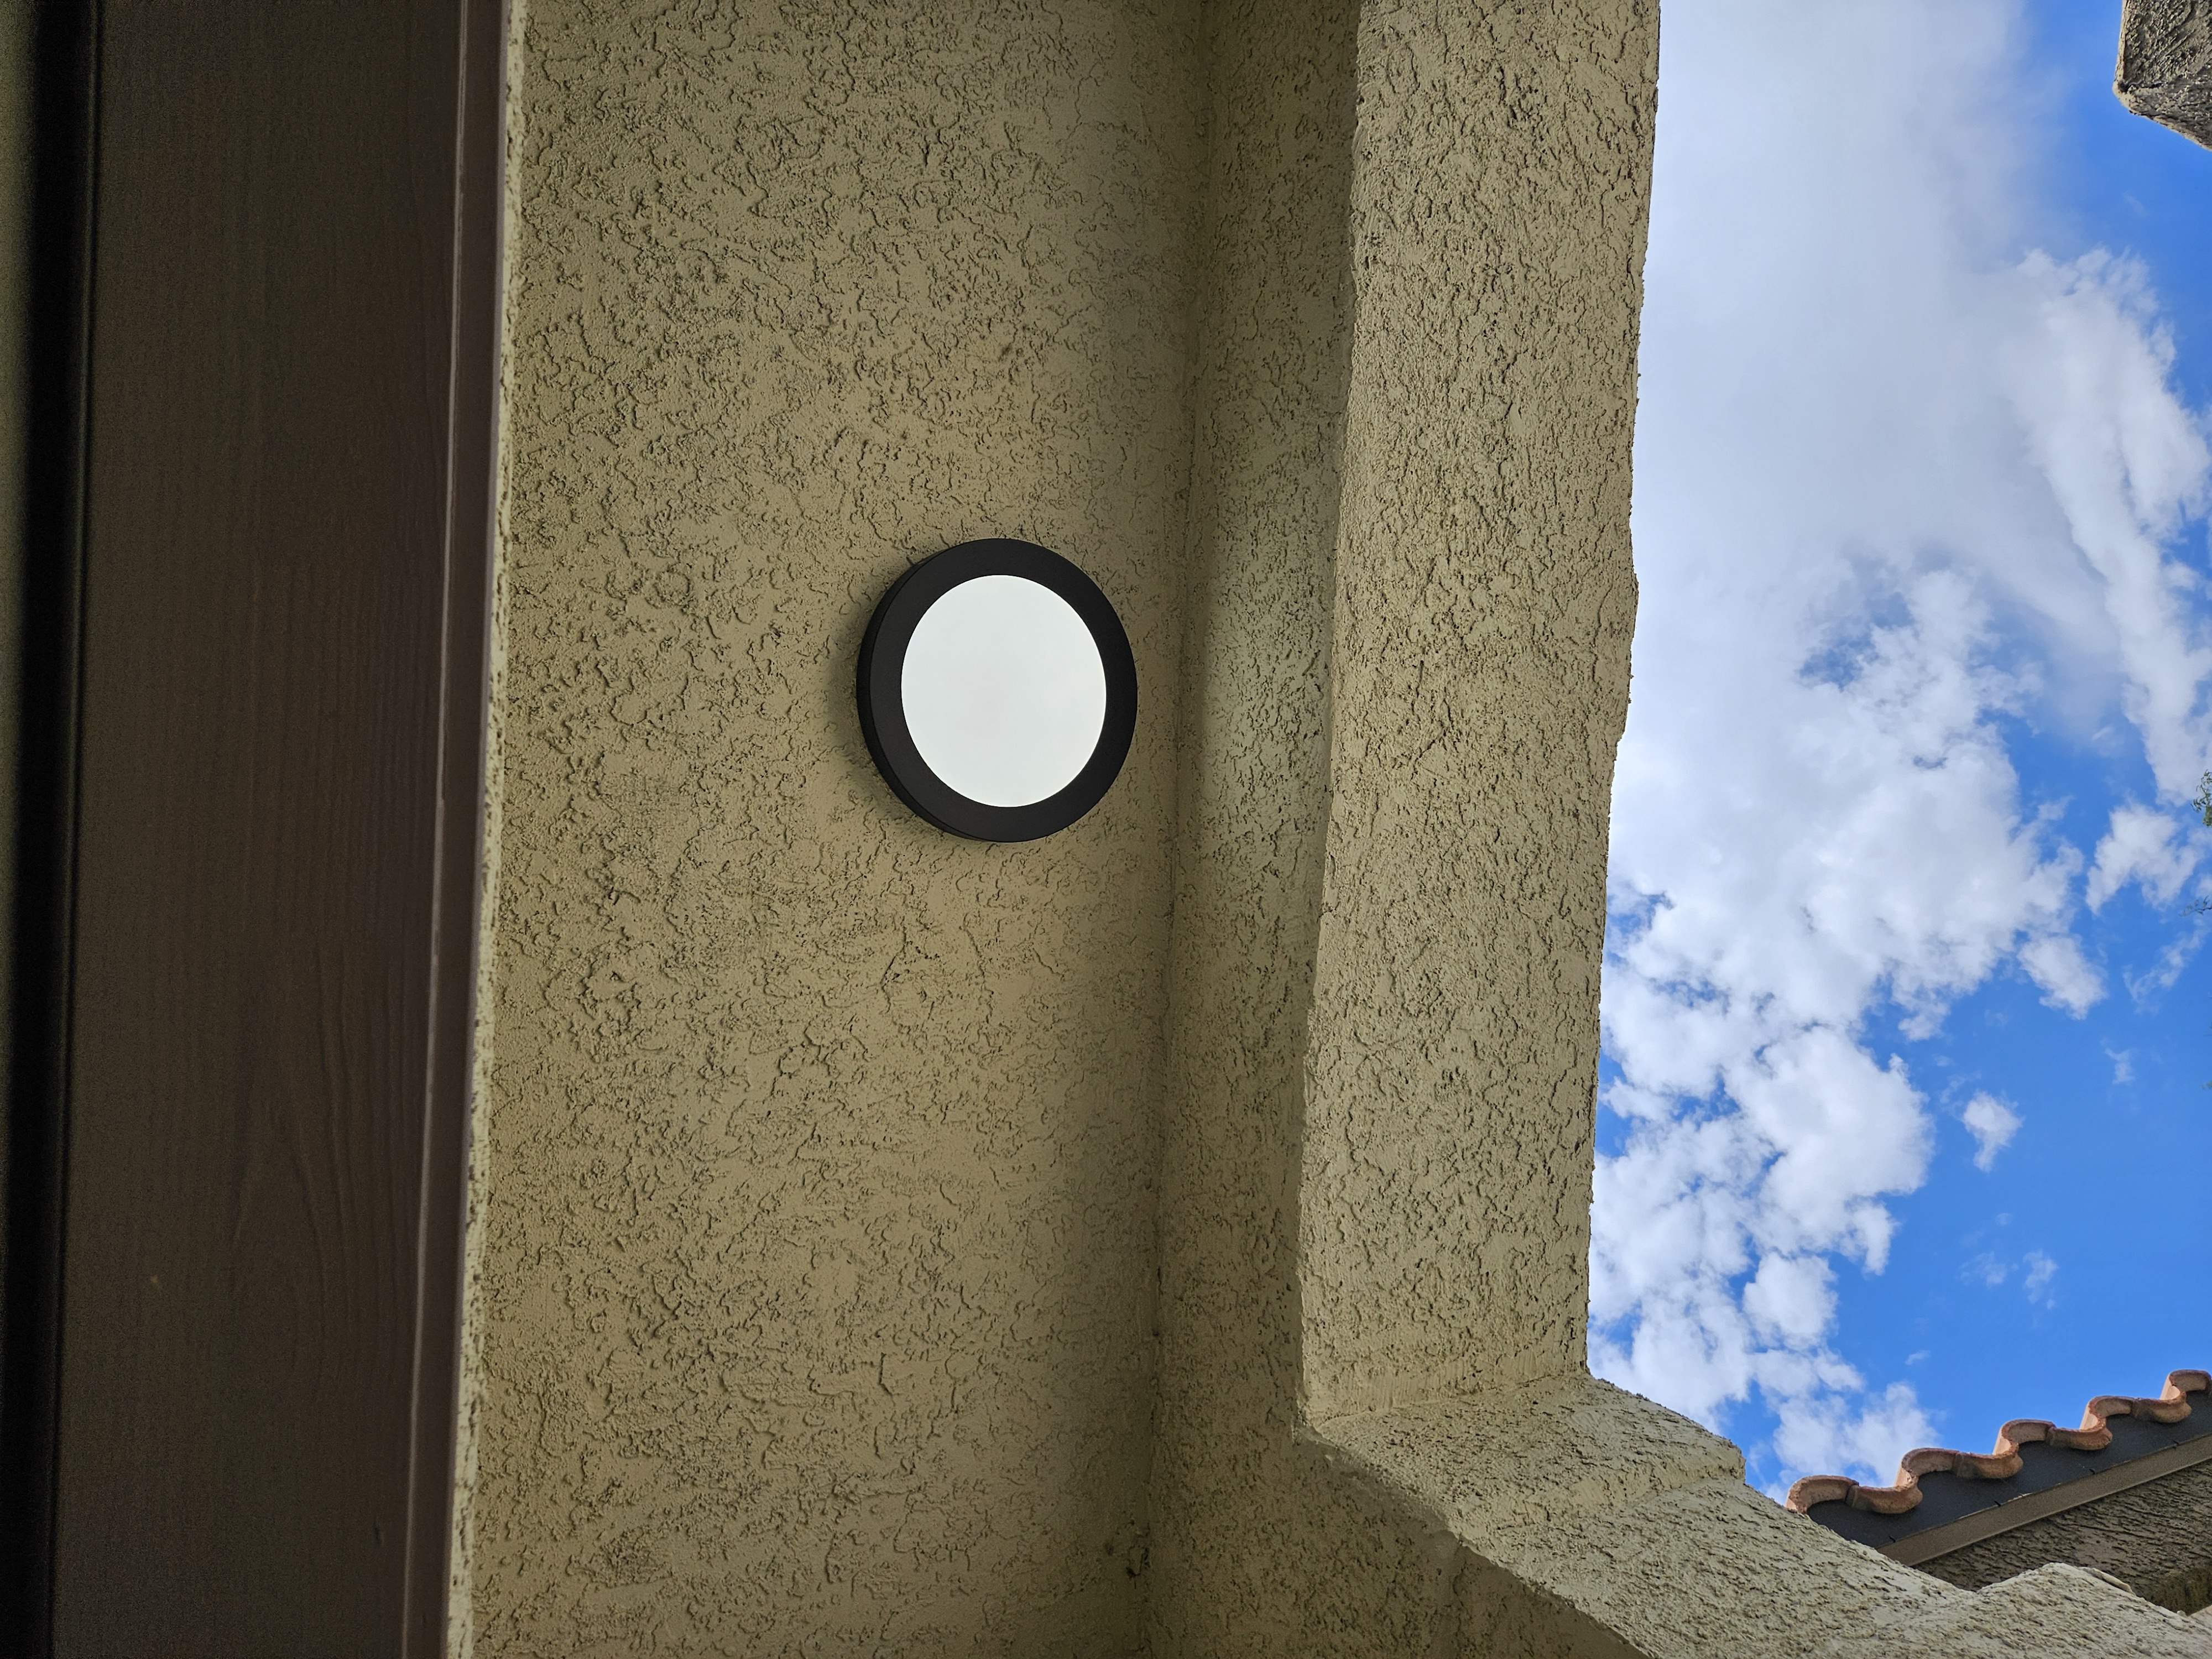 After
After
LED fixture upgrade complete
Improved brightness and cleaner final appearance.
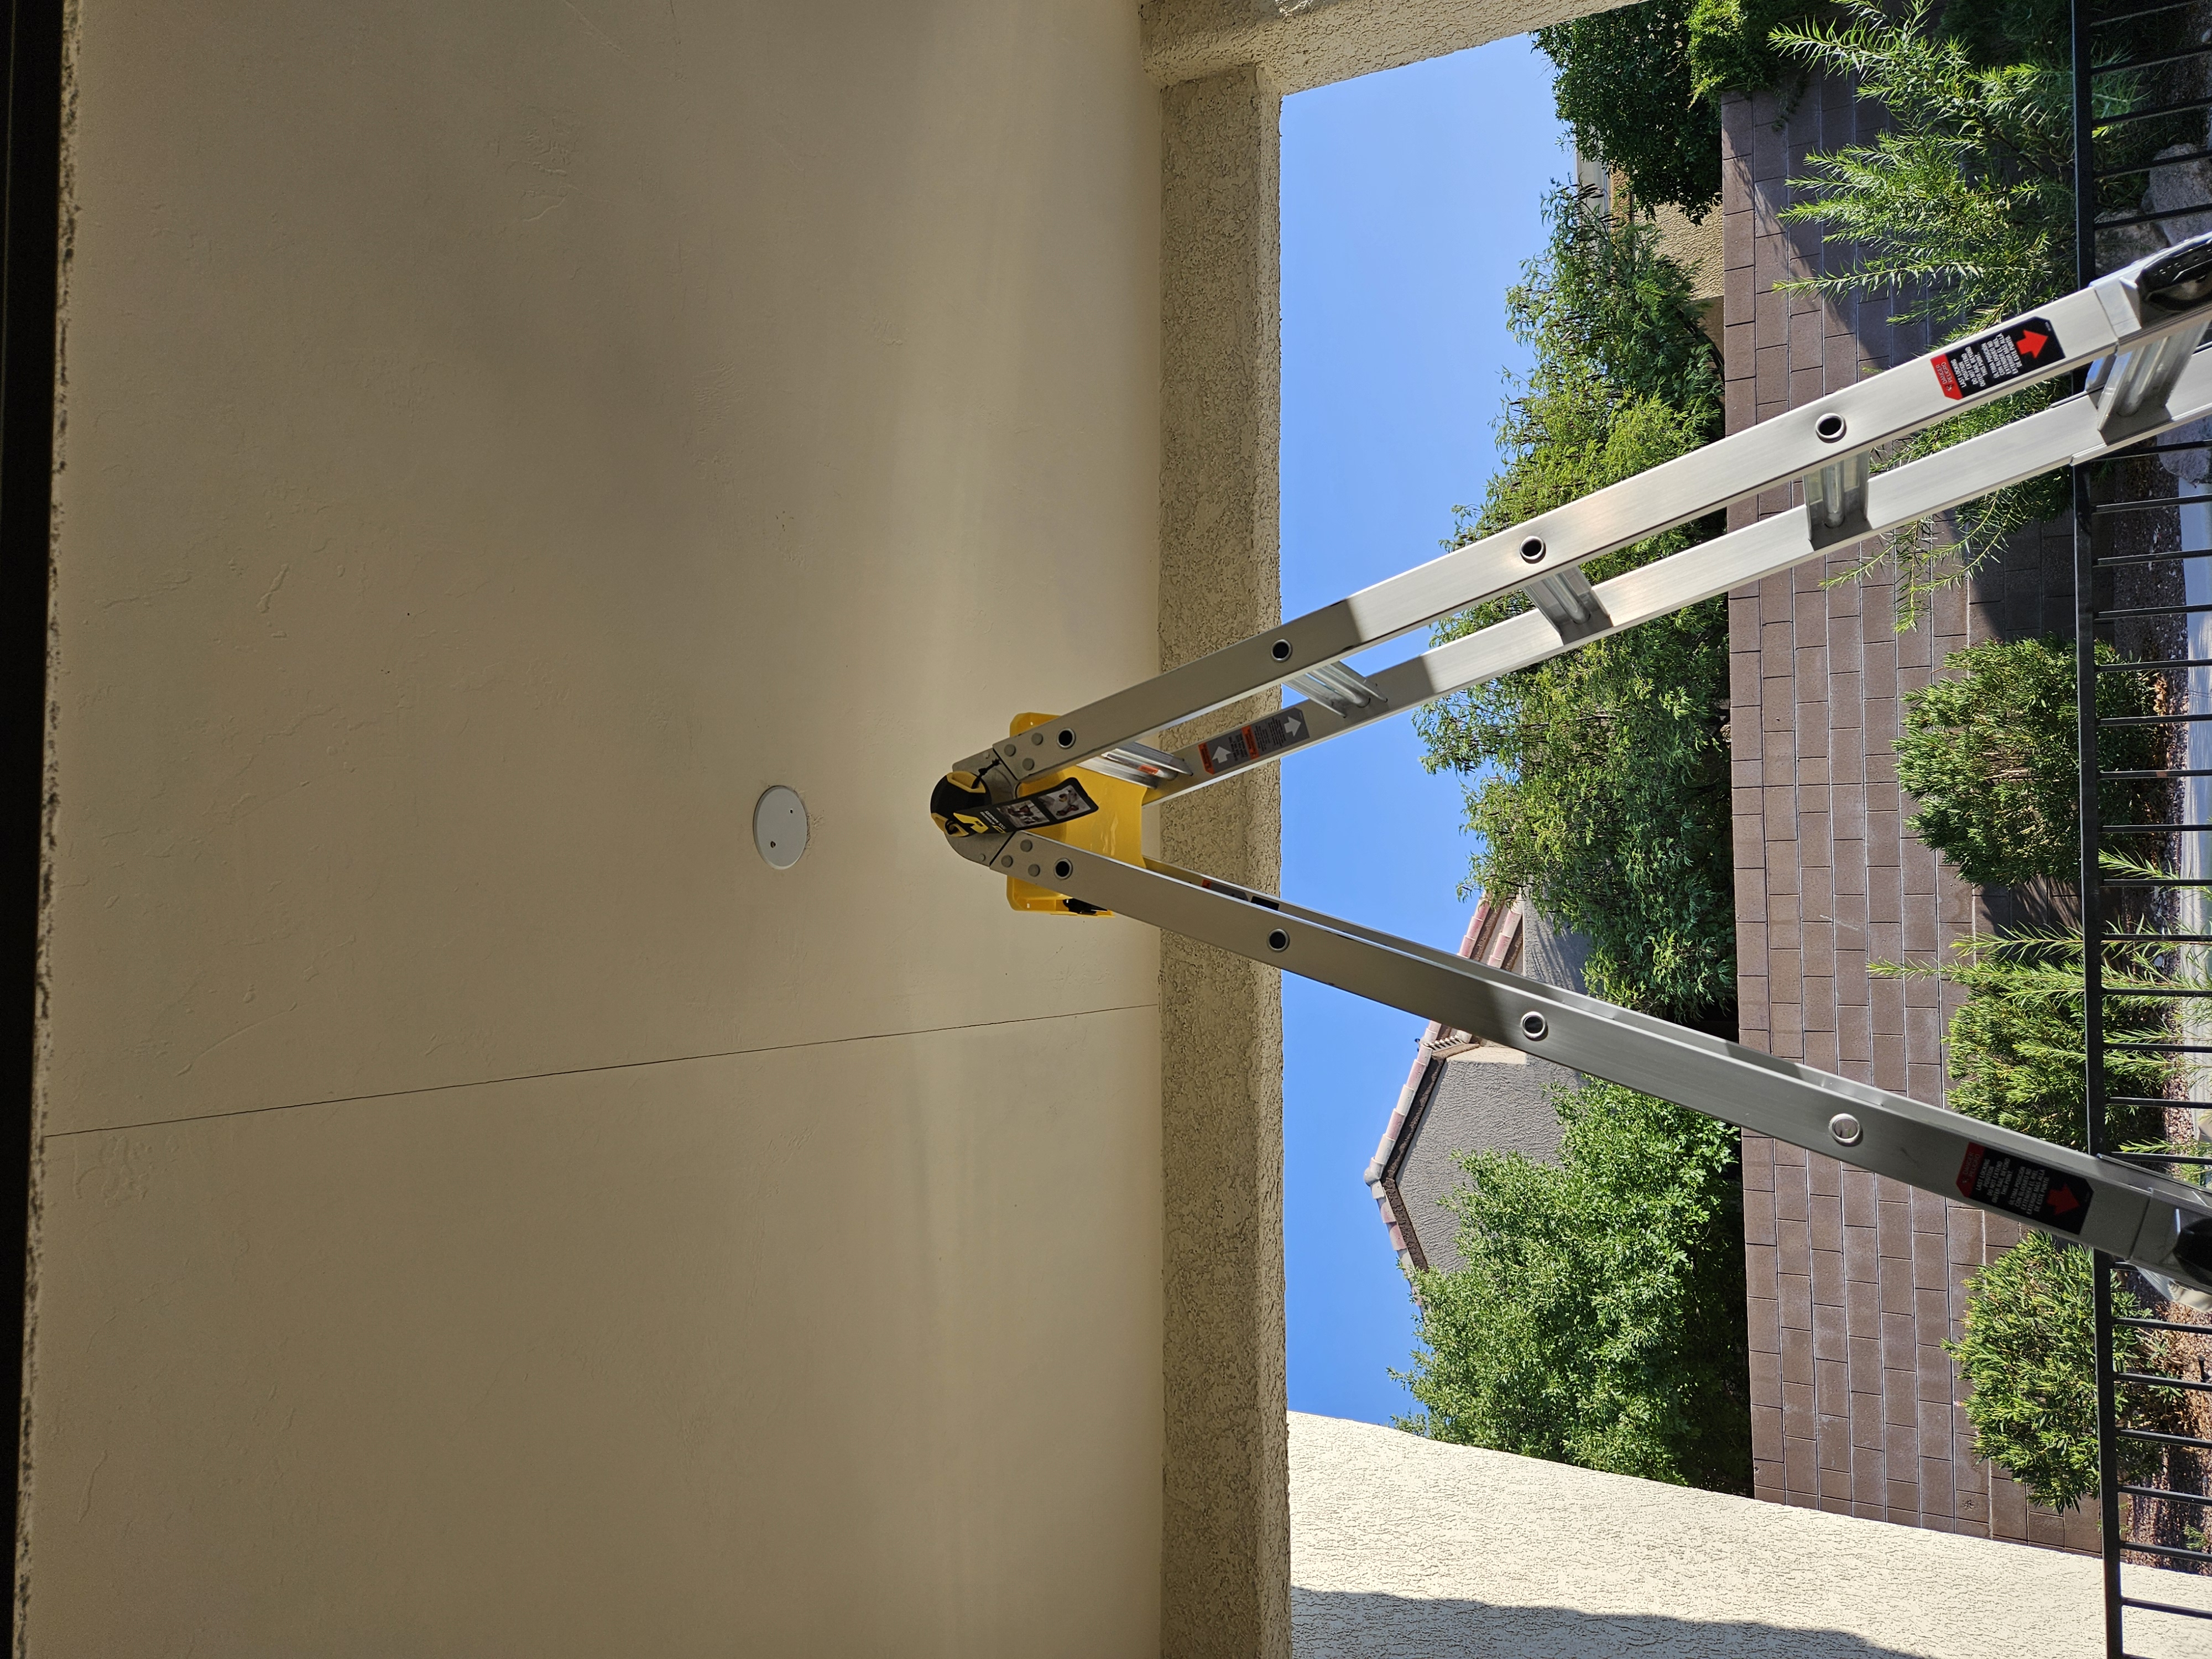 Before
Ceiling fan prep and mount alignment
Site setup and placement before final assembly.
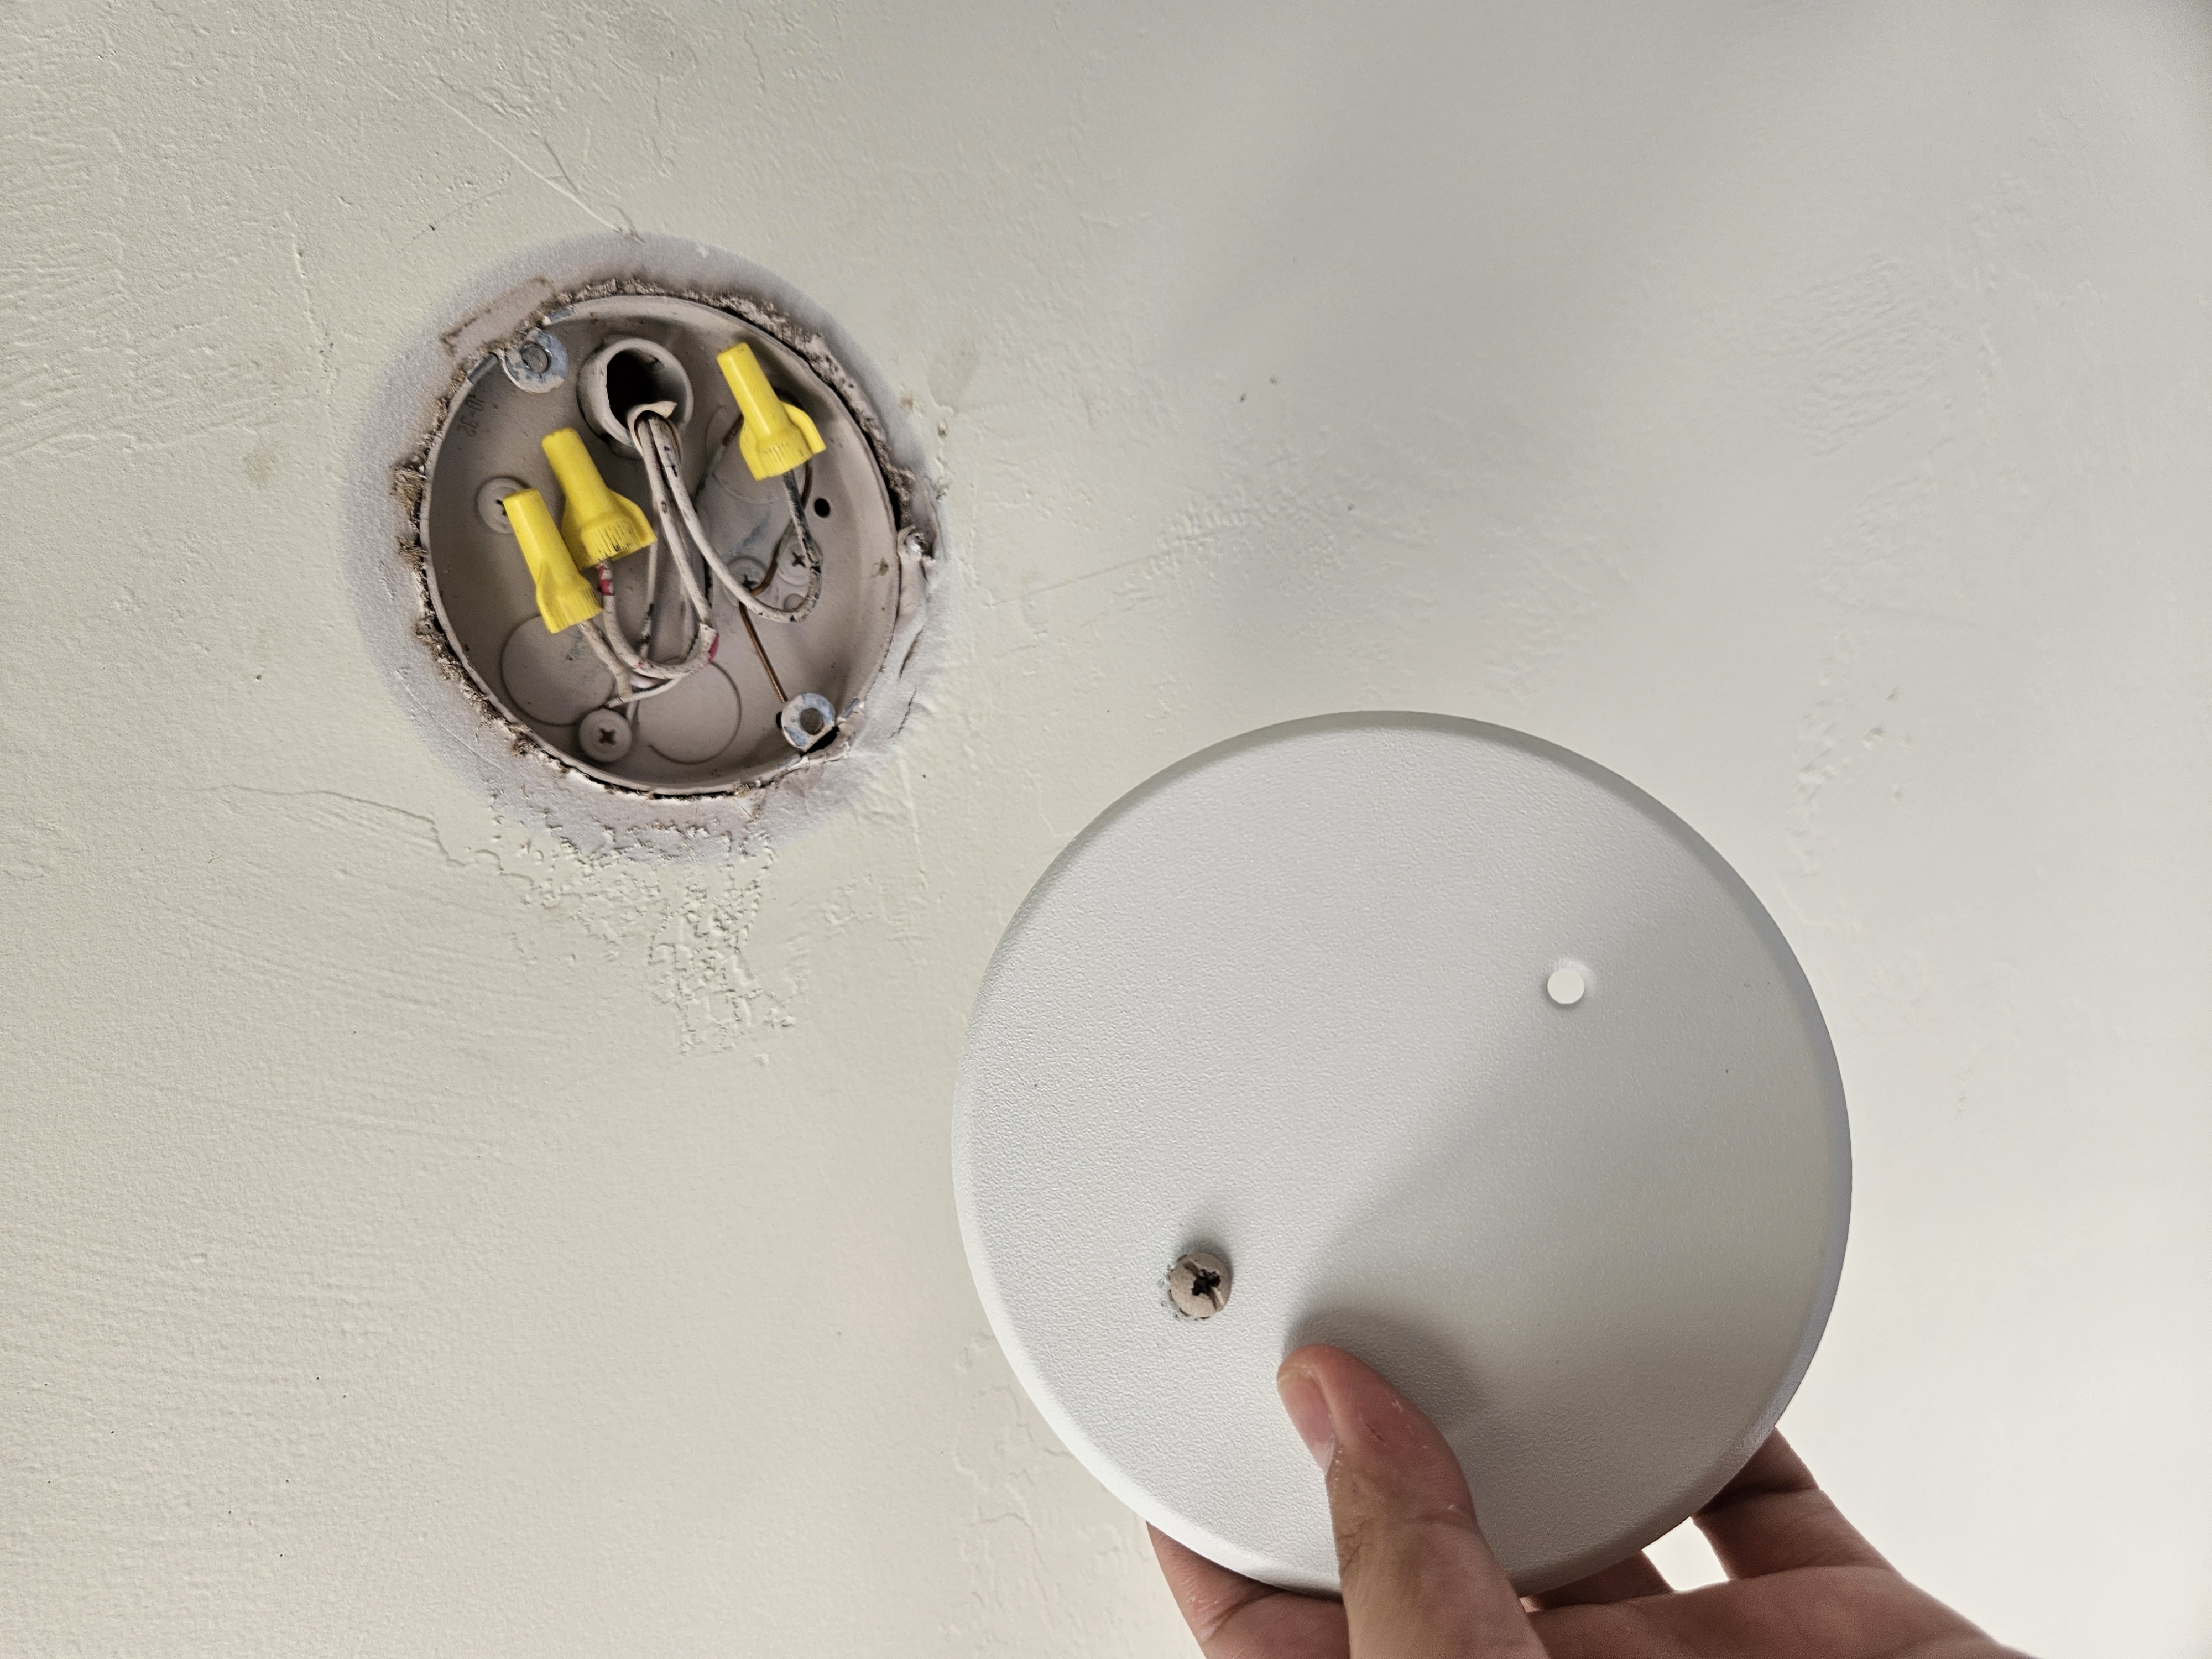 Process
Junction box wiring detail
Connection layout documented before close-up.
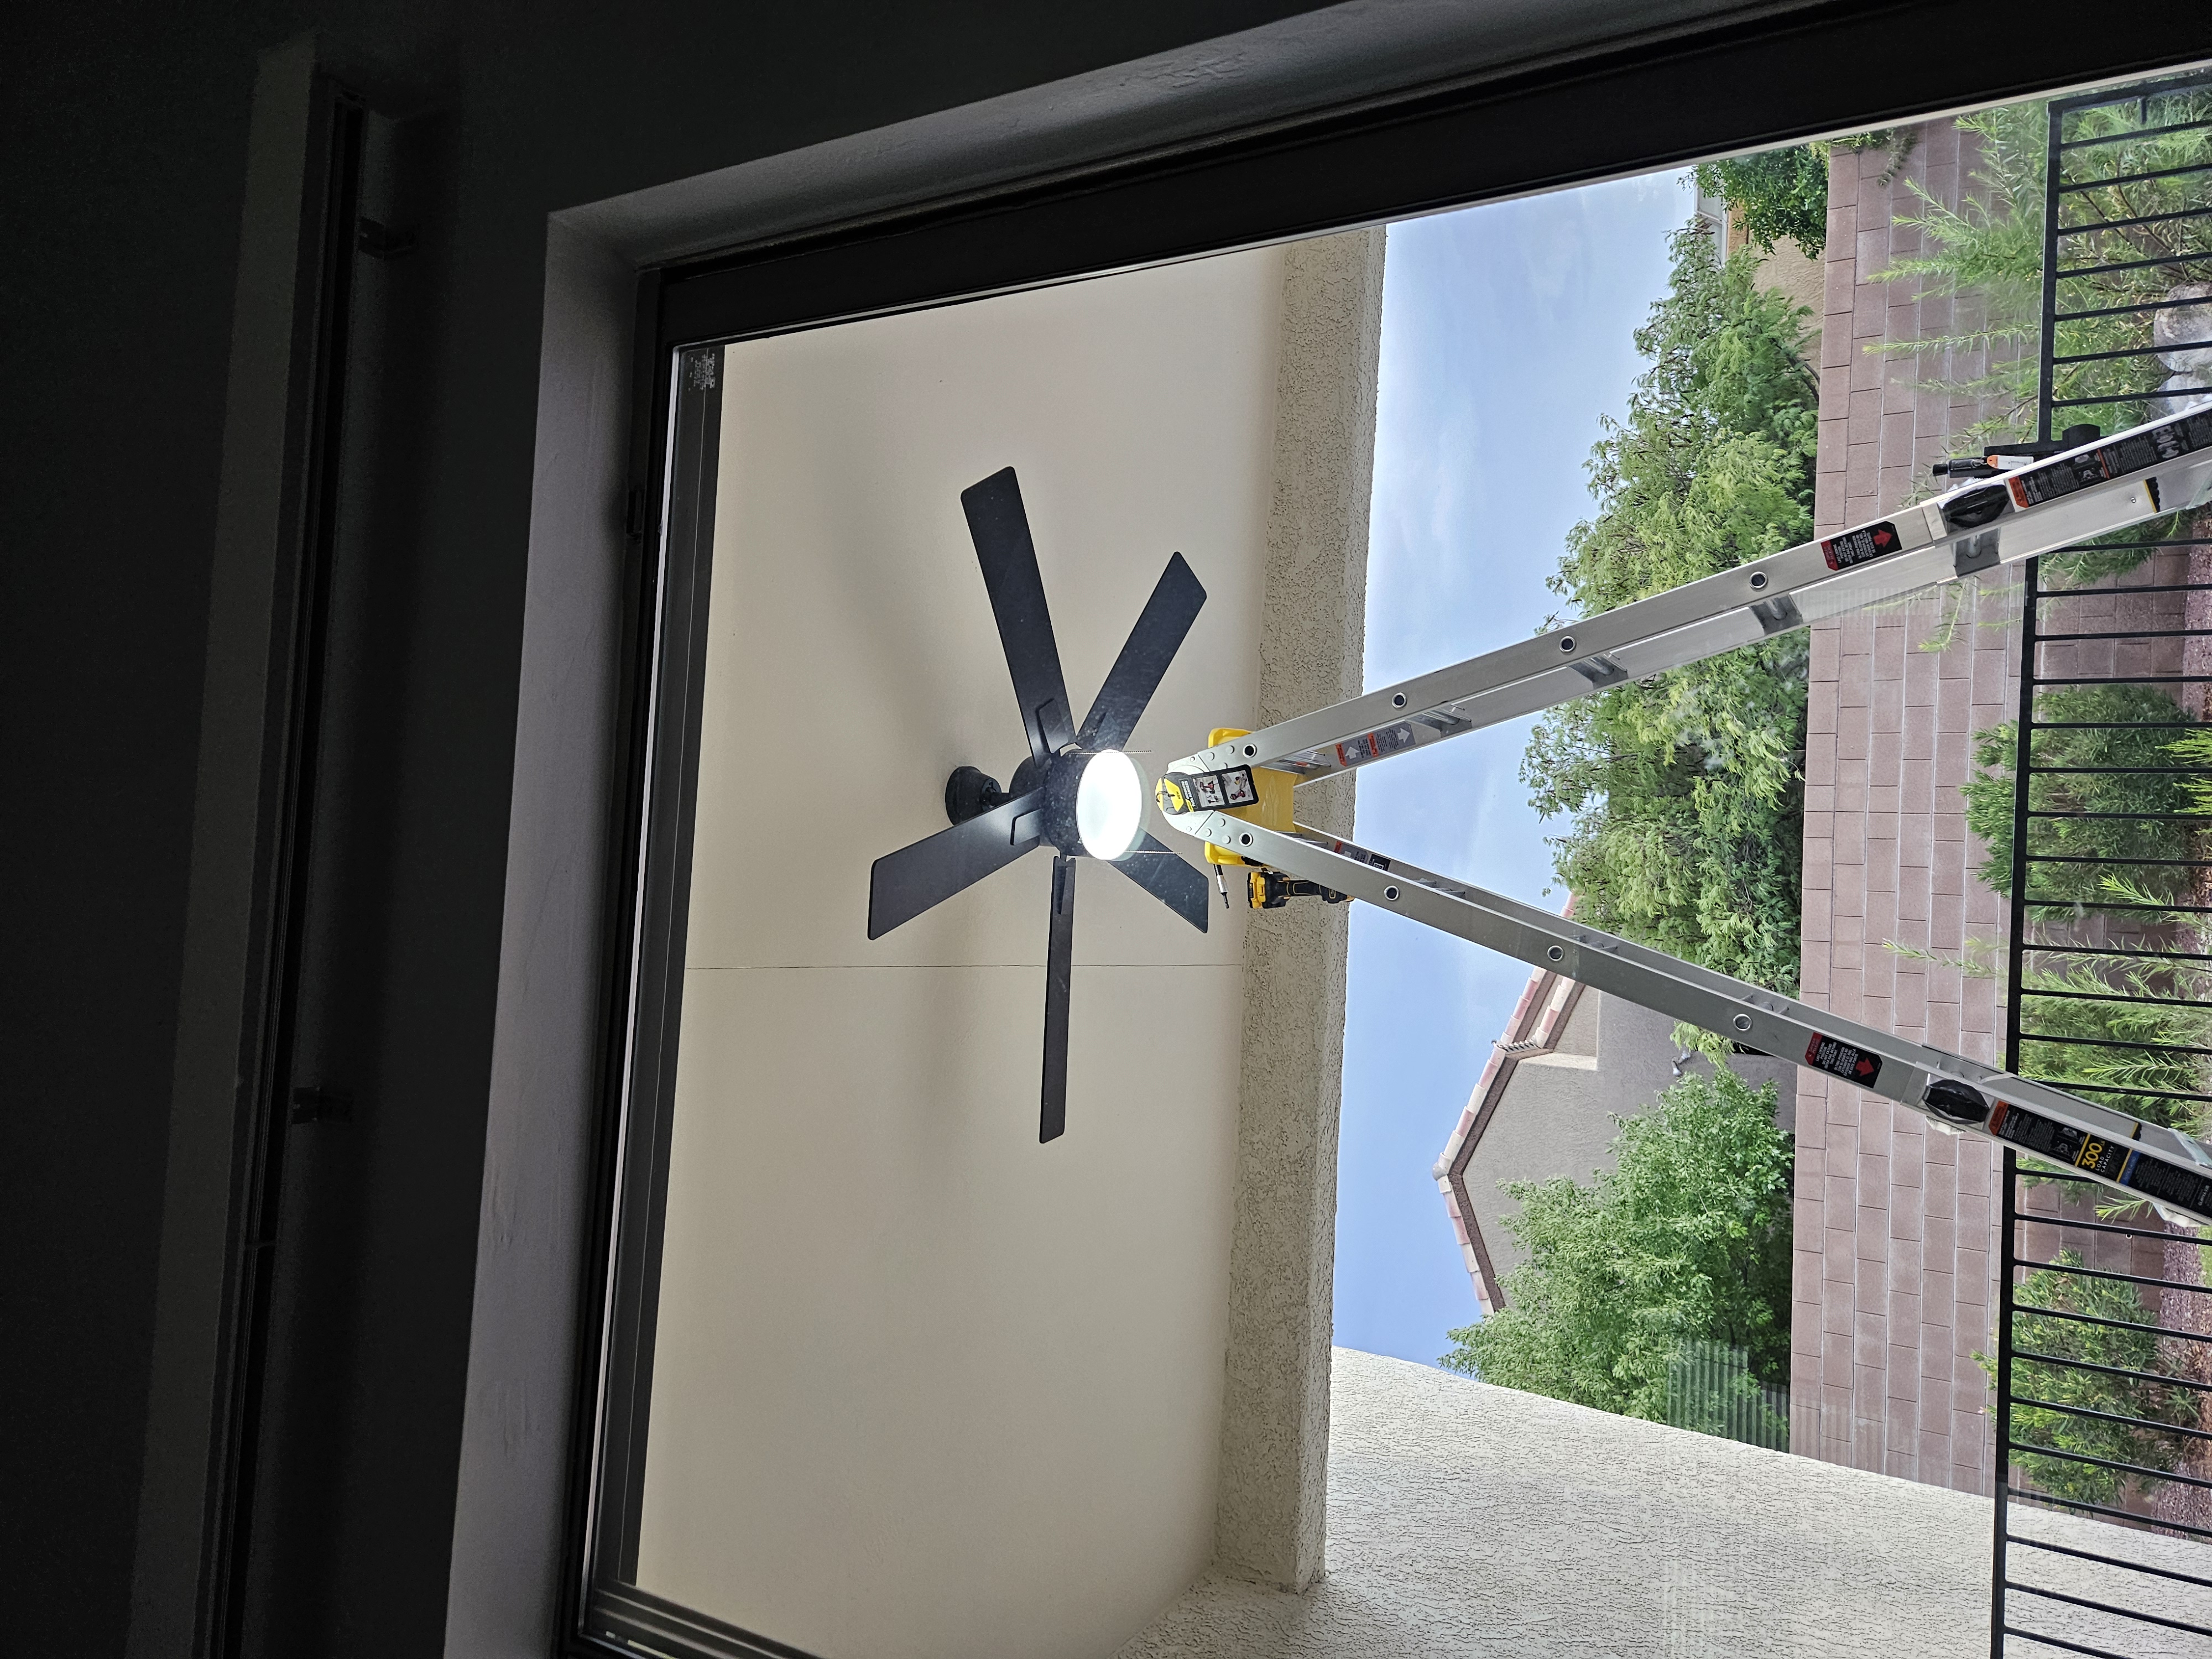 After
After
Patio fan and light installation
Balanced finish with clean final mounting.
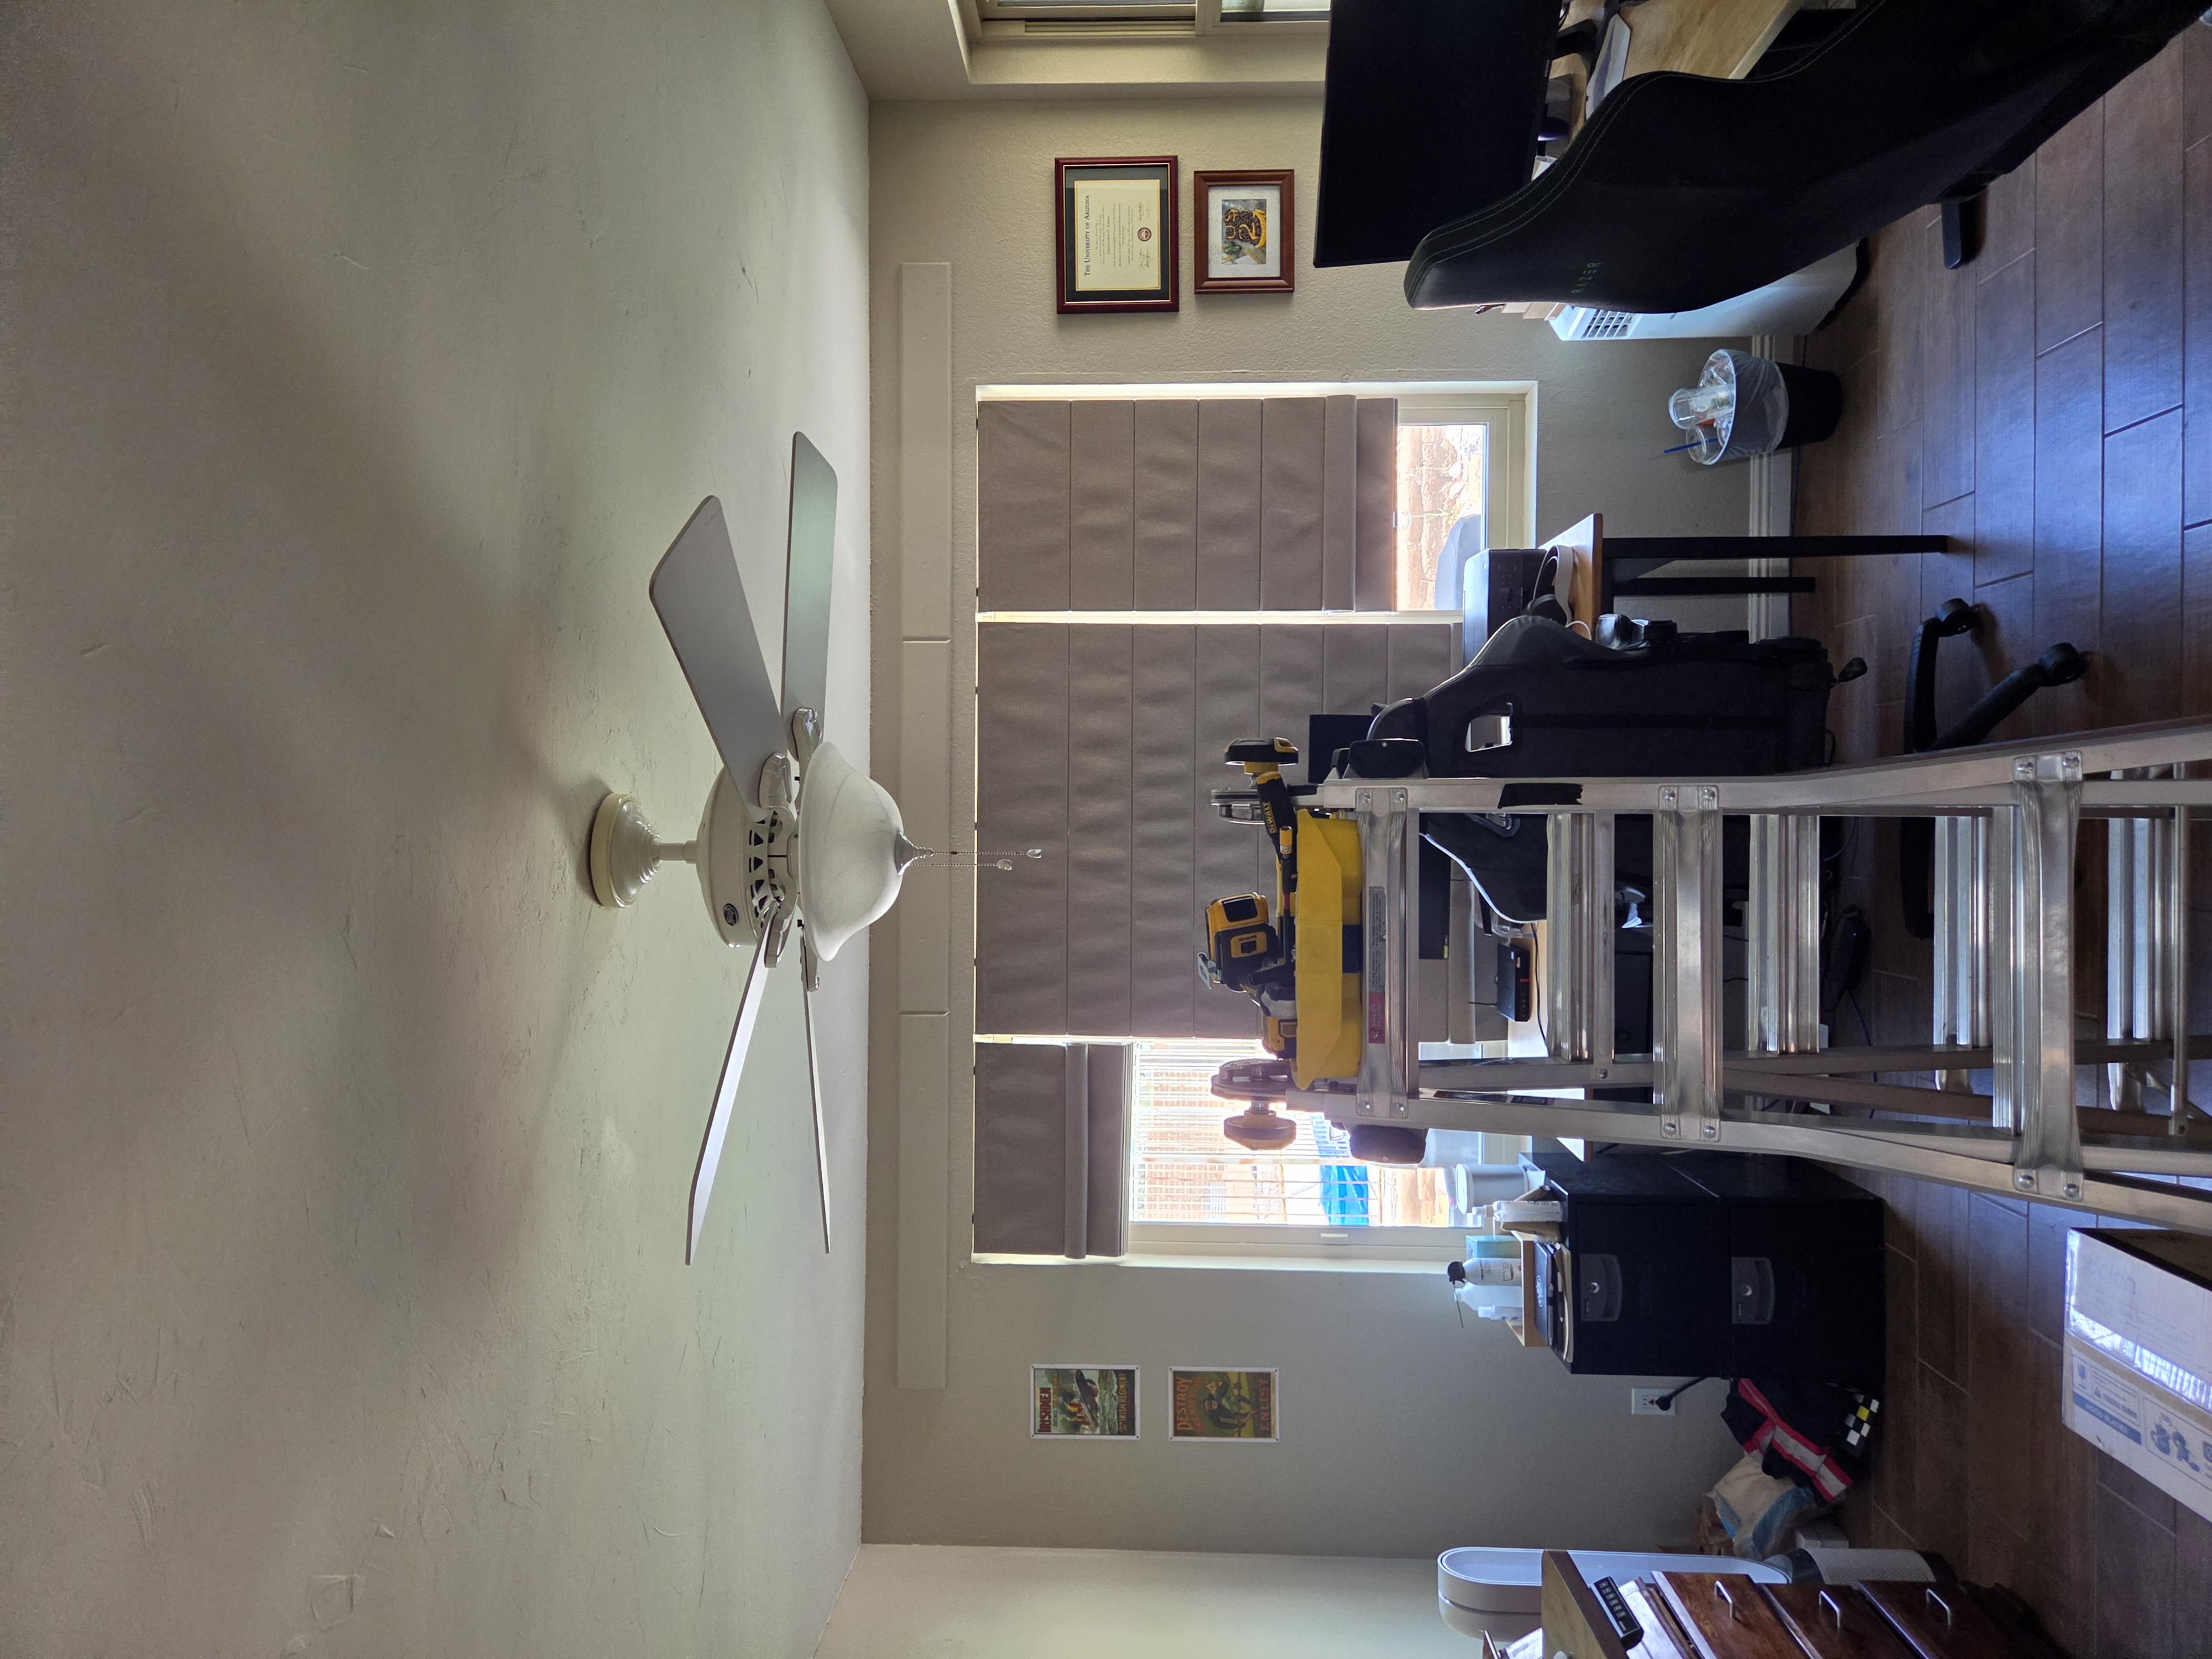 Before
Office fan before replacement
Original white fan setup before upgrade.
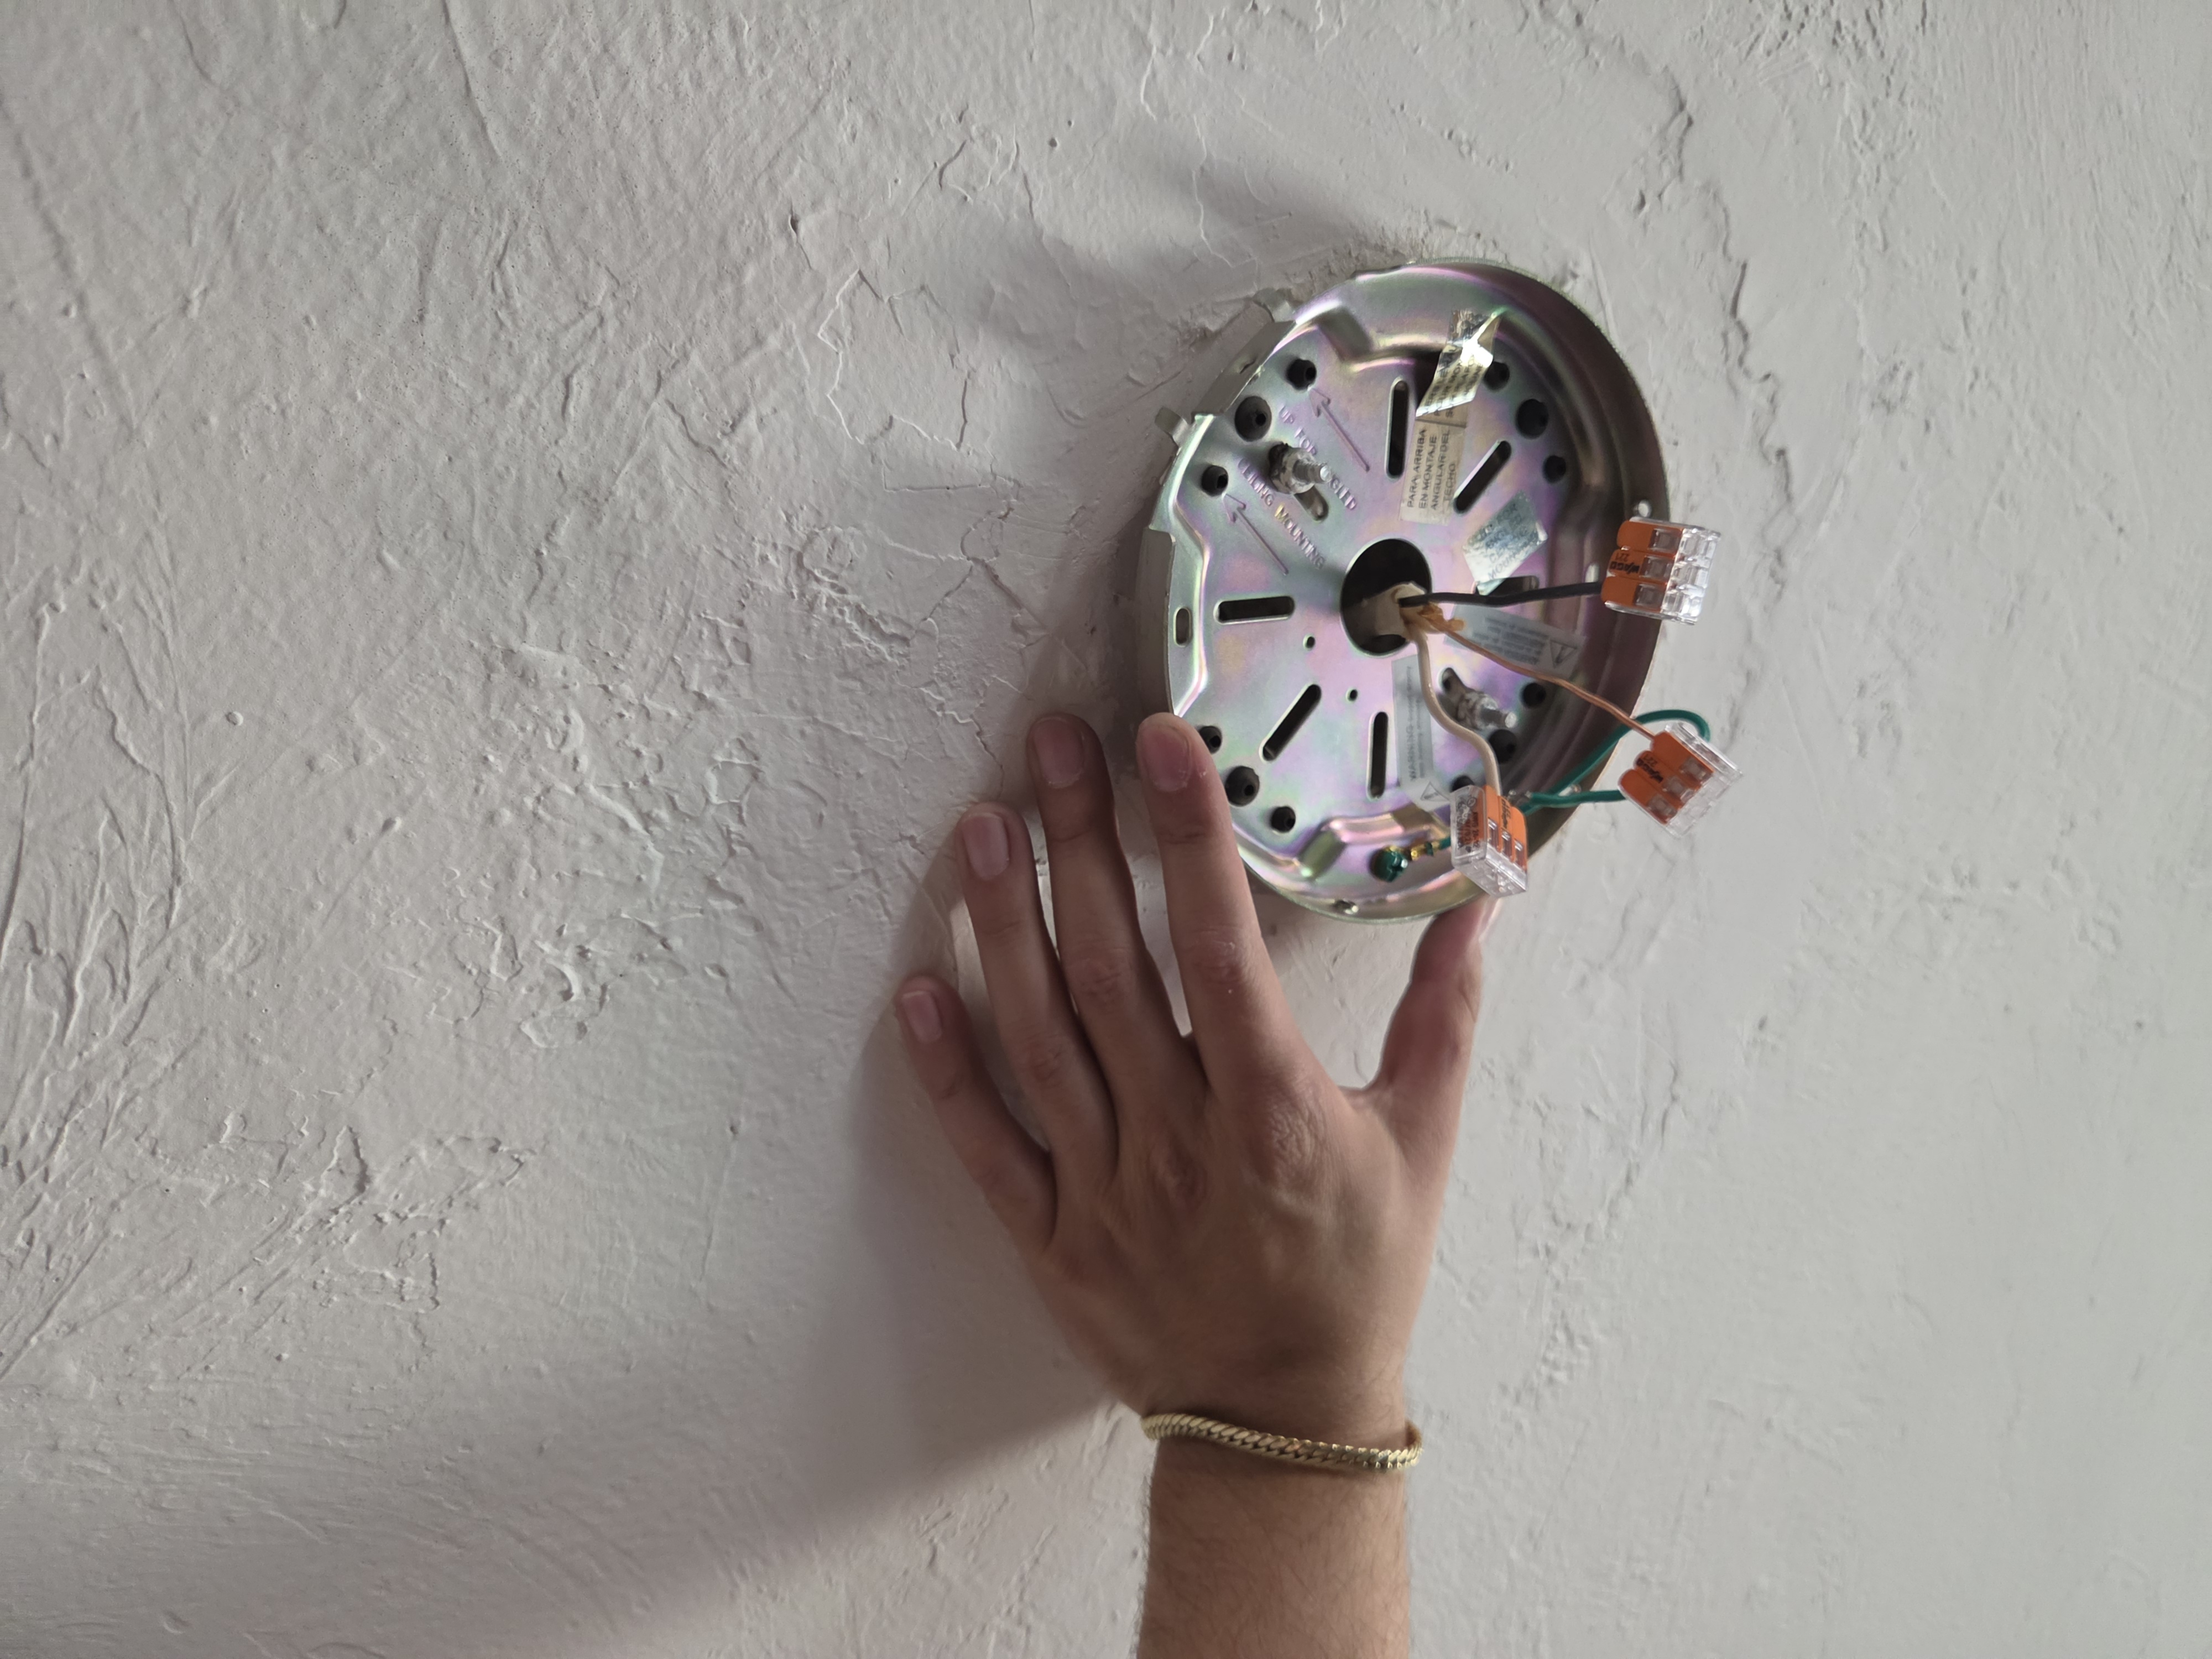 Process
Fan wiring and mount prep
Mounting plate and wire connections set before final assembly.
 After
After
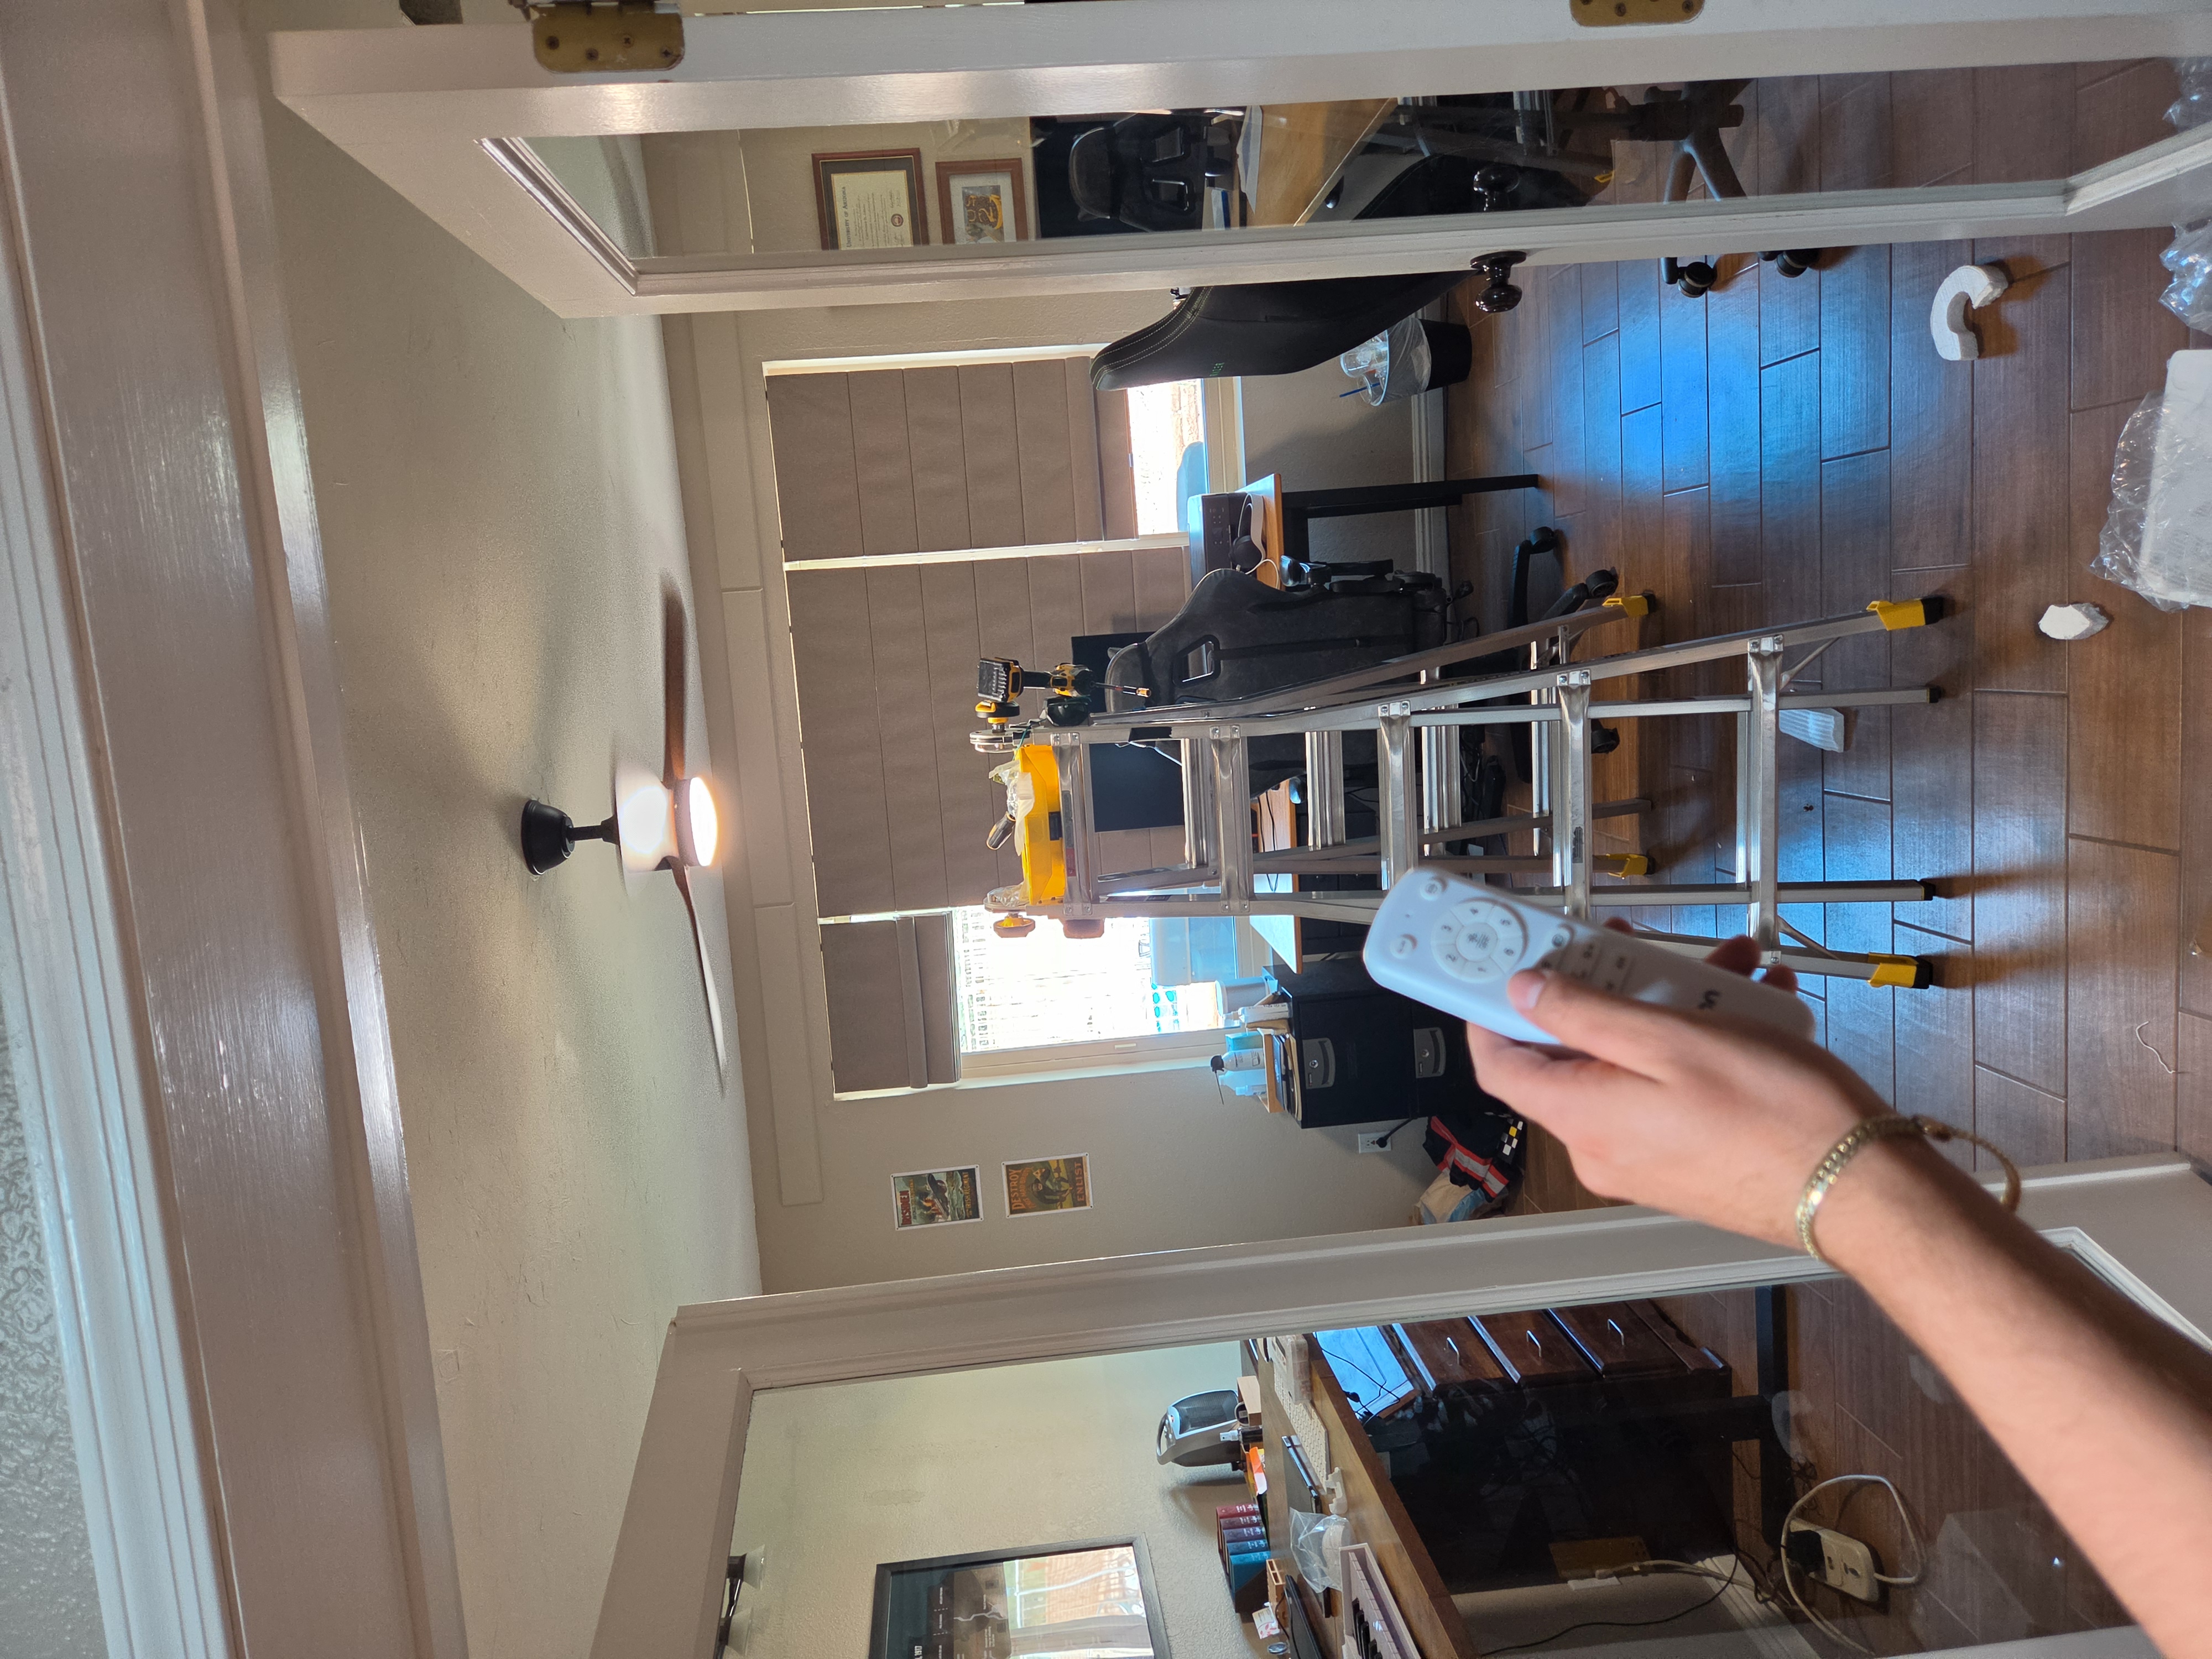
Office fan install complete
Remote-controlled fan installed and verified in operation.
 Before
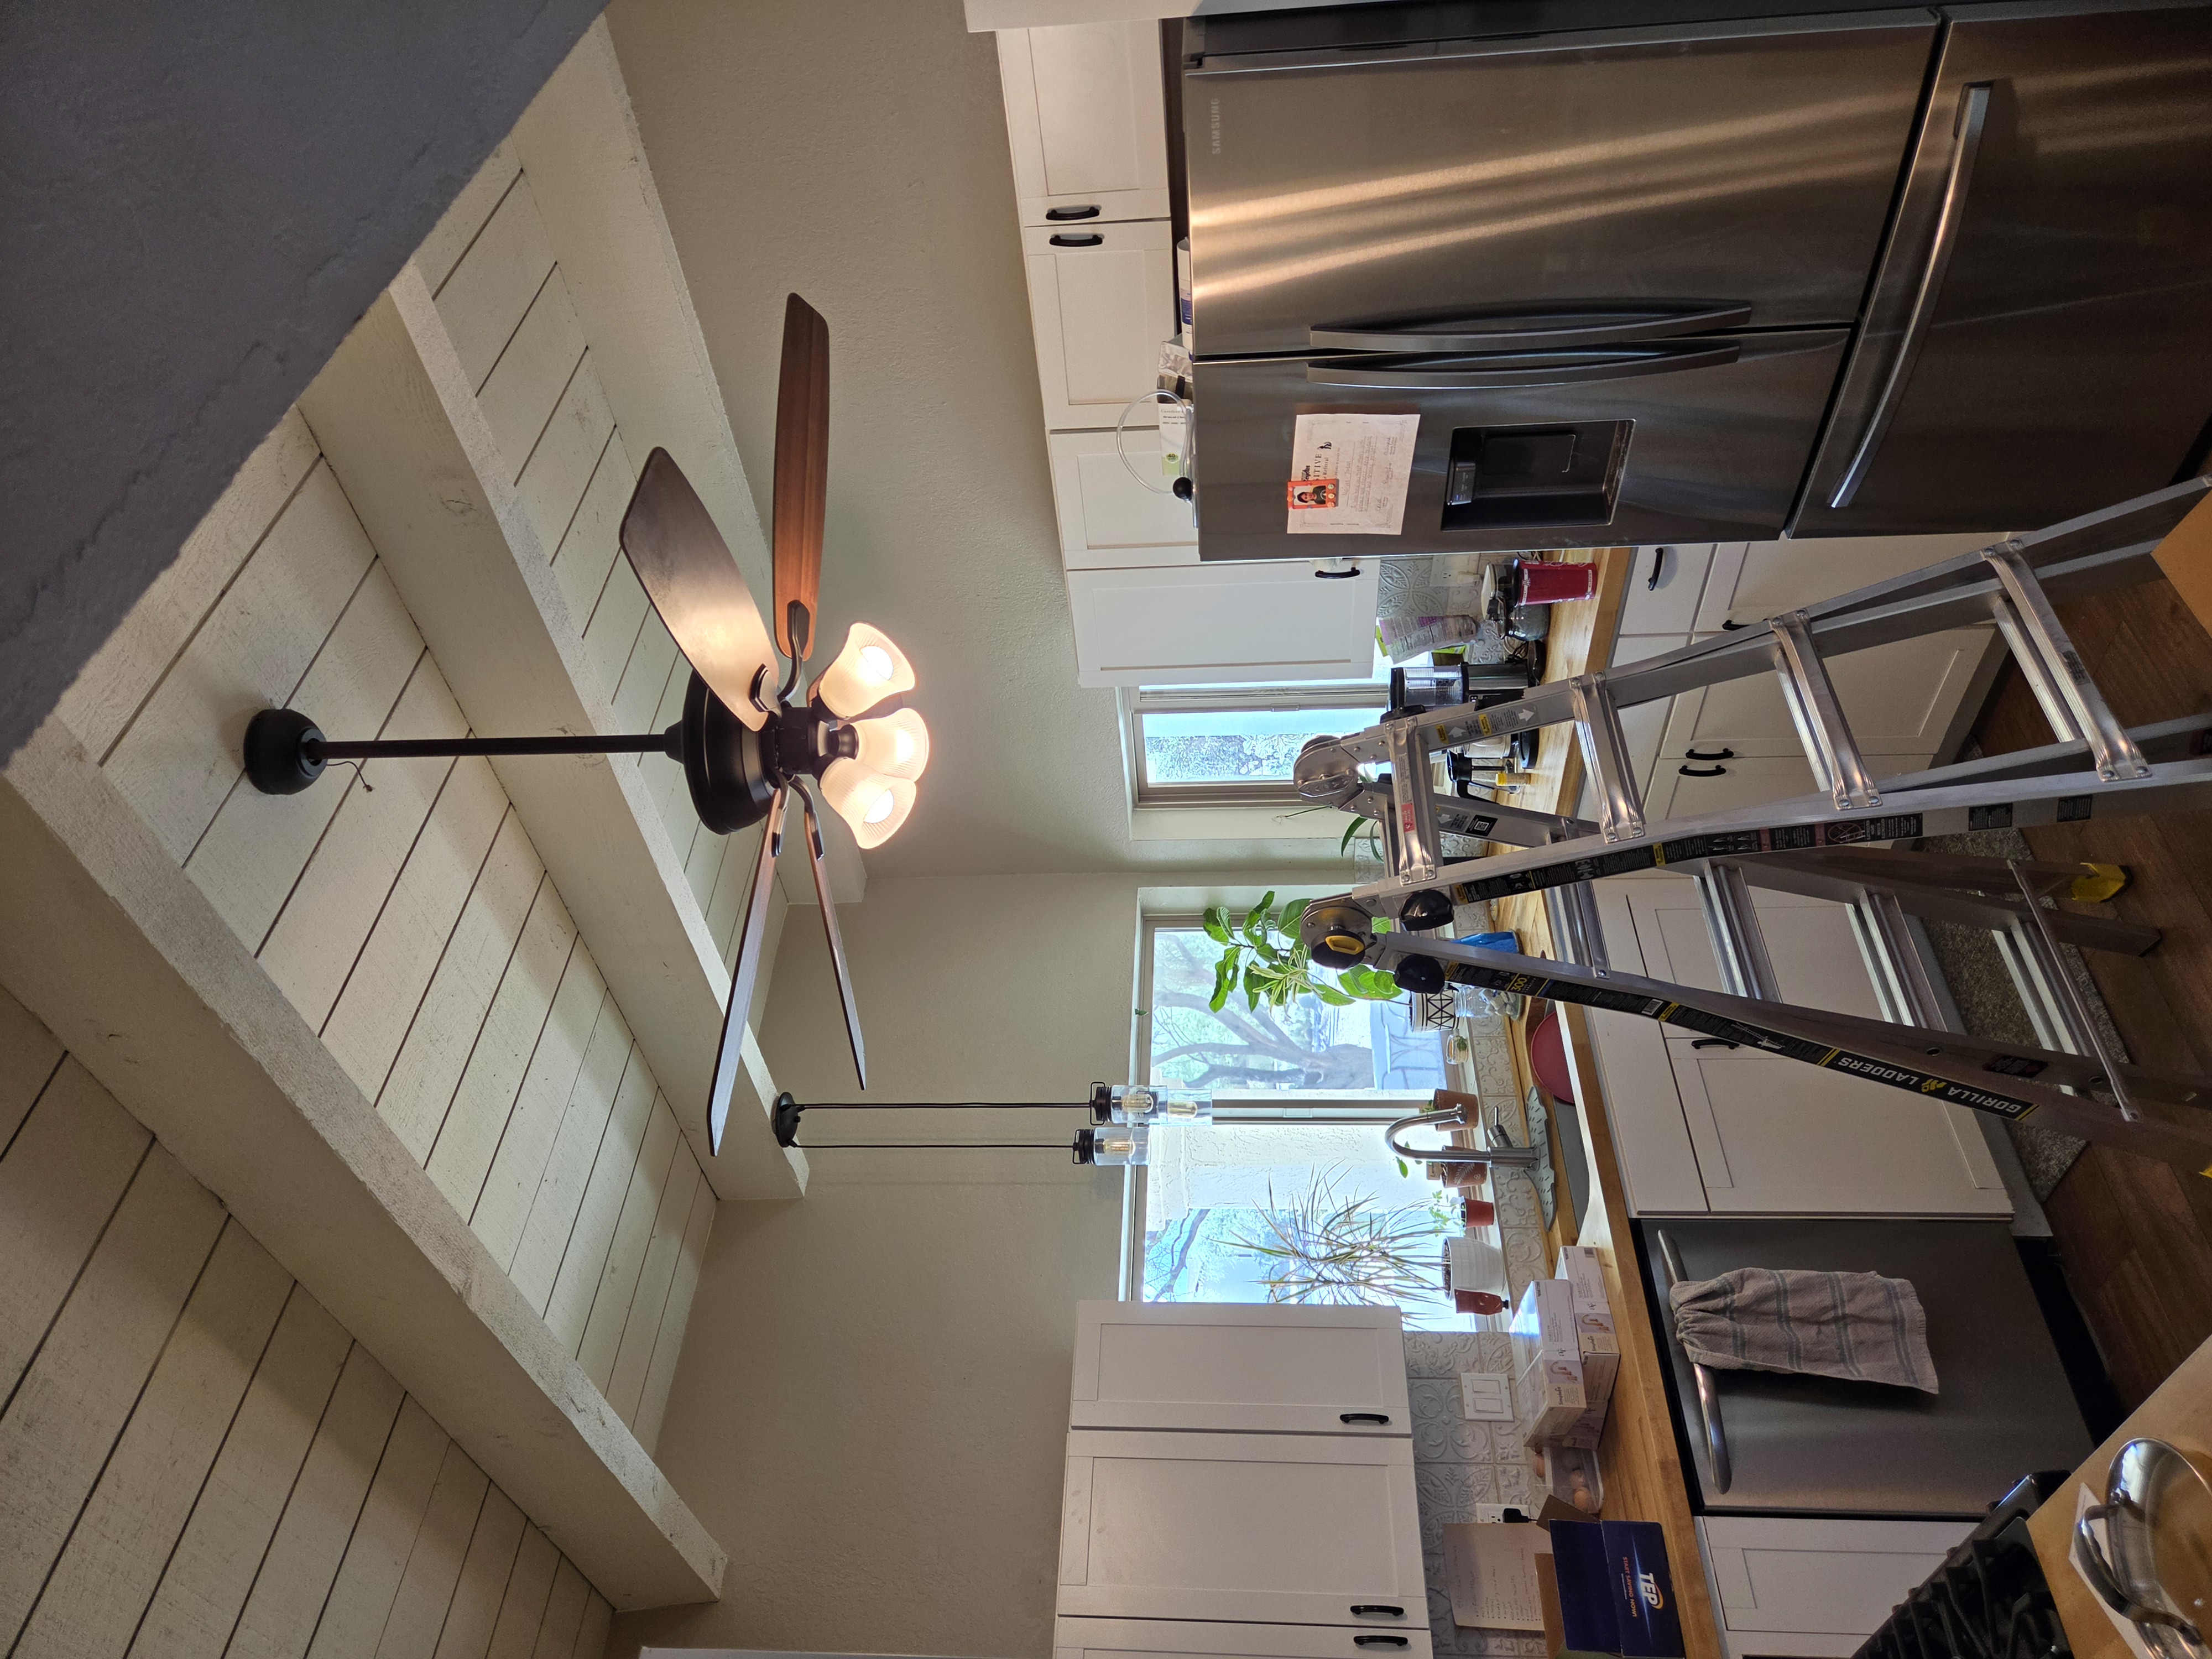
Kitchen fixture before upgrade
Original ceiling fan/light before pendant install.
 Process
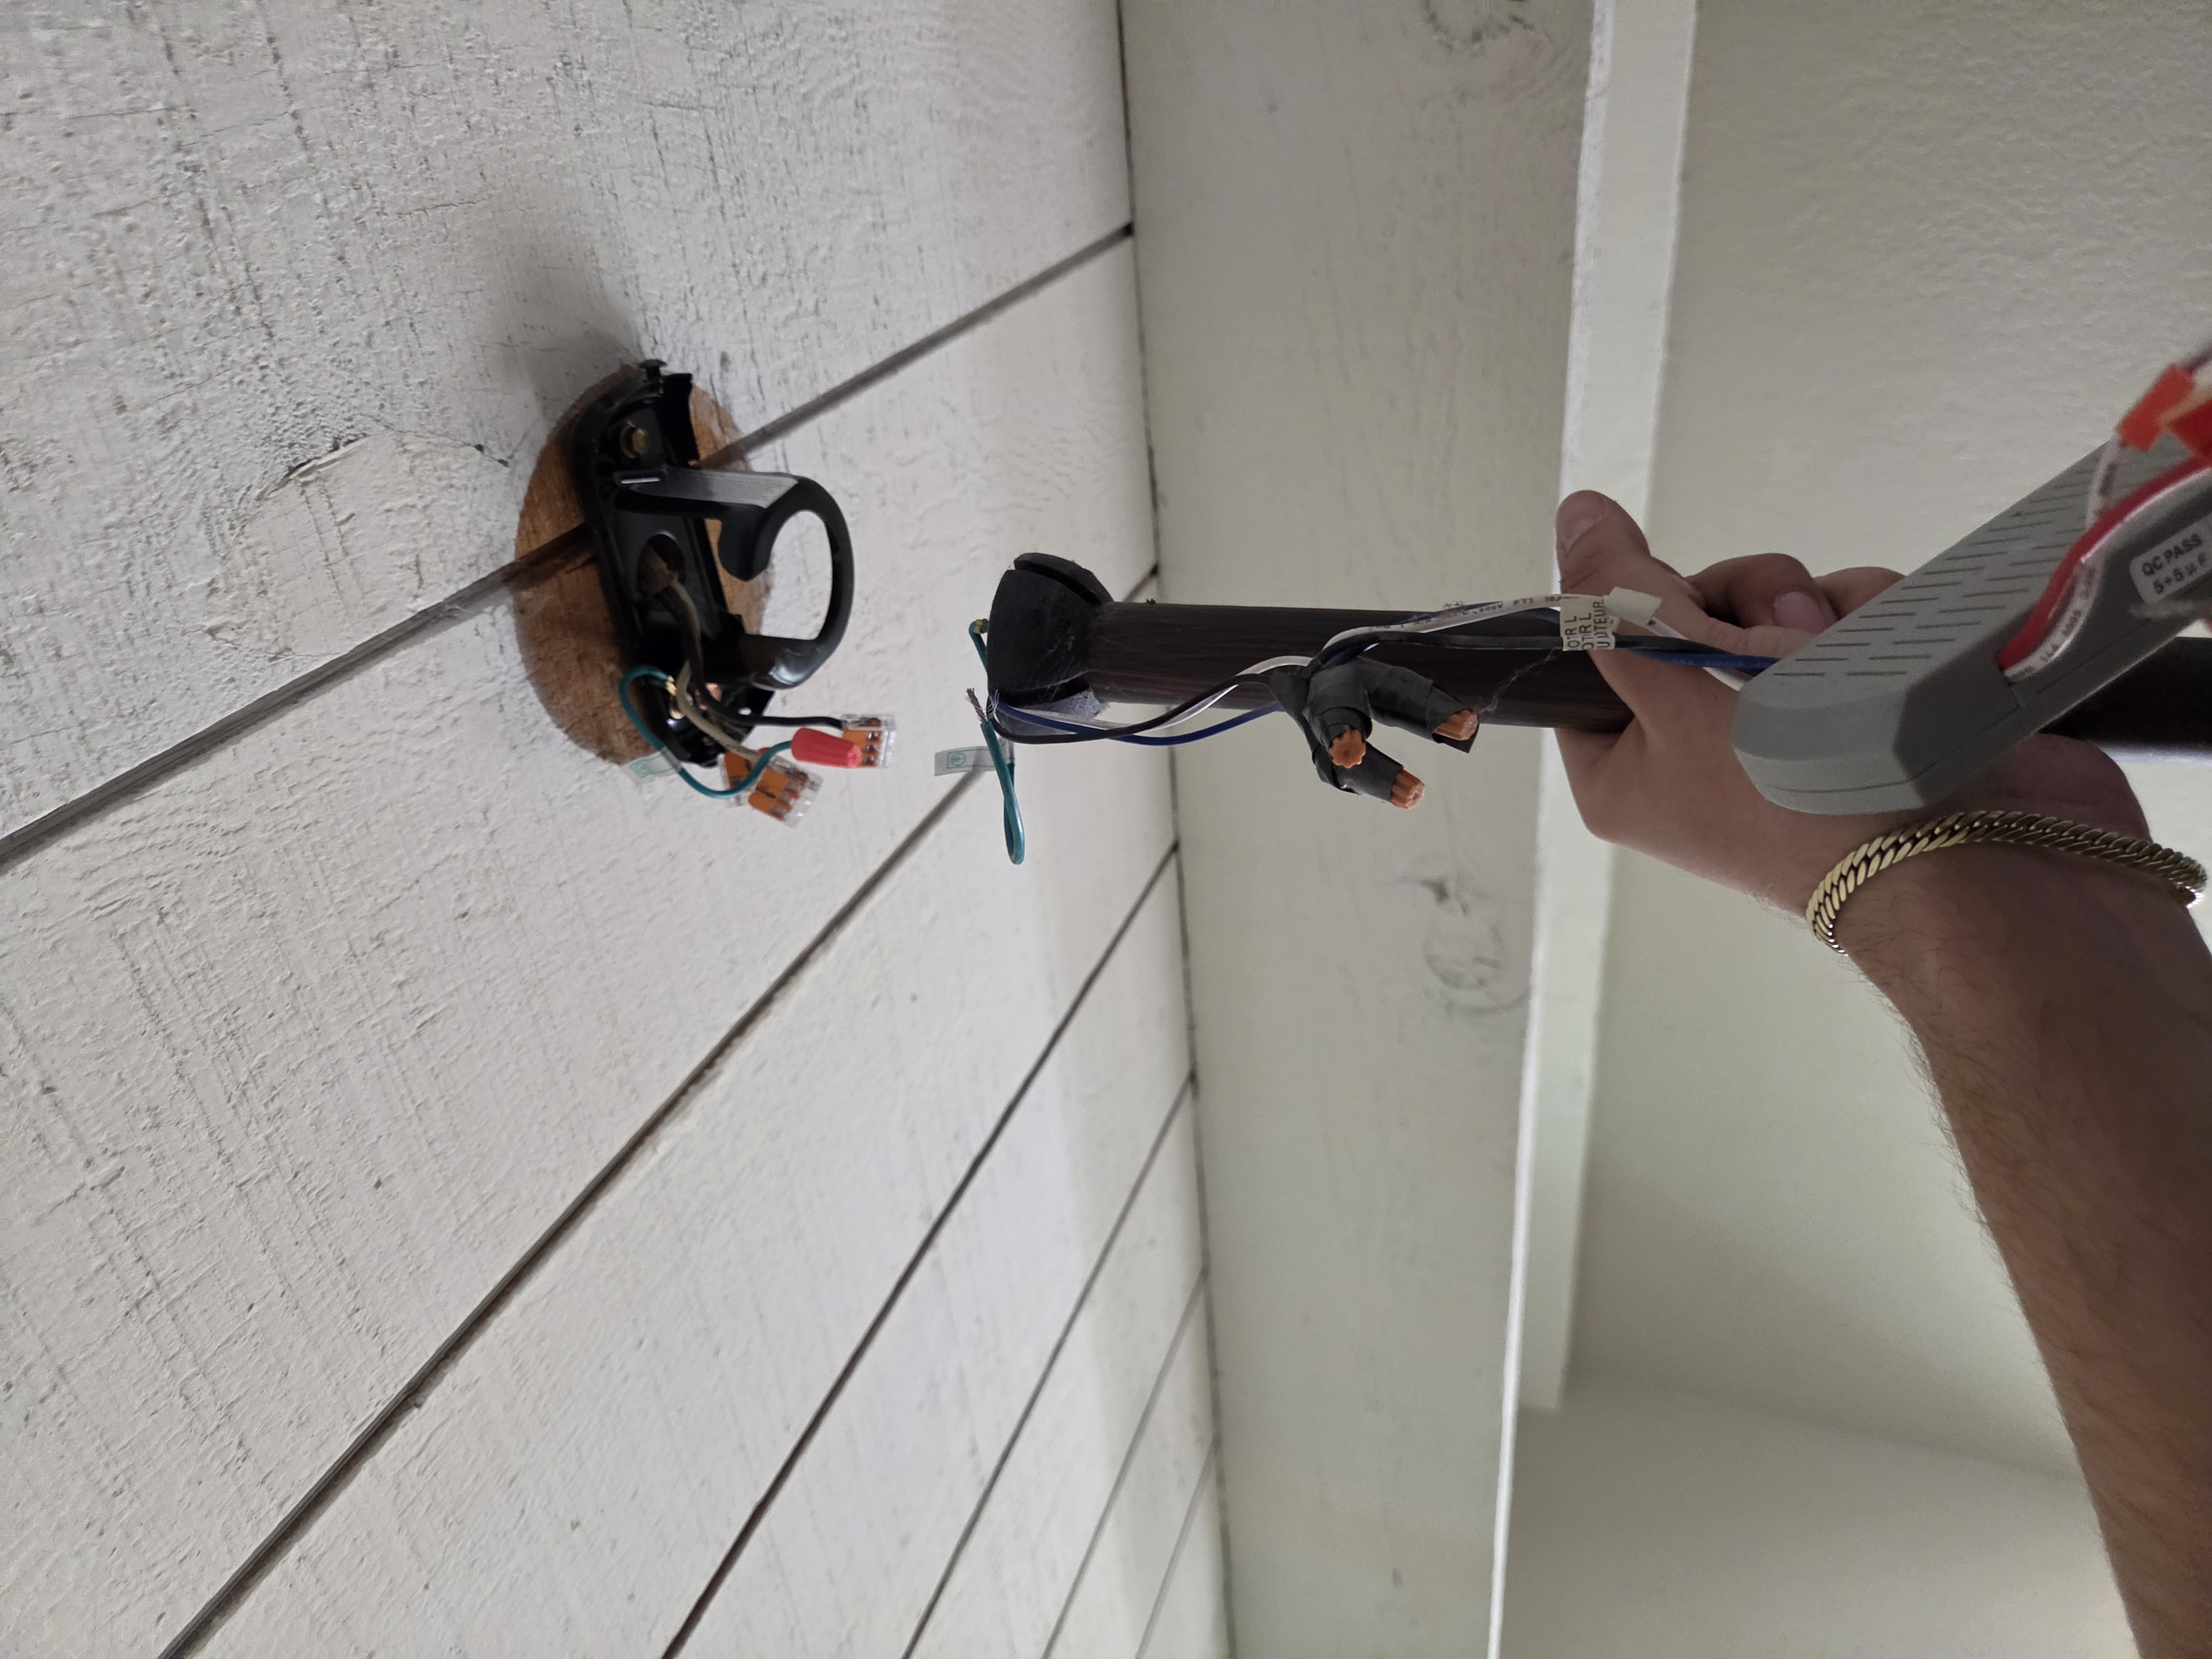
Pendant mounting and wiring
Mount bracket and wiring completed before final fixture install.
 After
After
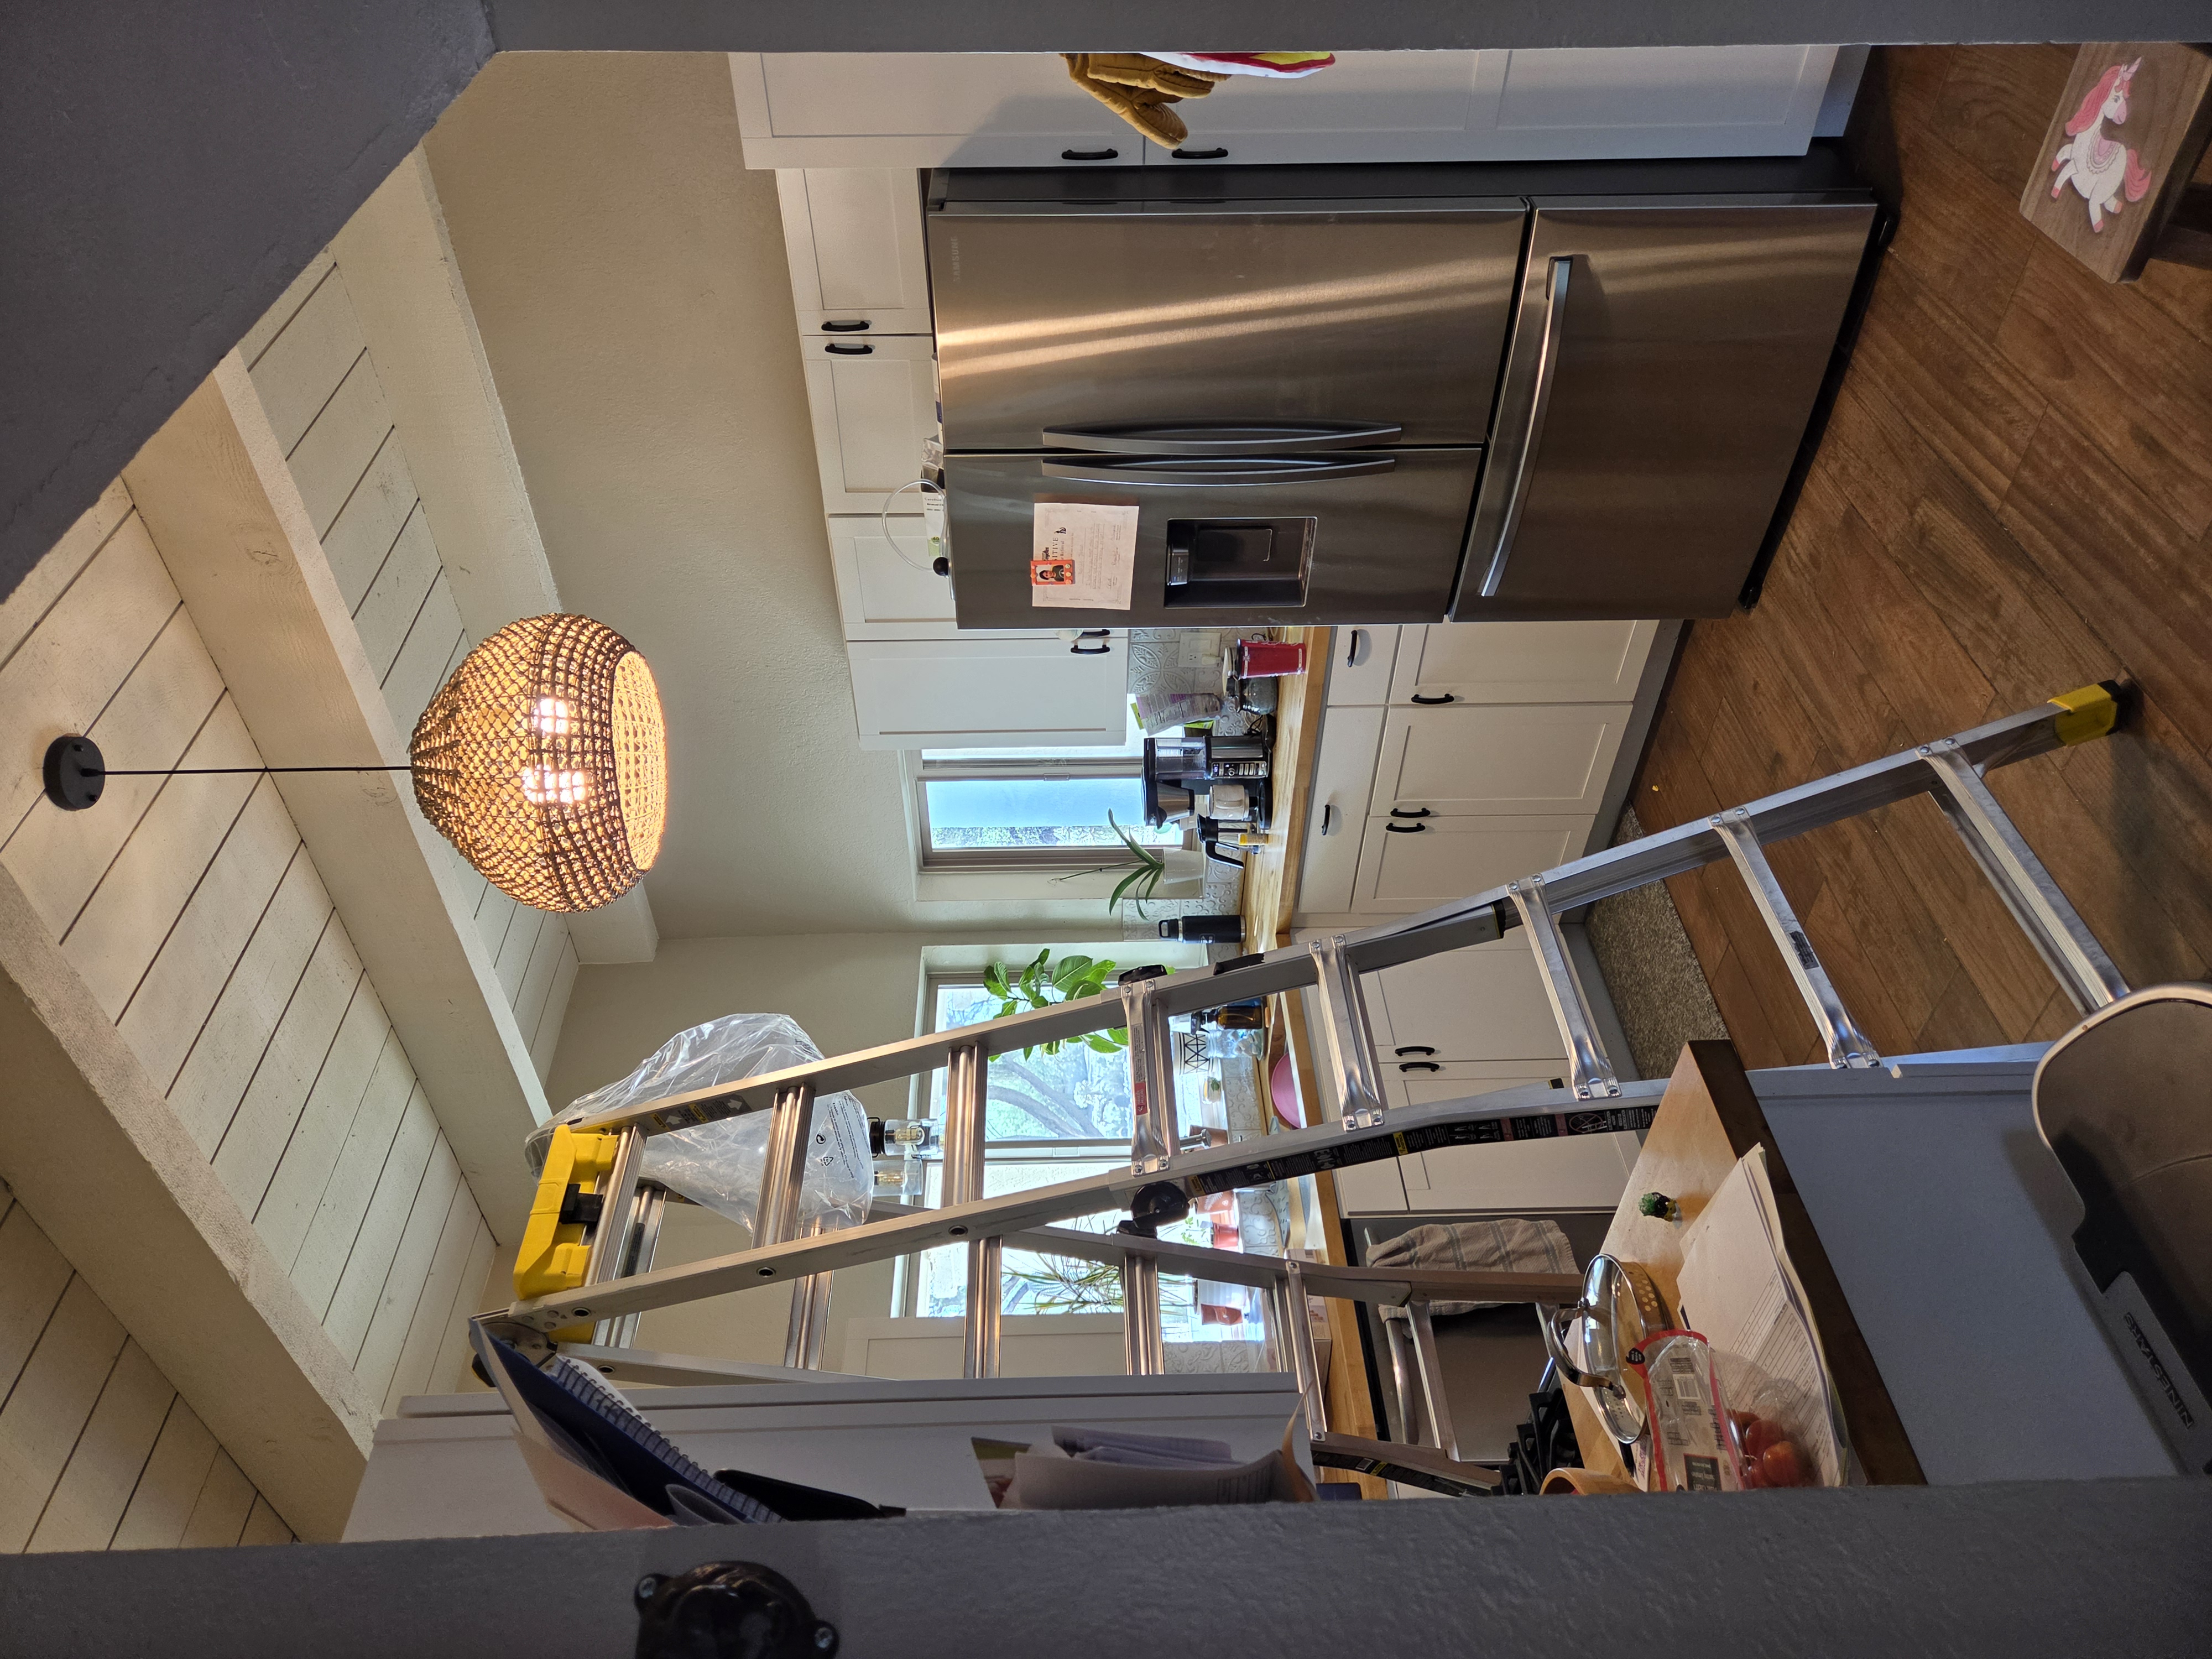
Pendant fixture complete
New kitchen pendant installed with clean final alignment.
Kitchen and bathroom sink upgrades, including faucets, sink drains, P-traps, clogged drains, and shower heads.
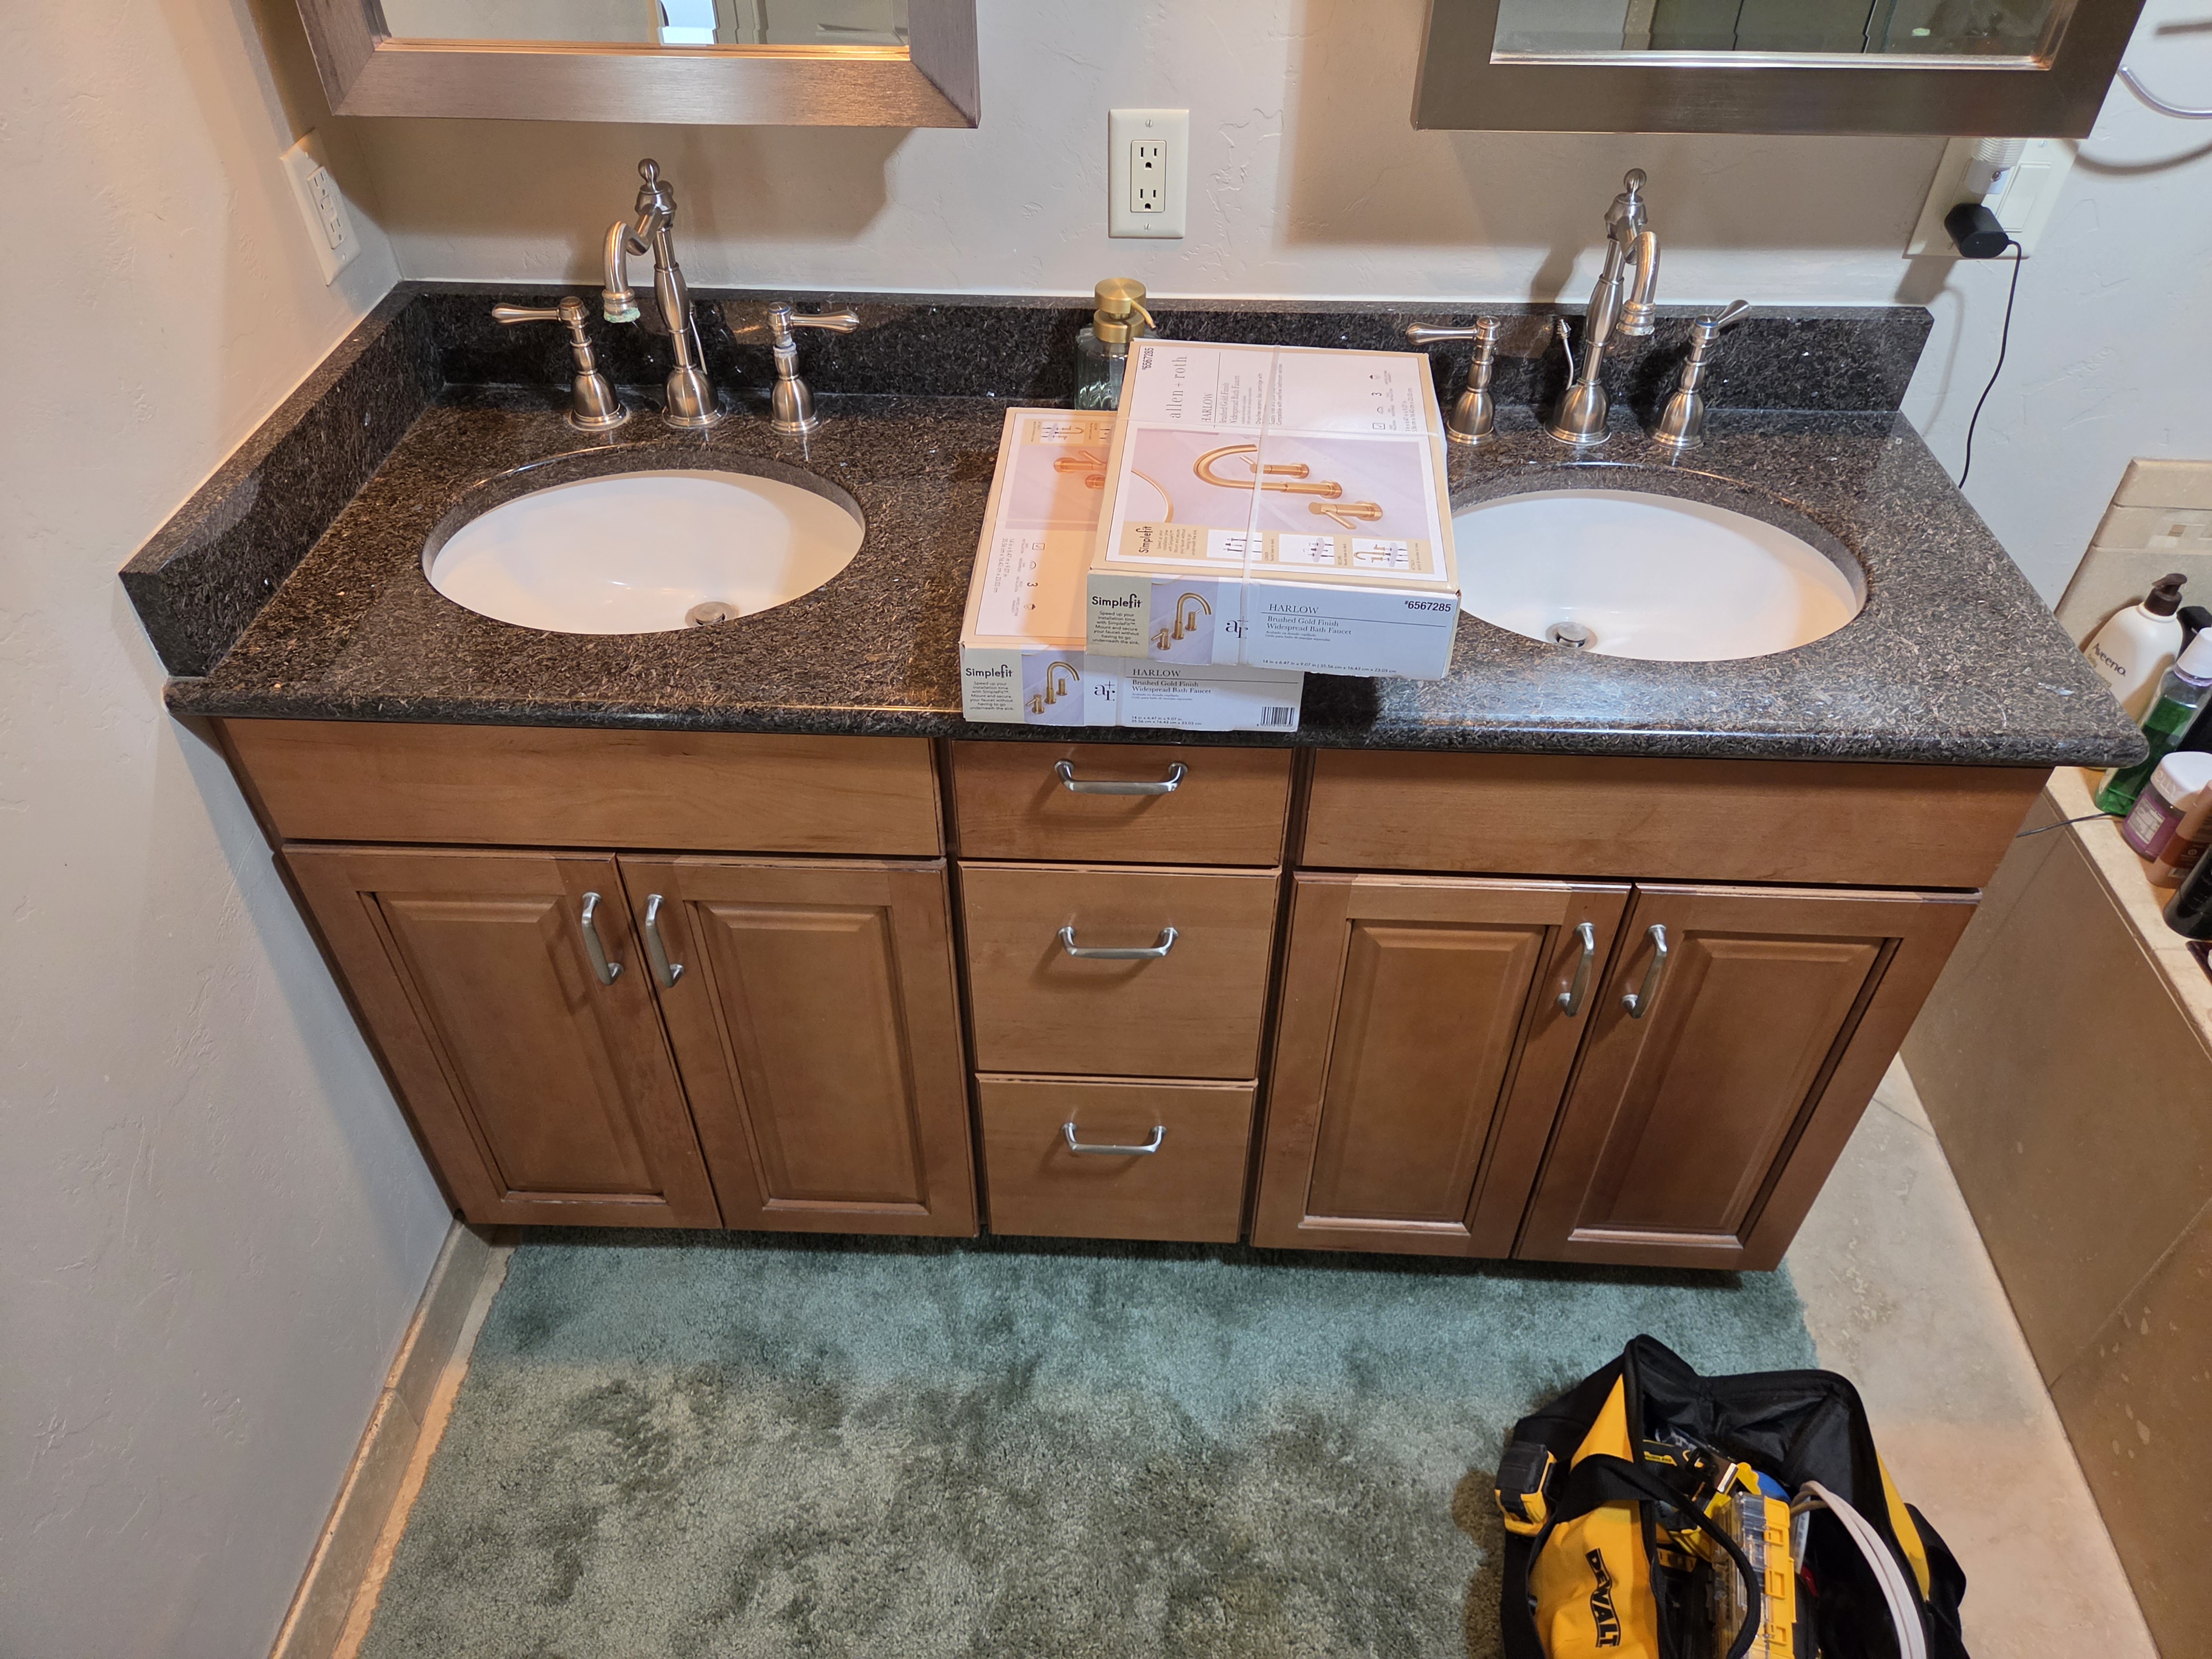 Before
Bathroom faucet setup before upgrade
Existing faucet set documented before replacement.
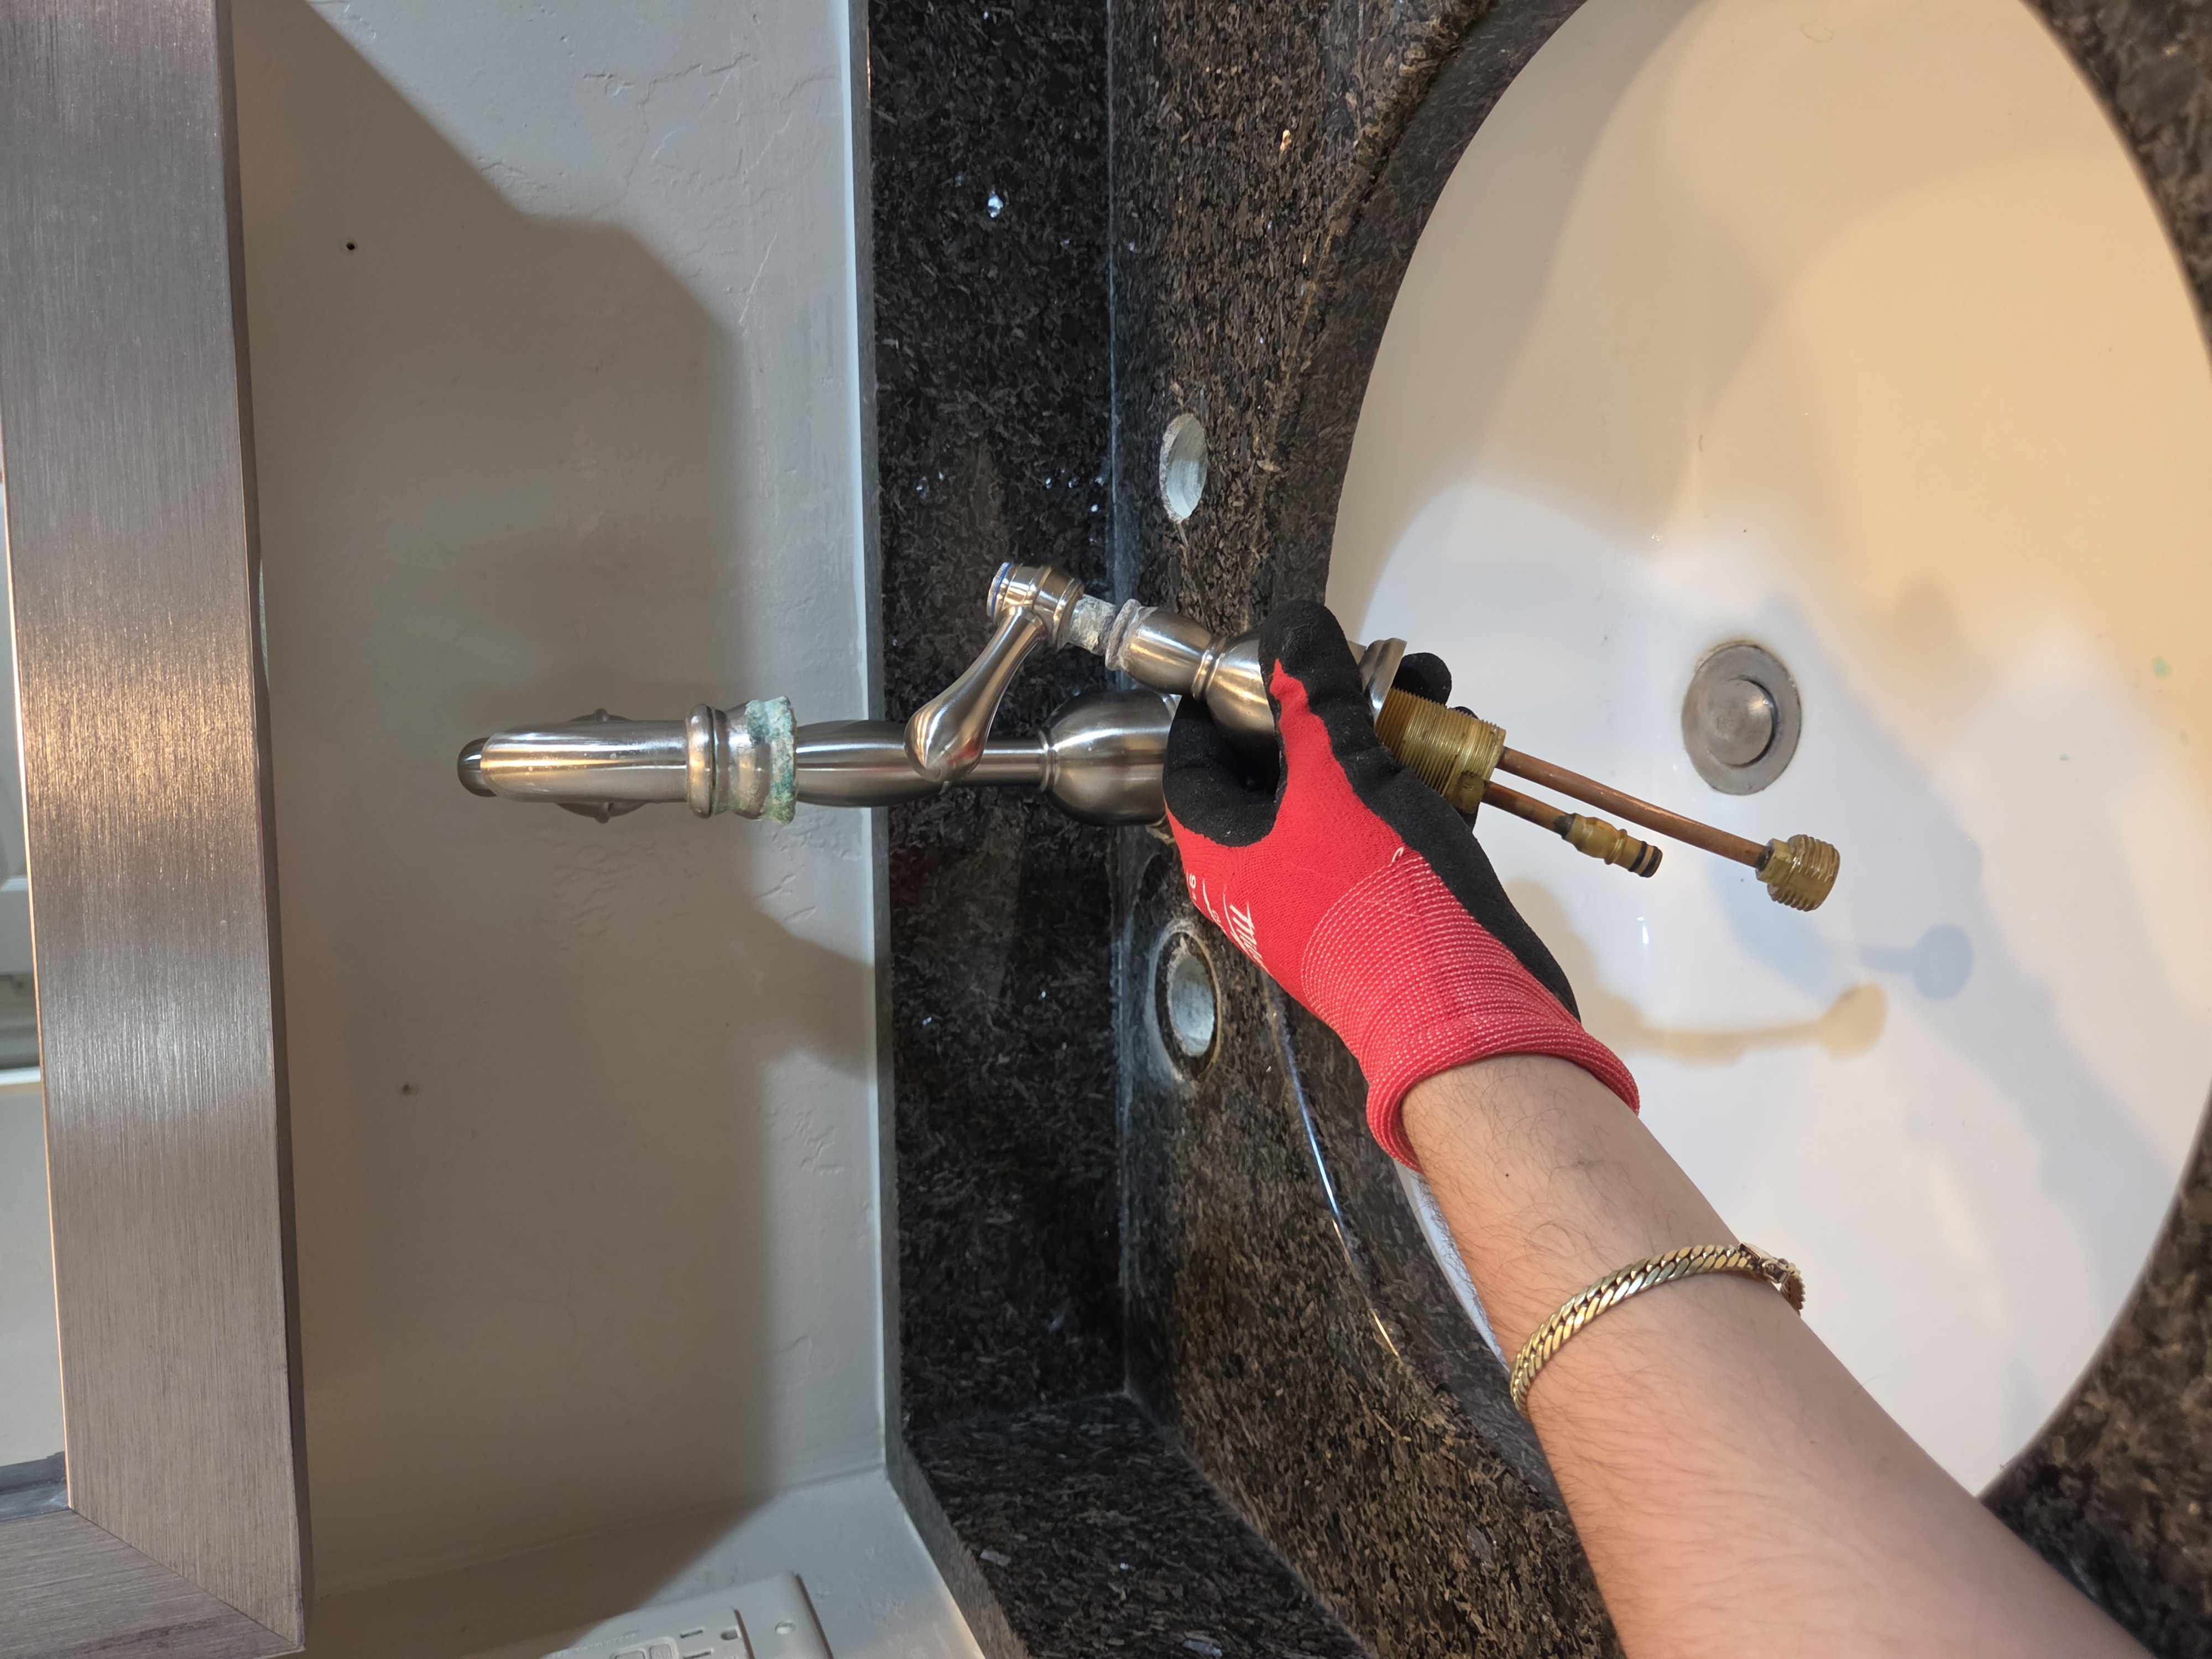 Process
Faucet removal and prep
Old hardware removed and sink deck prepped for new install.
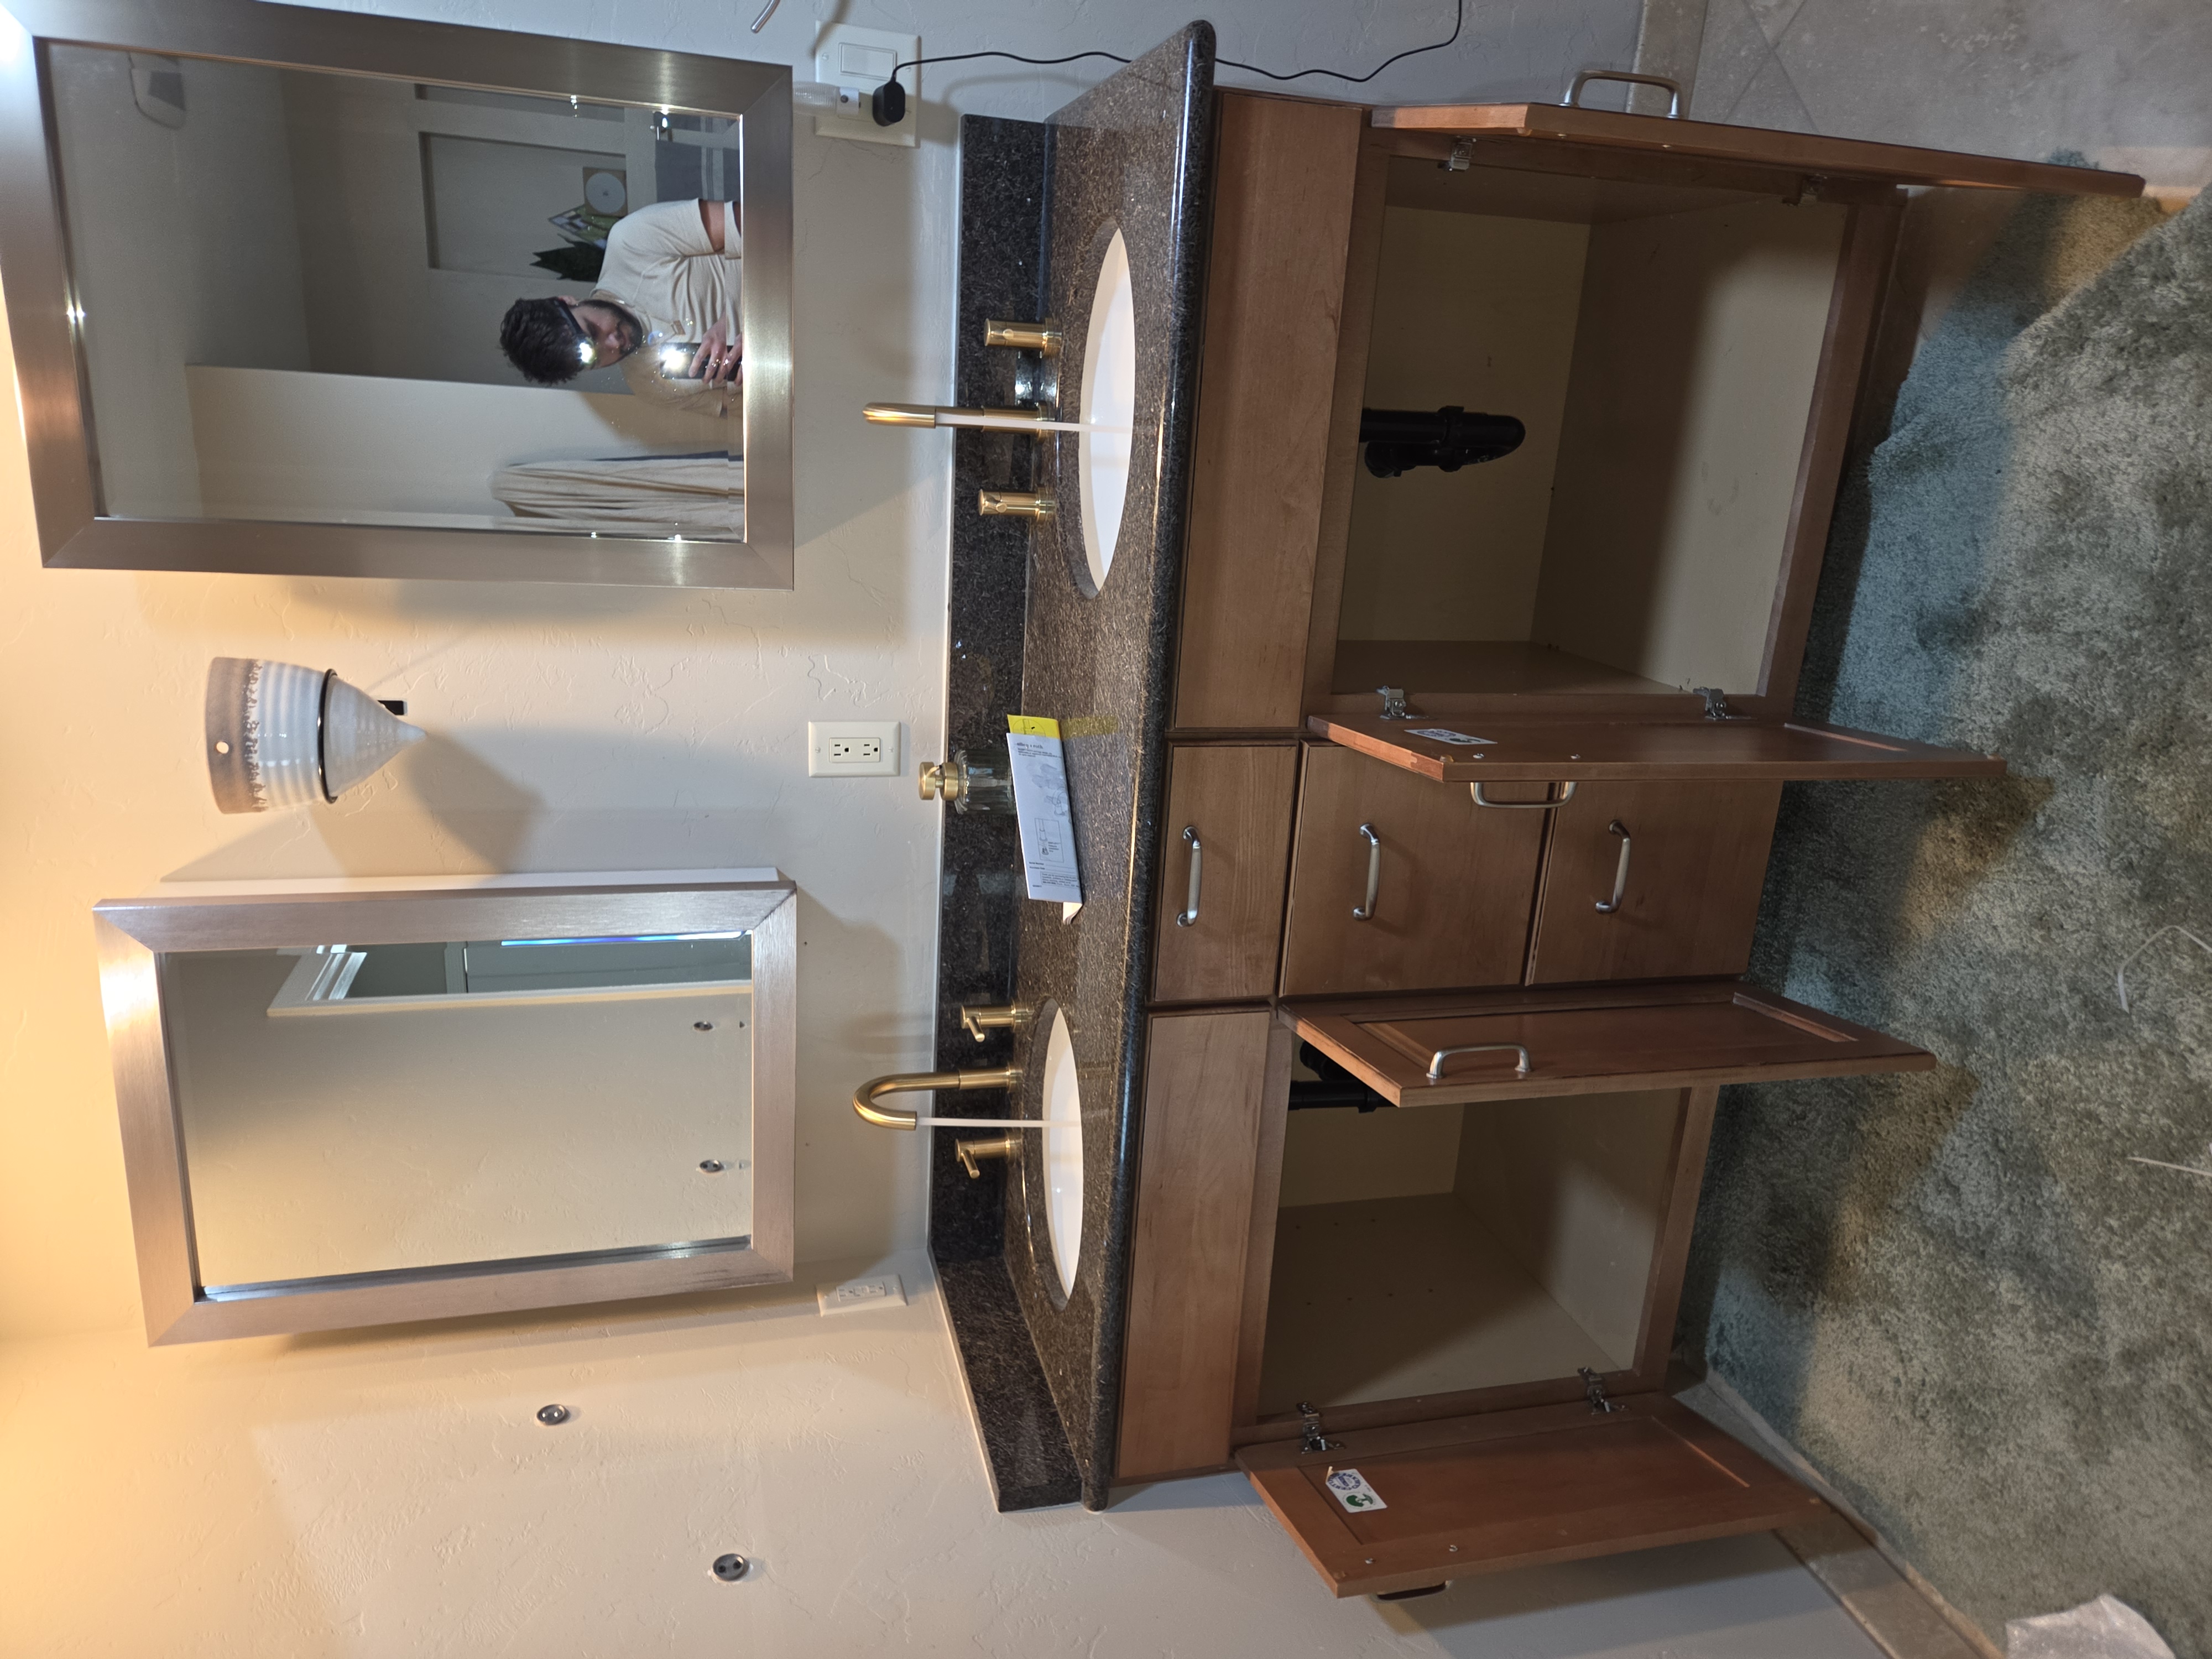 After
After
Bathroom faucet installation complete
New fixtures installed with clean final fit and finish.
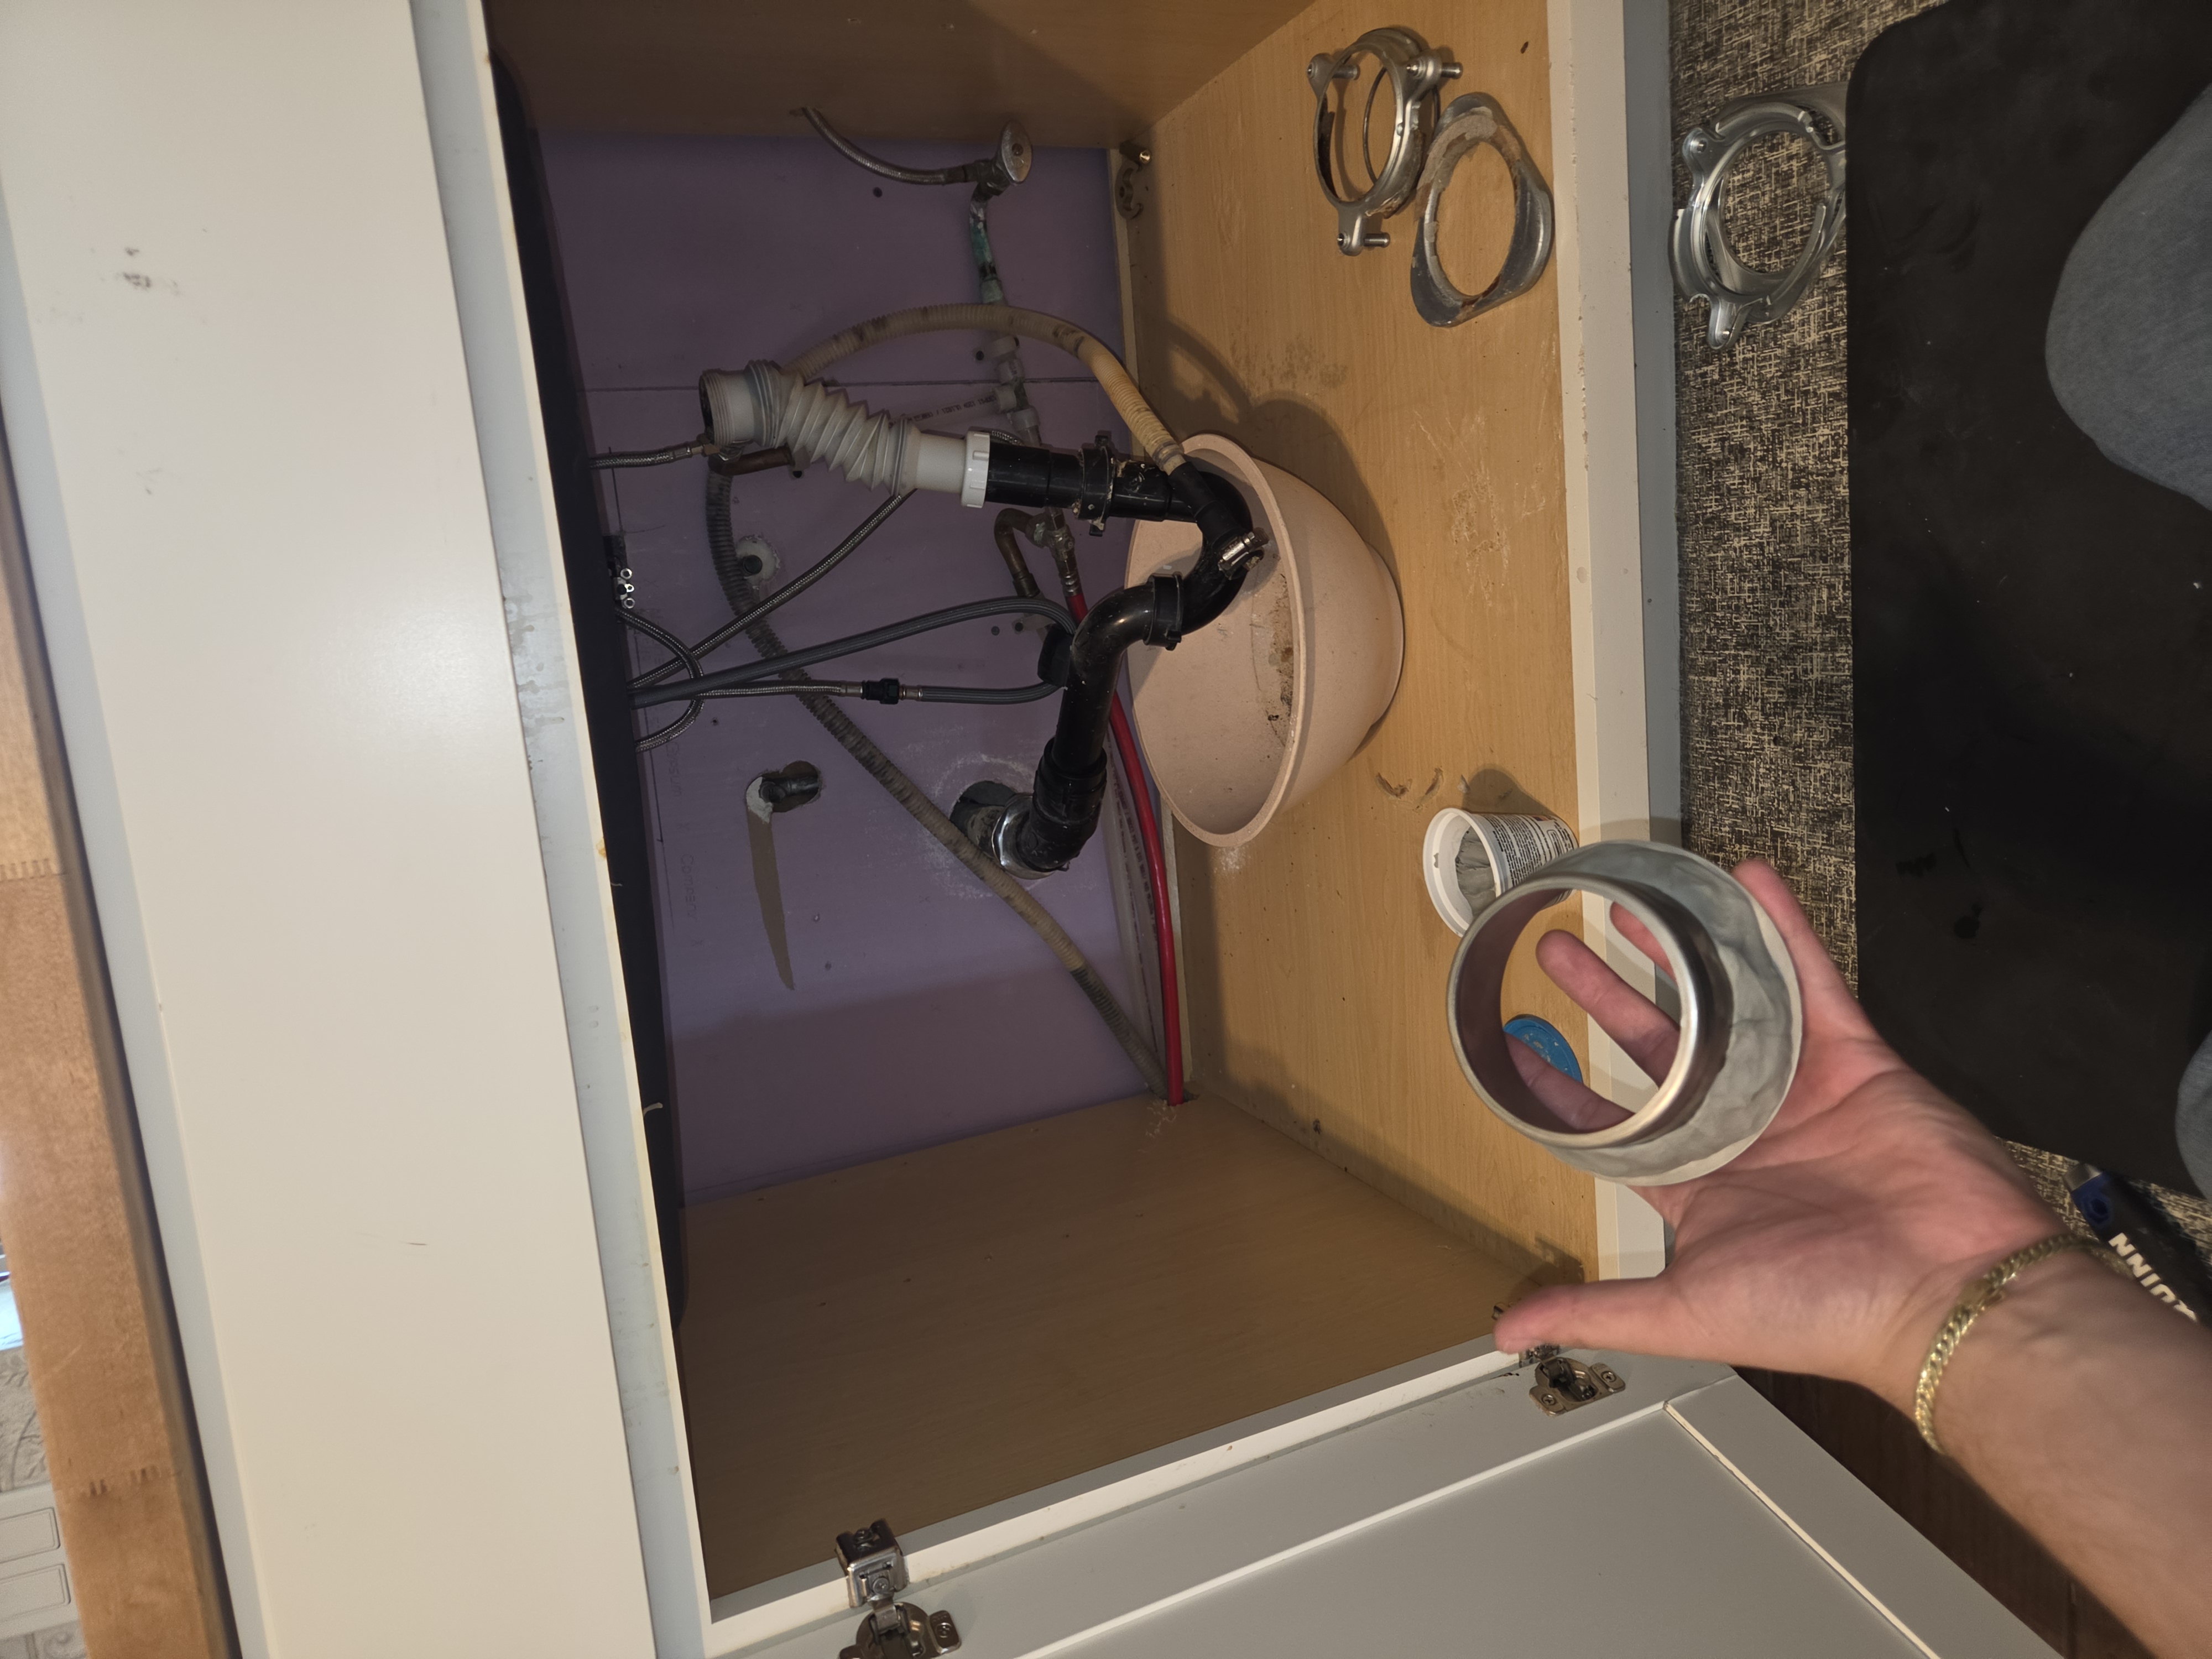
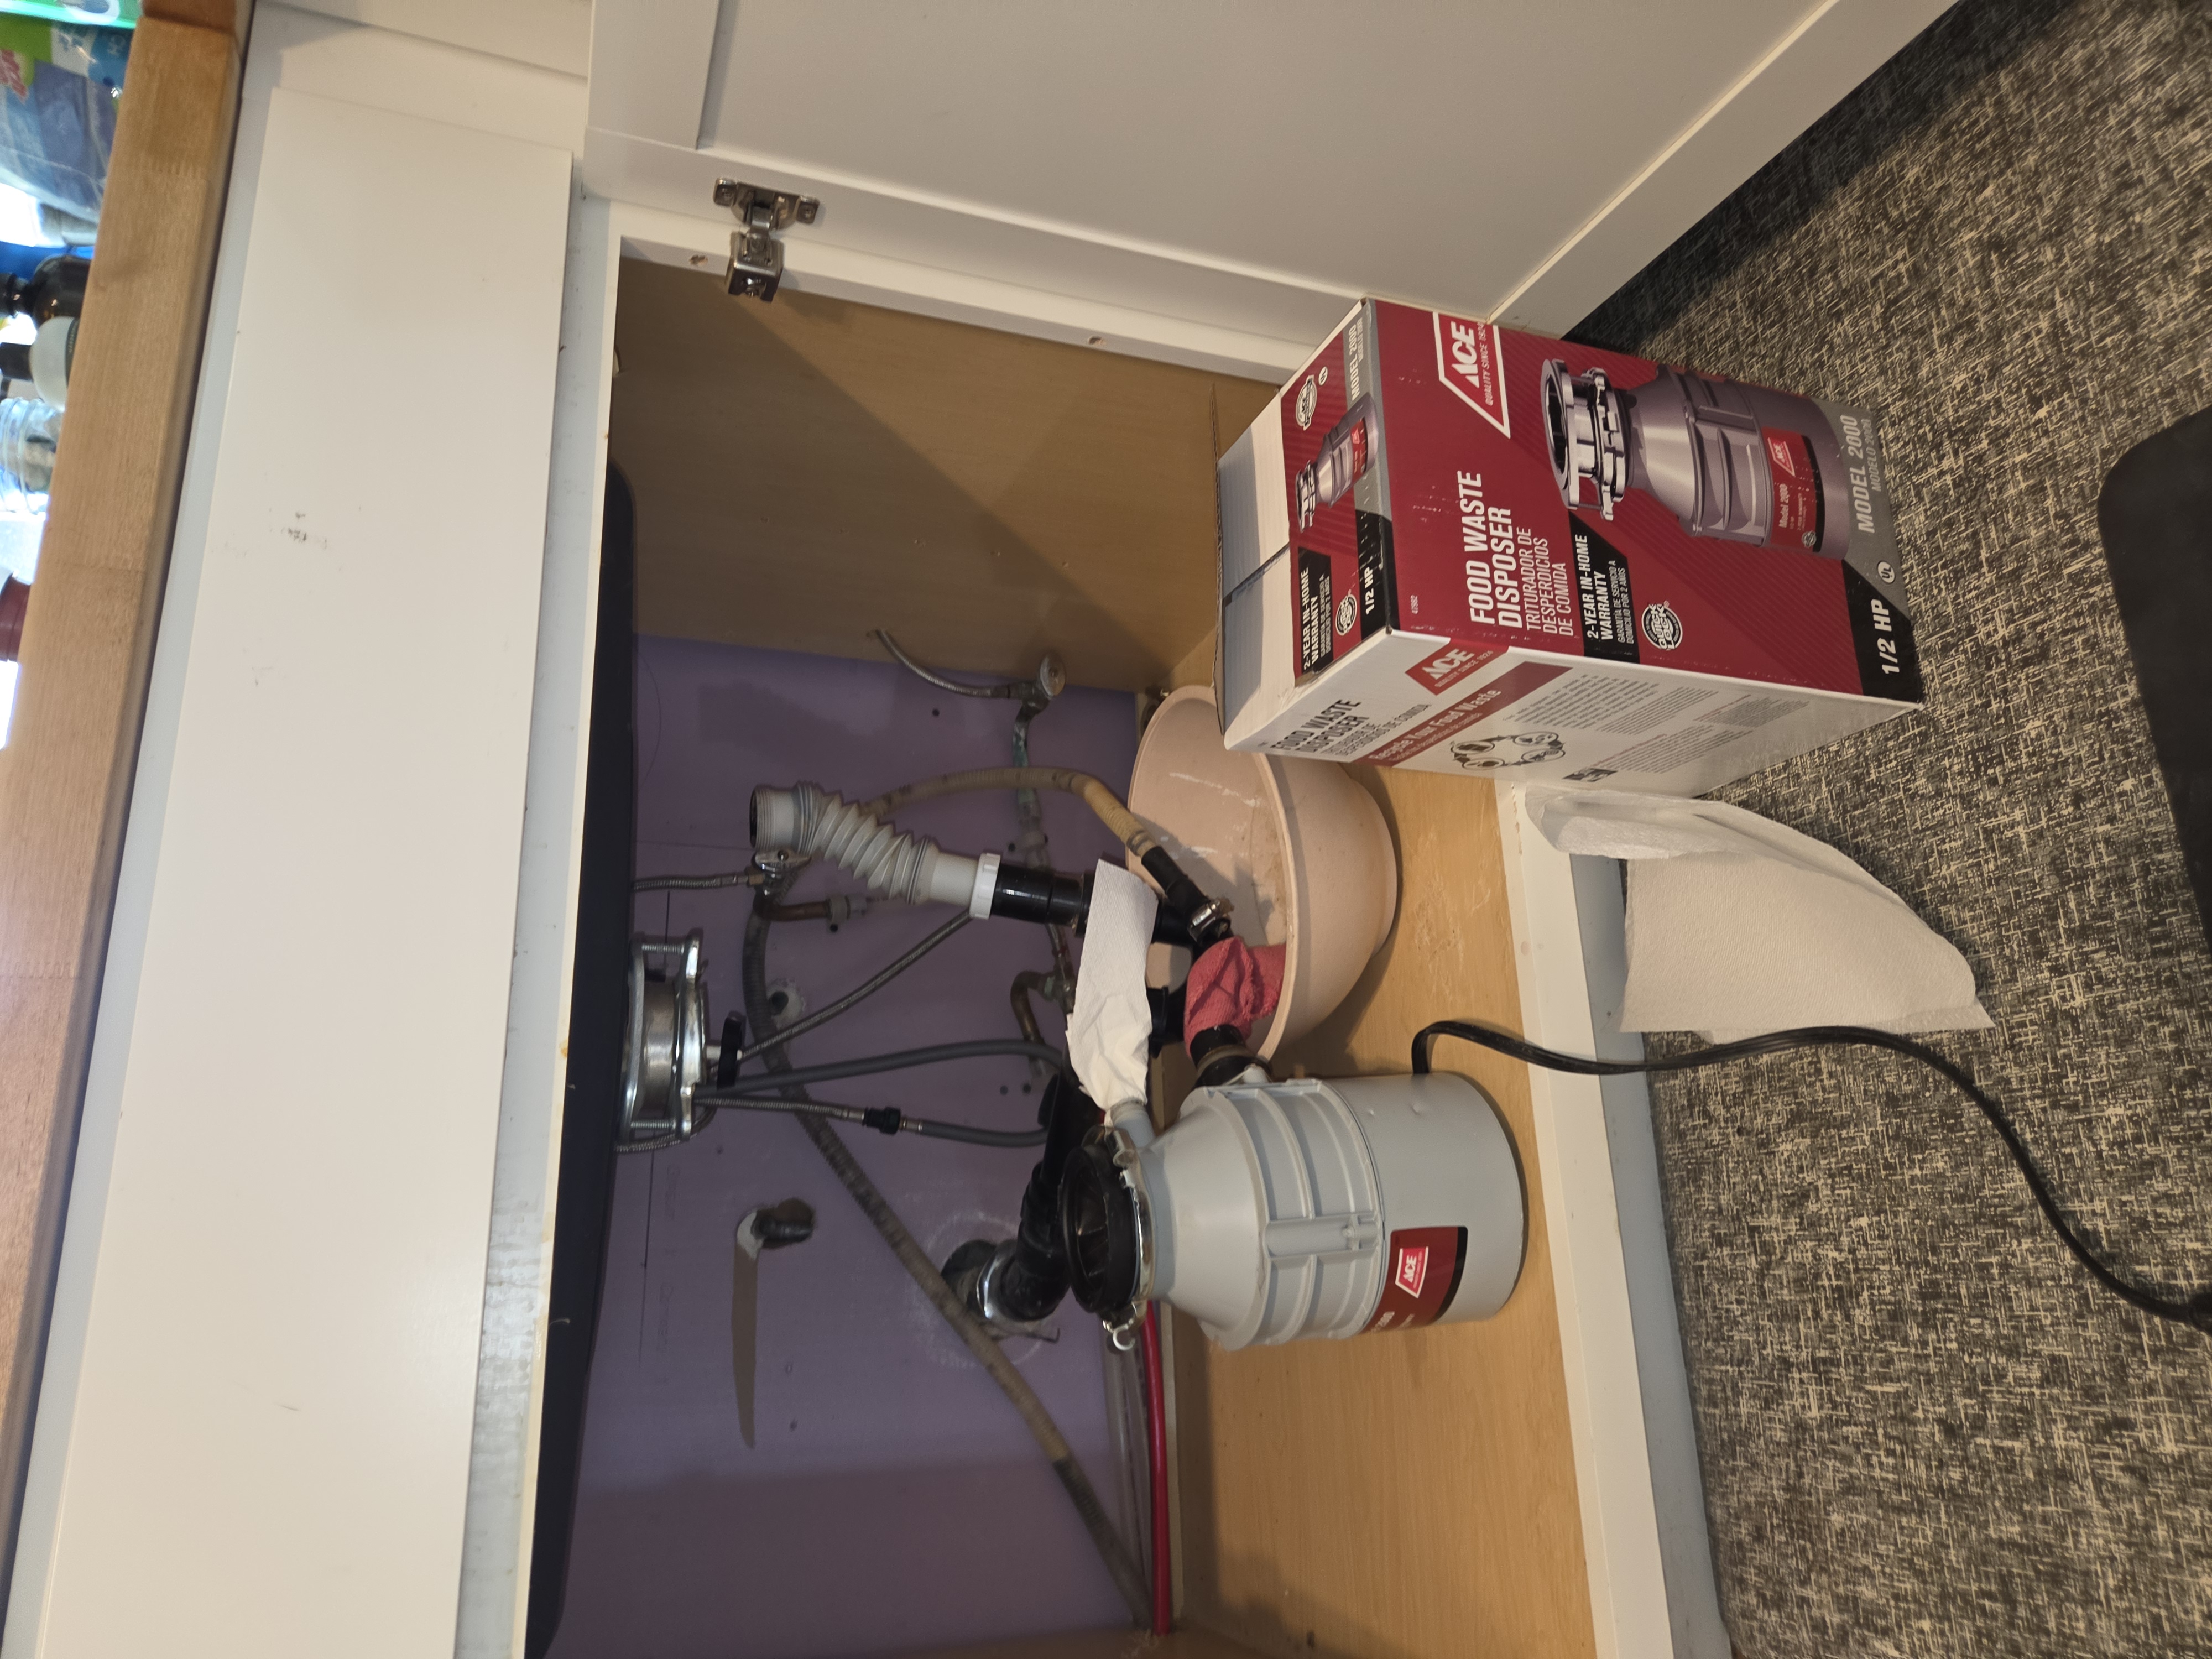 Before
Sink before garbage disposal install
Original sink drain setup baseline.
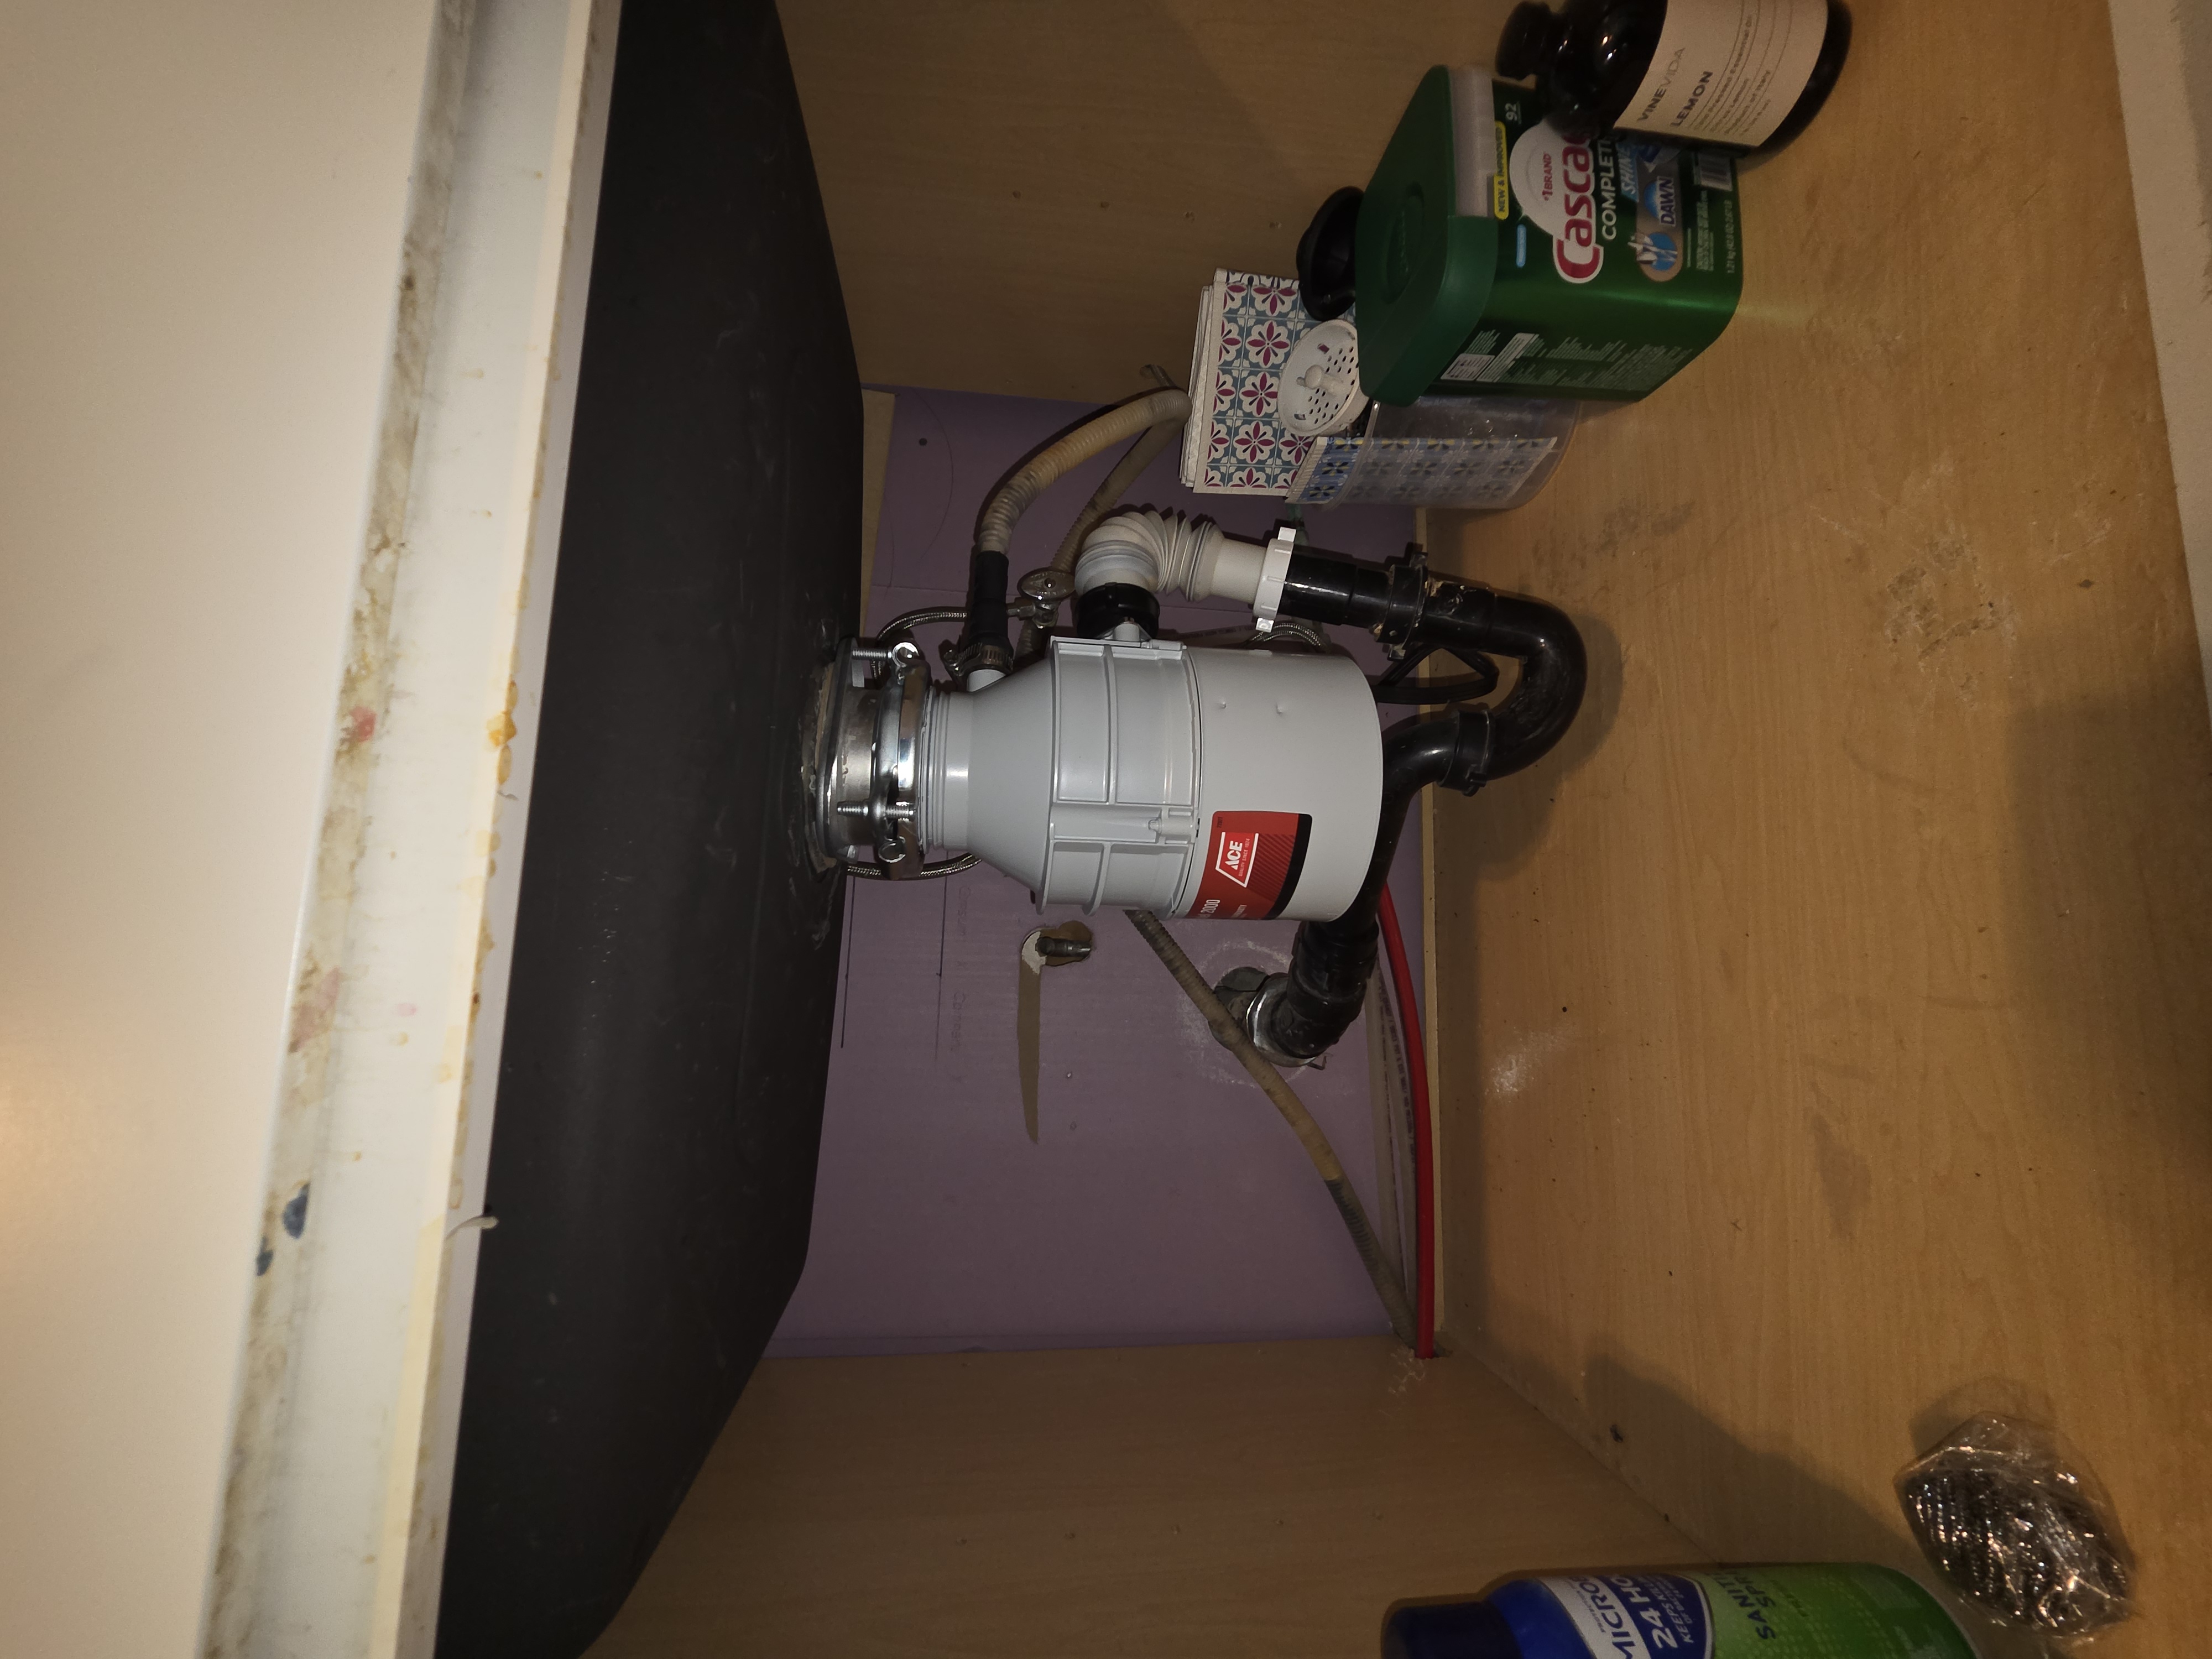
 Process
Disposal install in progress
New unit staged and connections prepared before final mount.
 After
After
Garbage disposal installation complete
Unit fully mounted and tested for proper functionality.
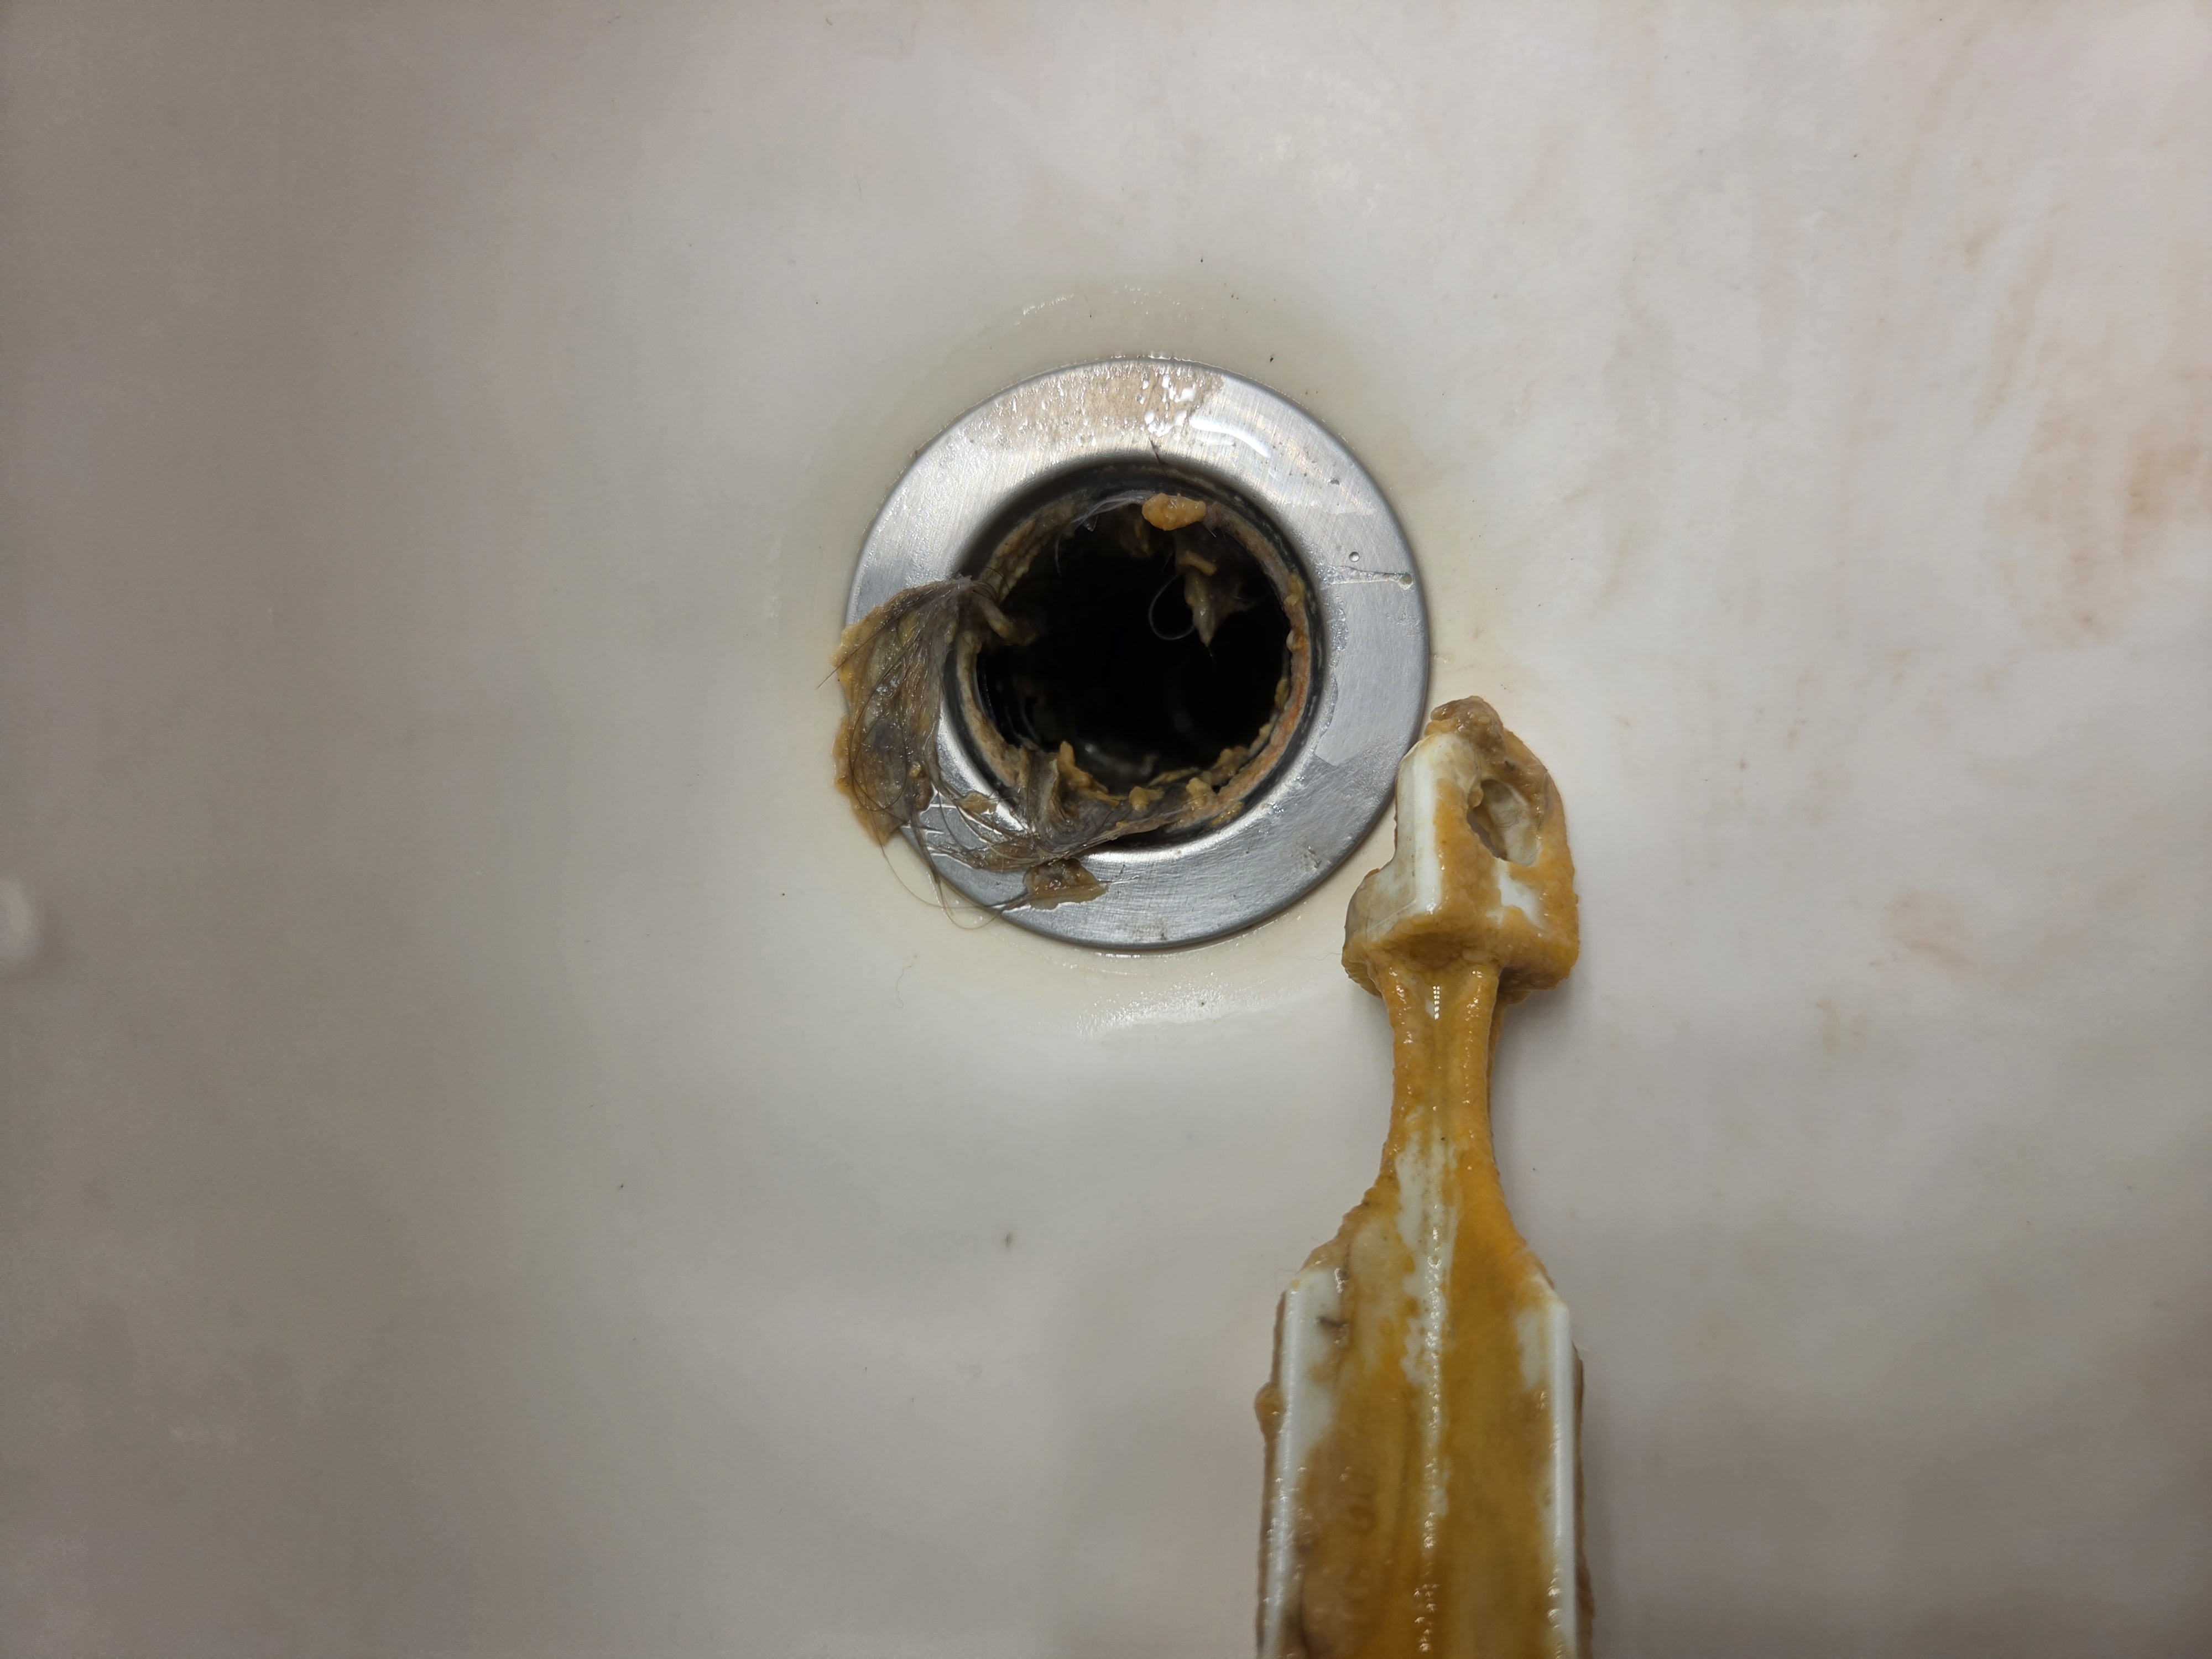 Before
Sink drain buildup found
Heavy residue and debris documented before cleanup.
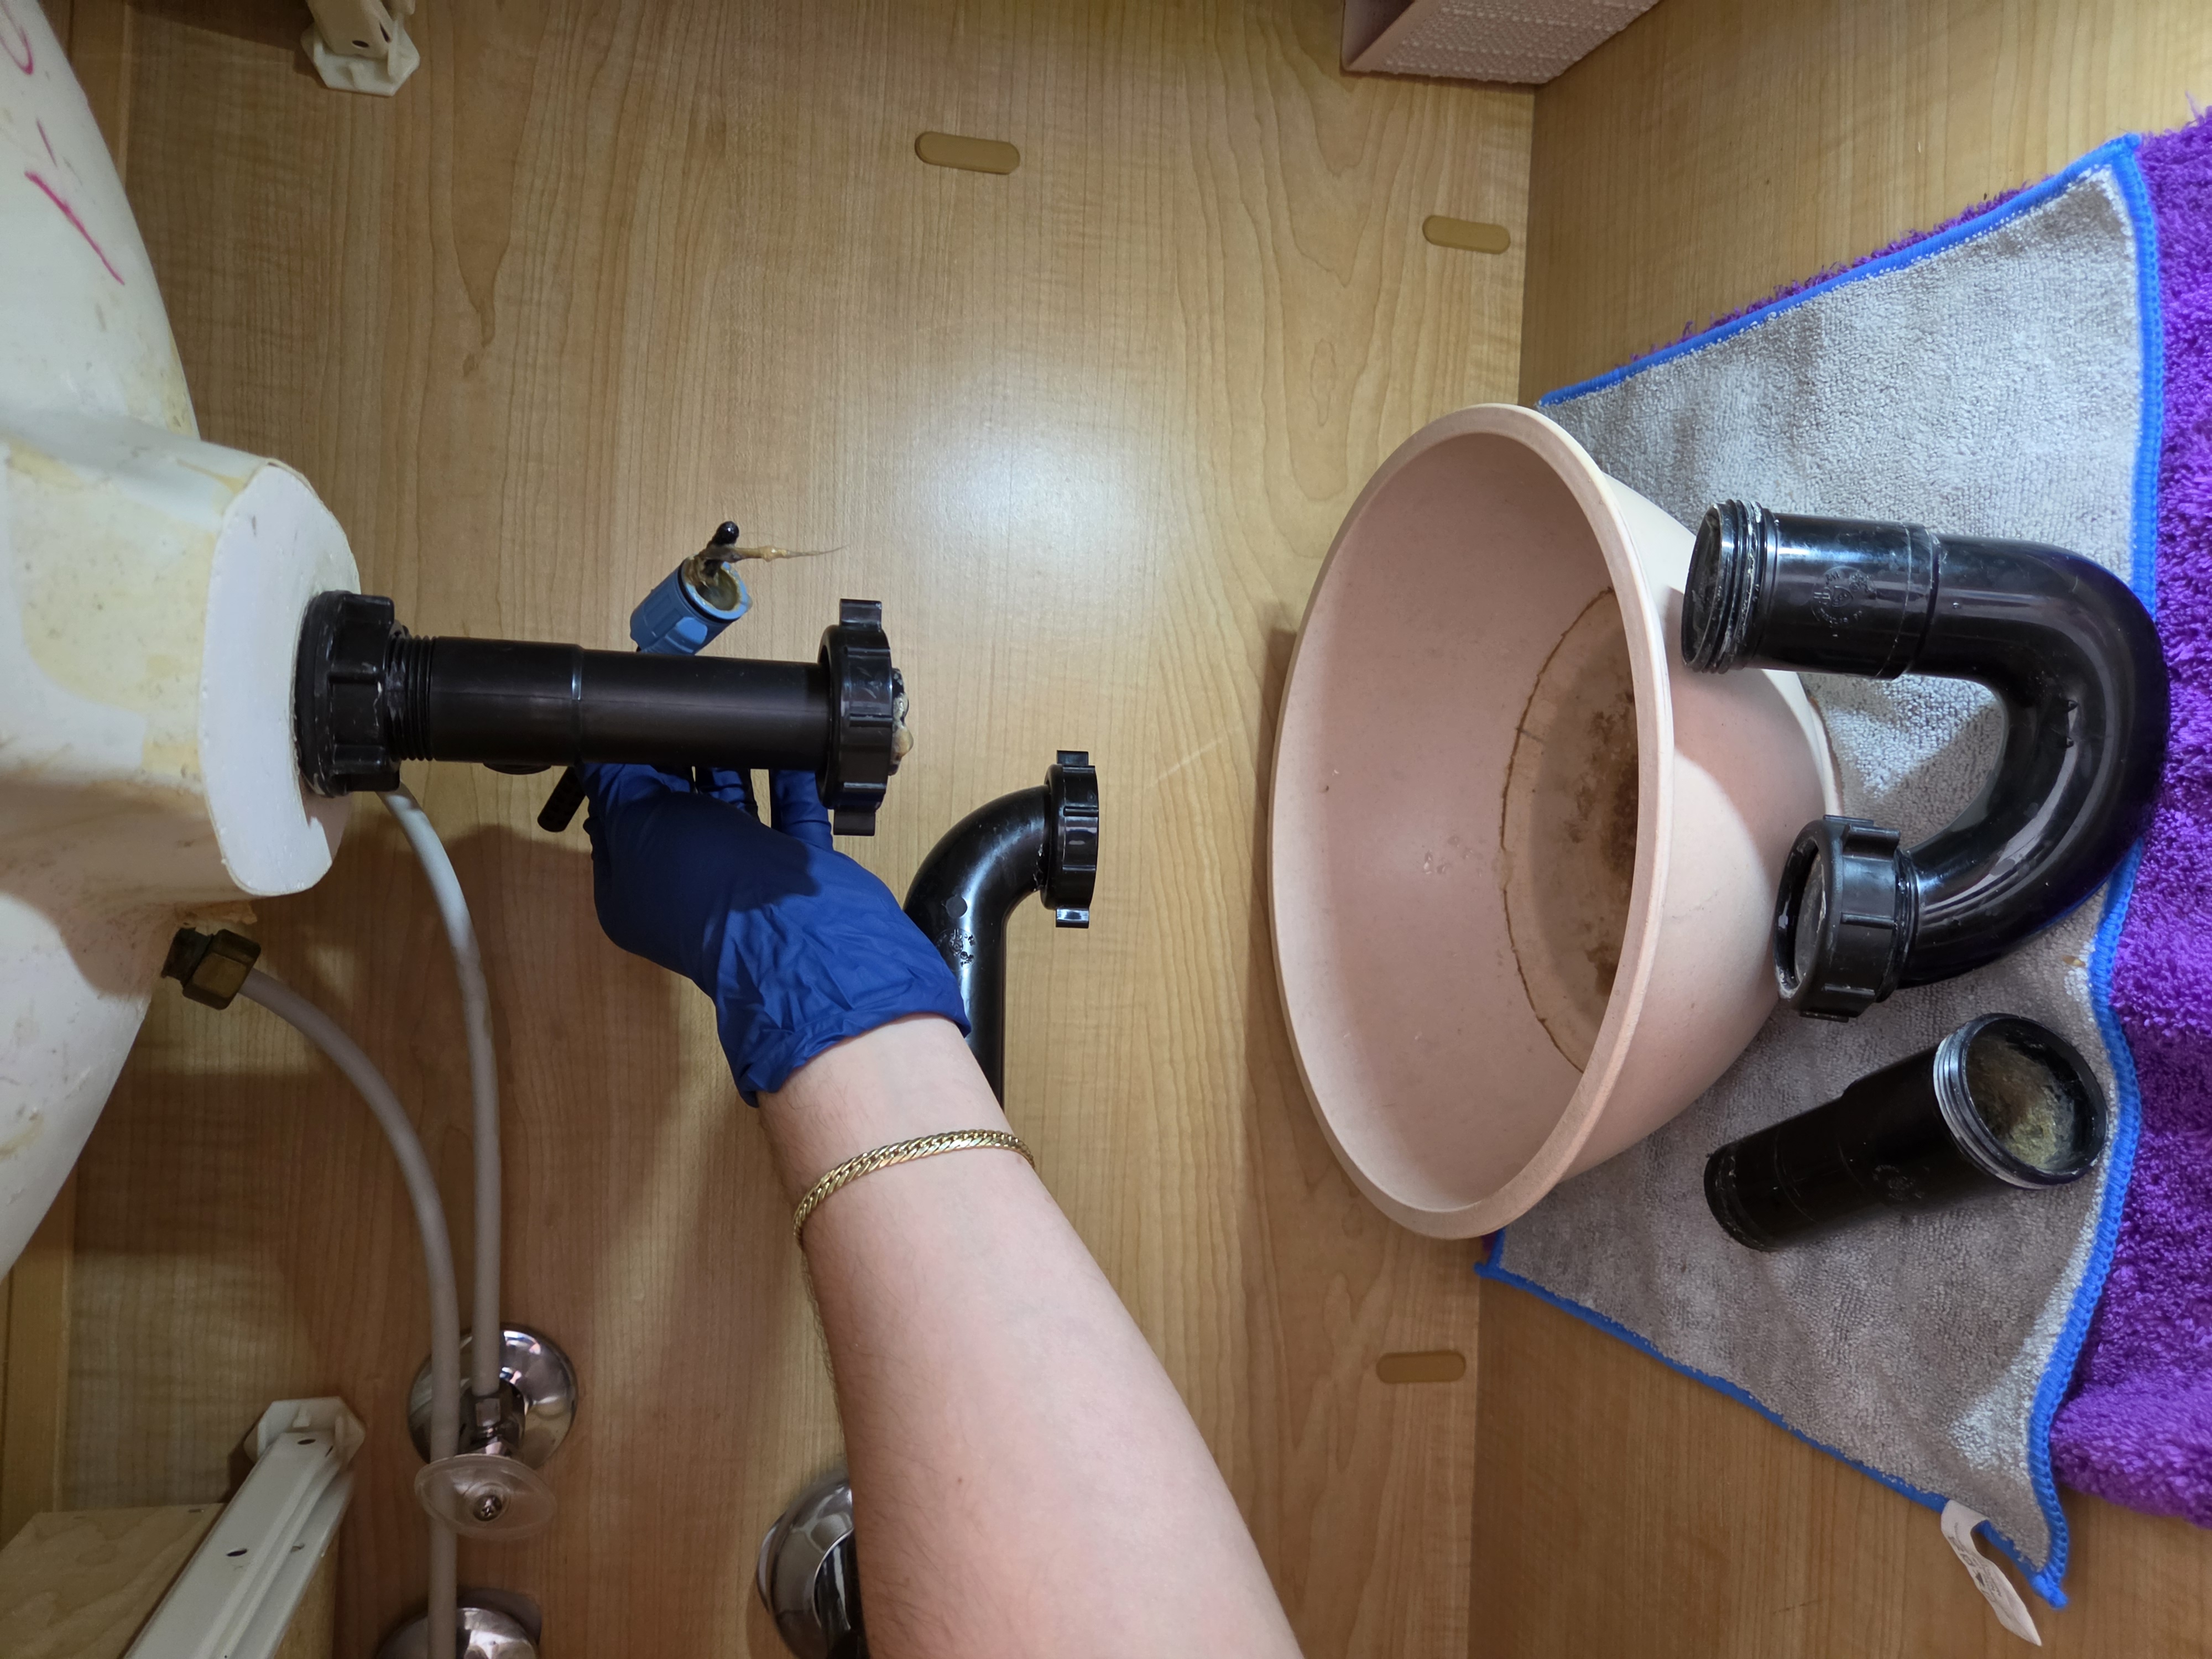 Process
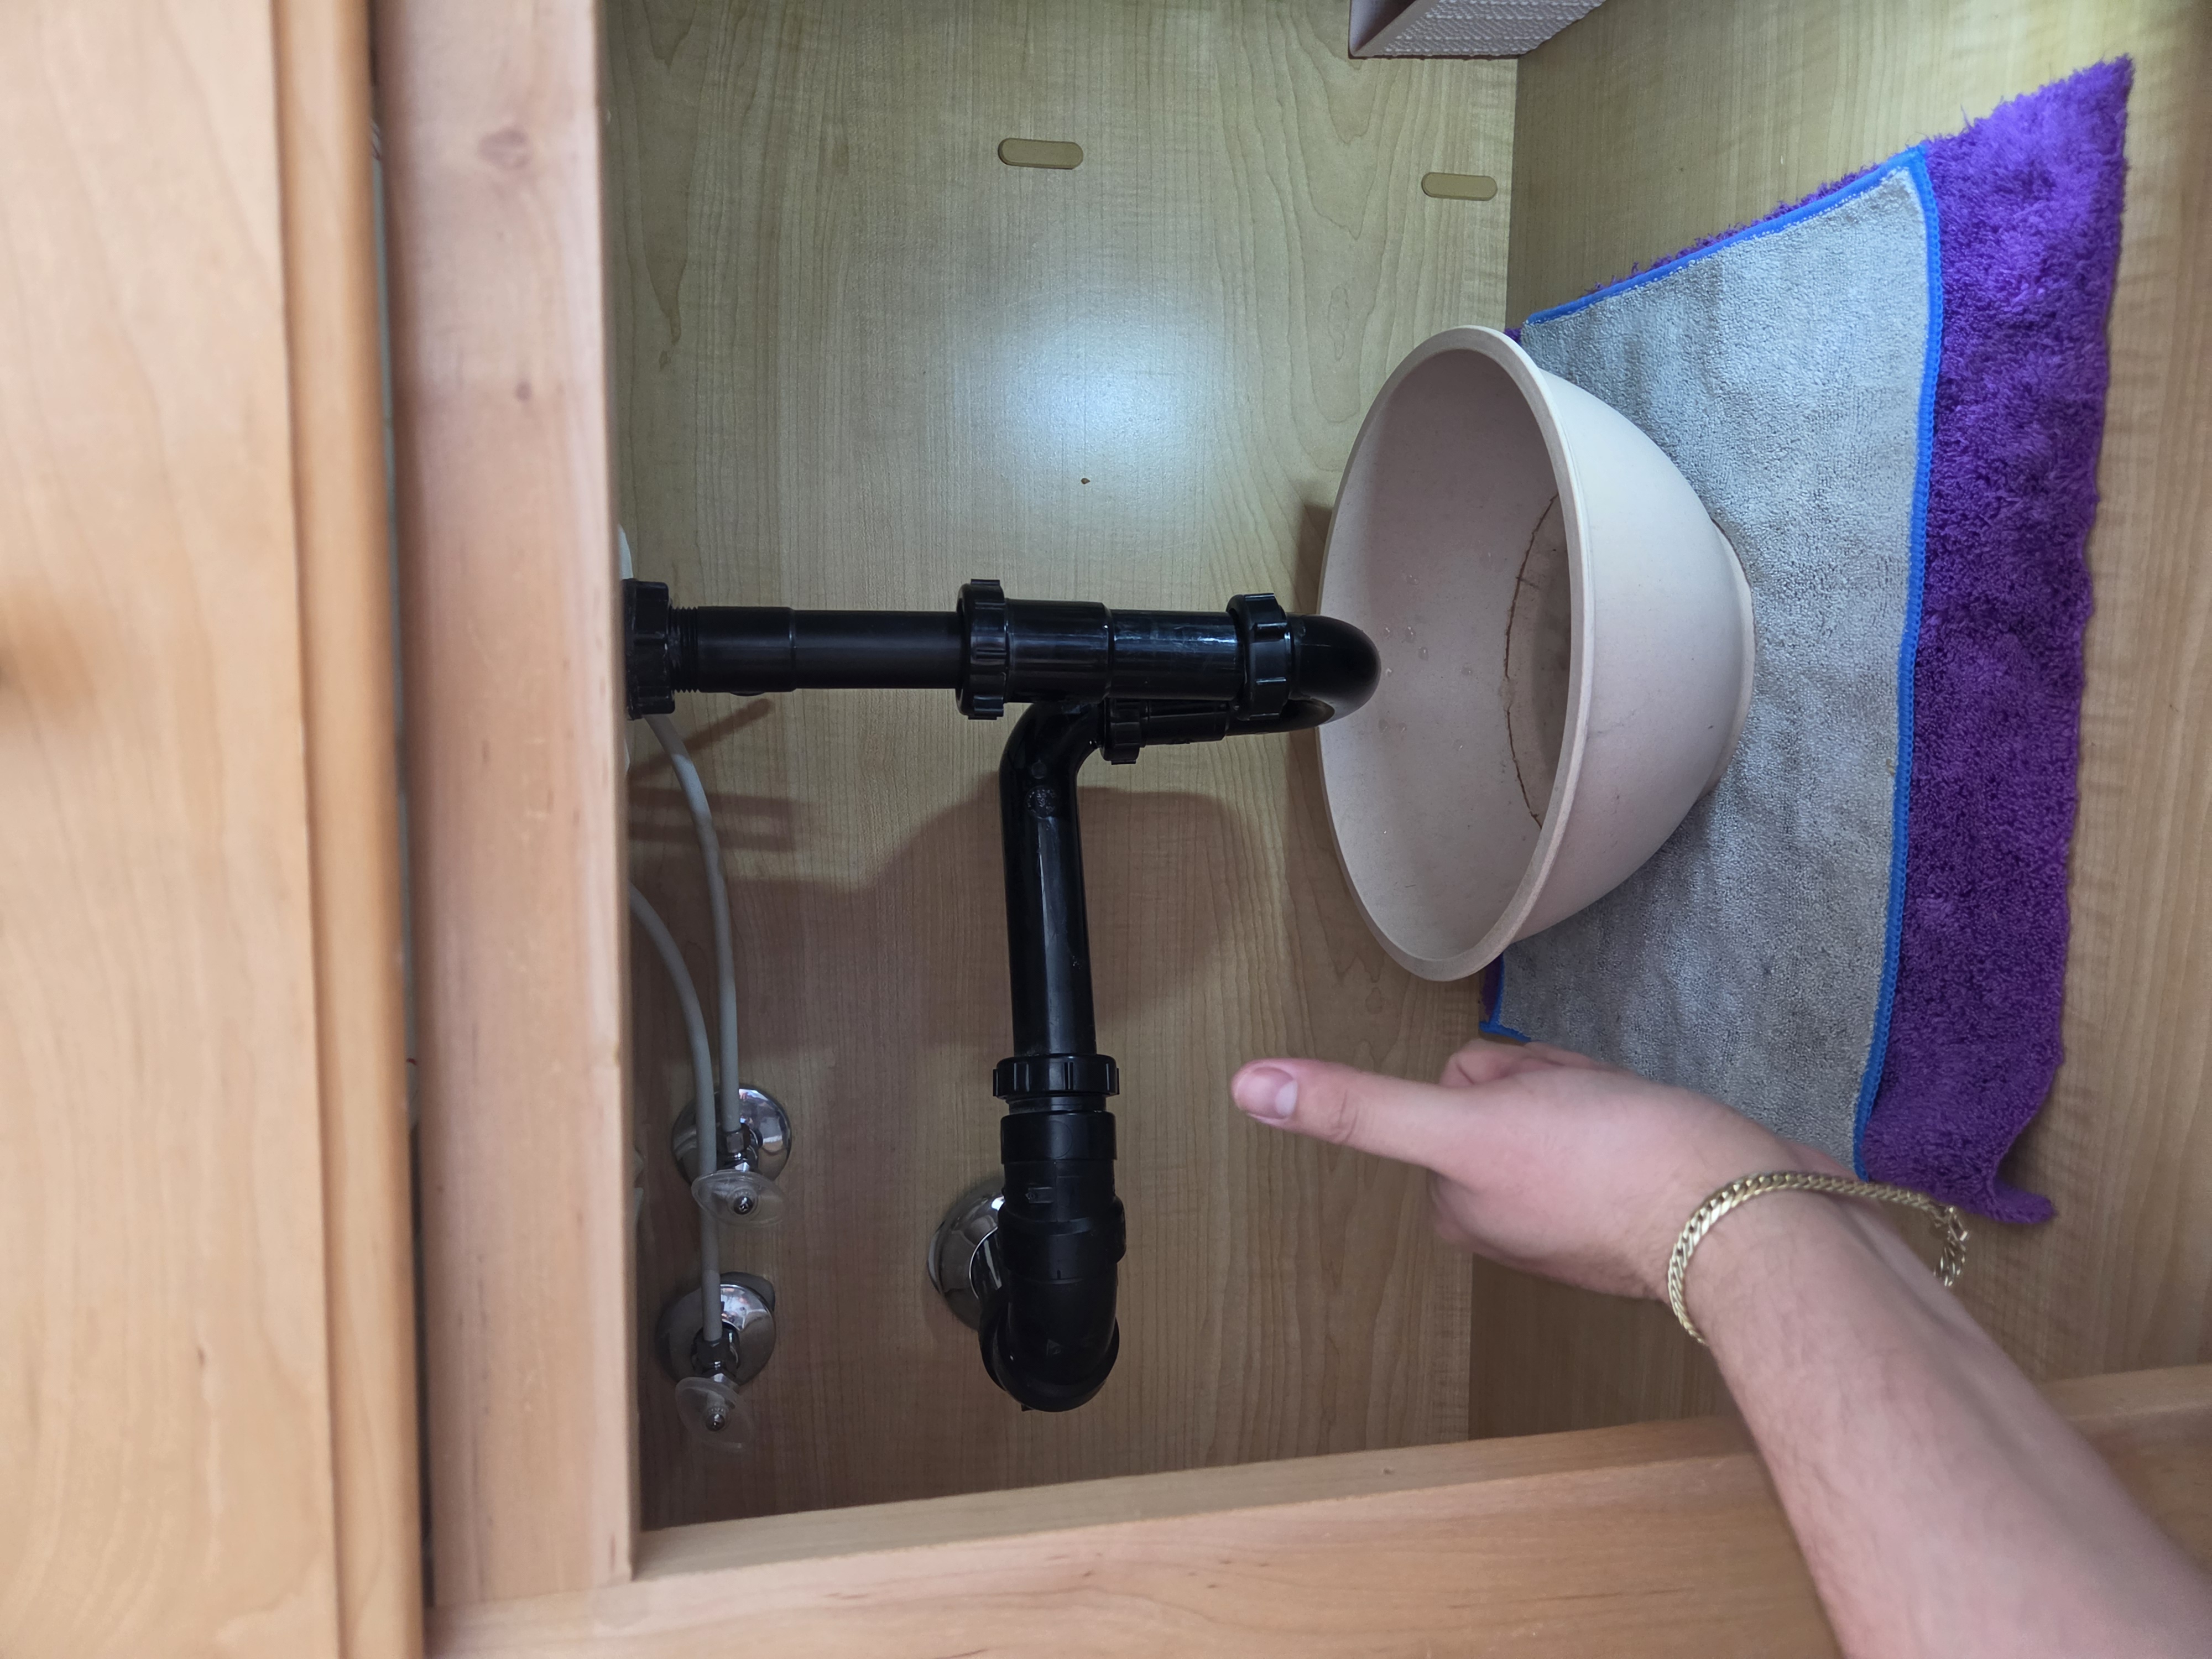
Disassembly for unclog access
Drain path opened to remove blockages and inspect parts.
 After
After
P-trap reassembled and aligned
Final fitment completed after cleaning and inspection.
 Before
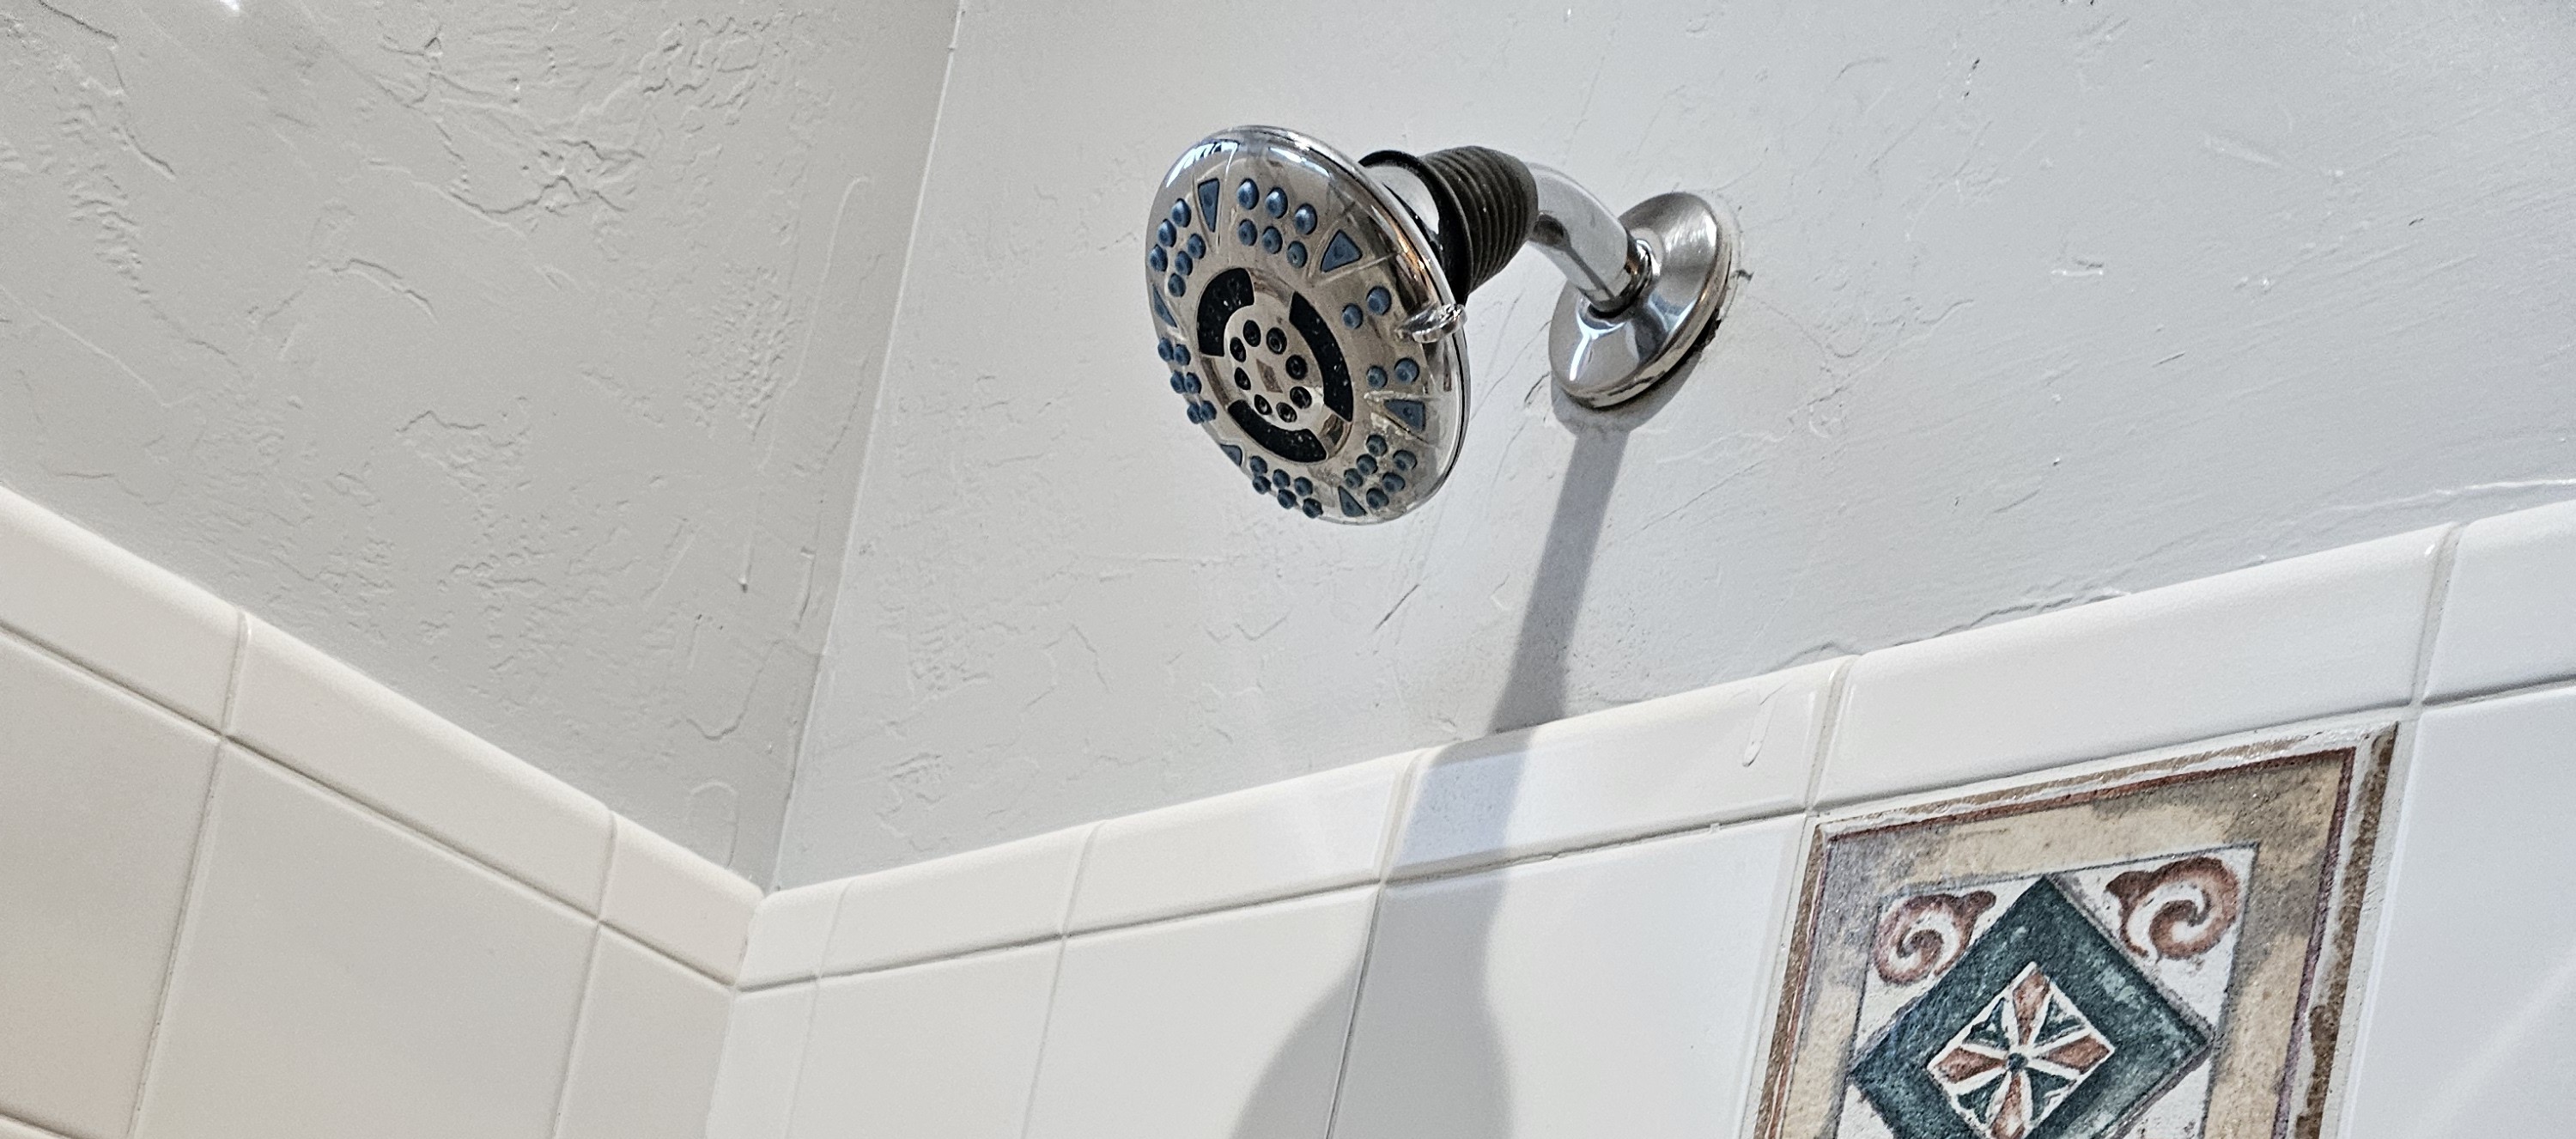
Original showerhead setup
Baseline condition before upgrade work starts.
 Process
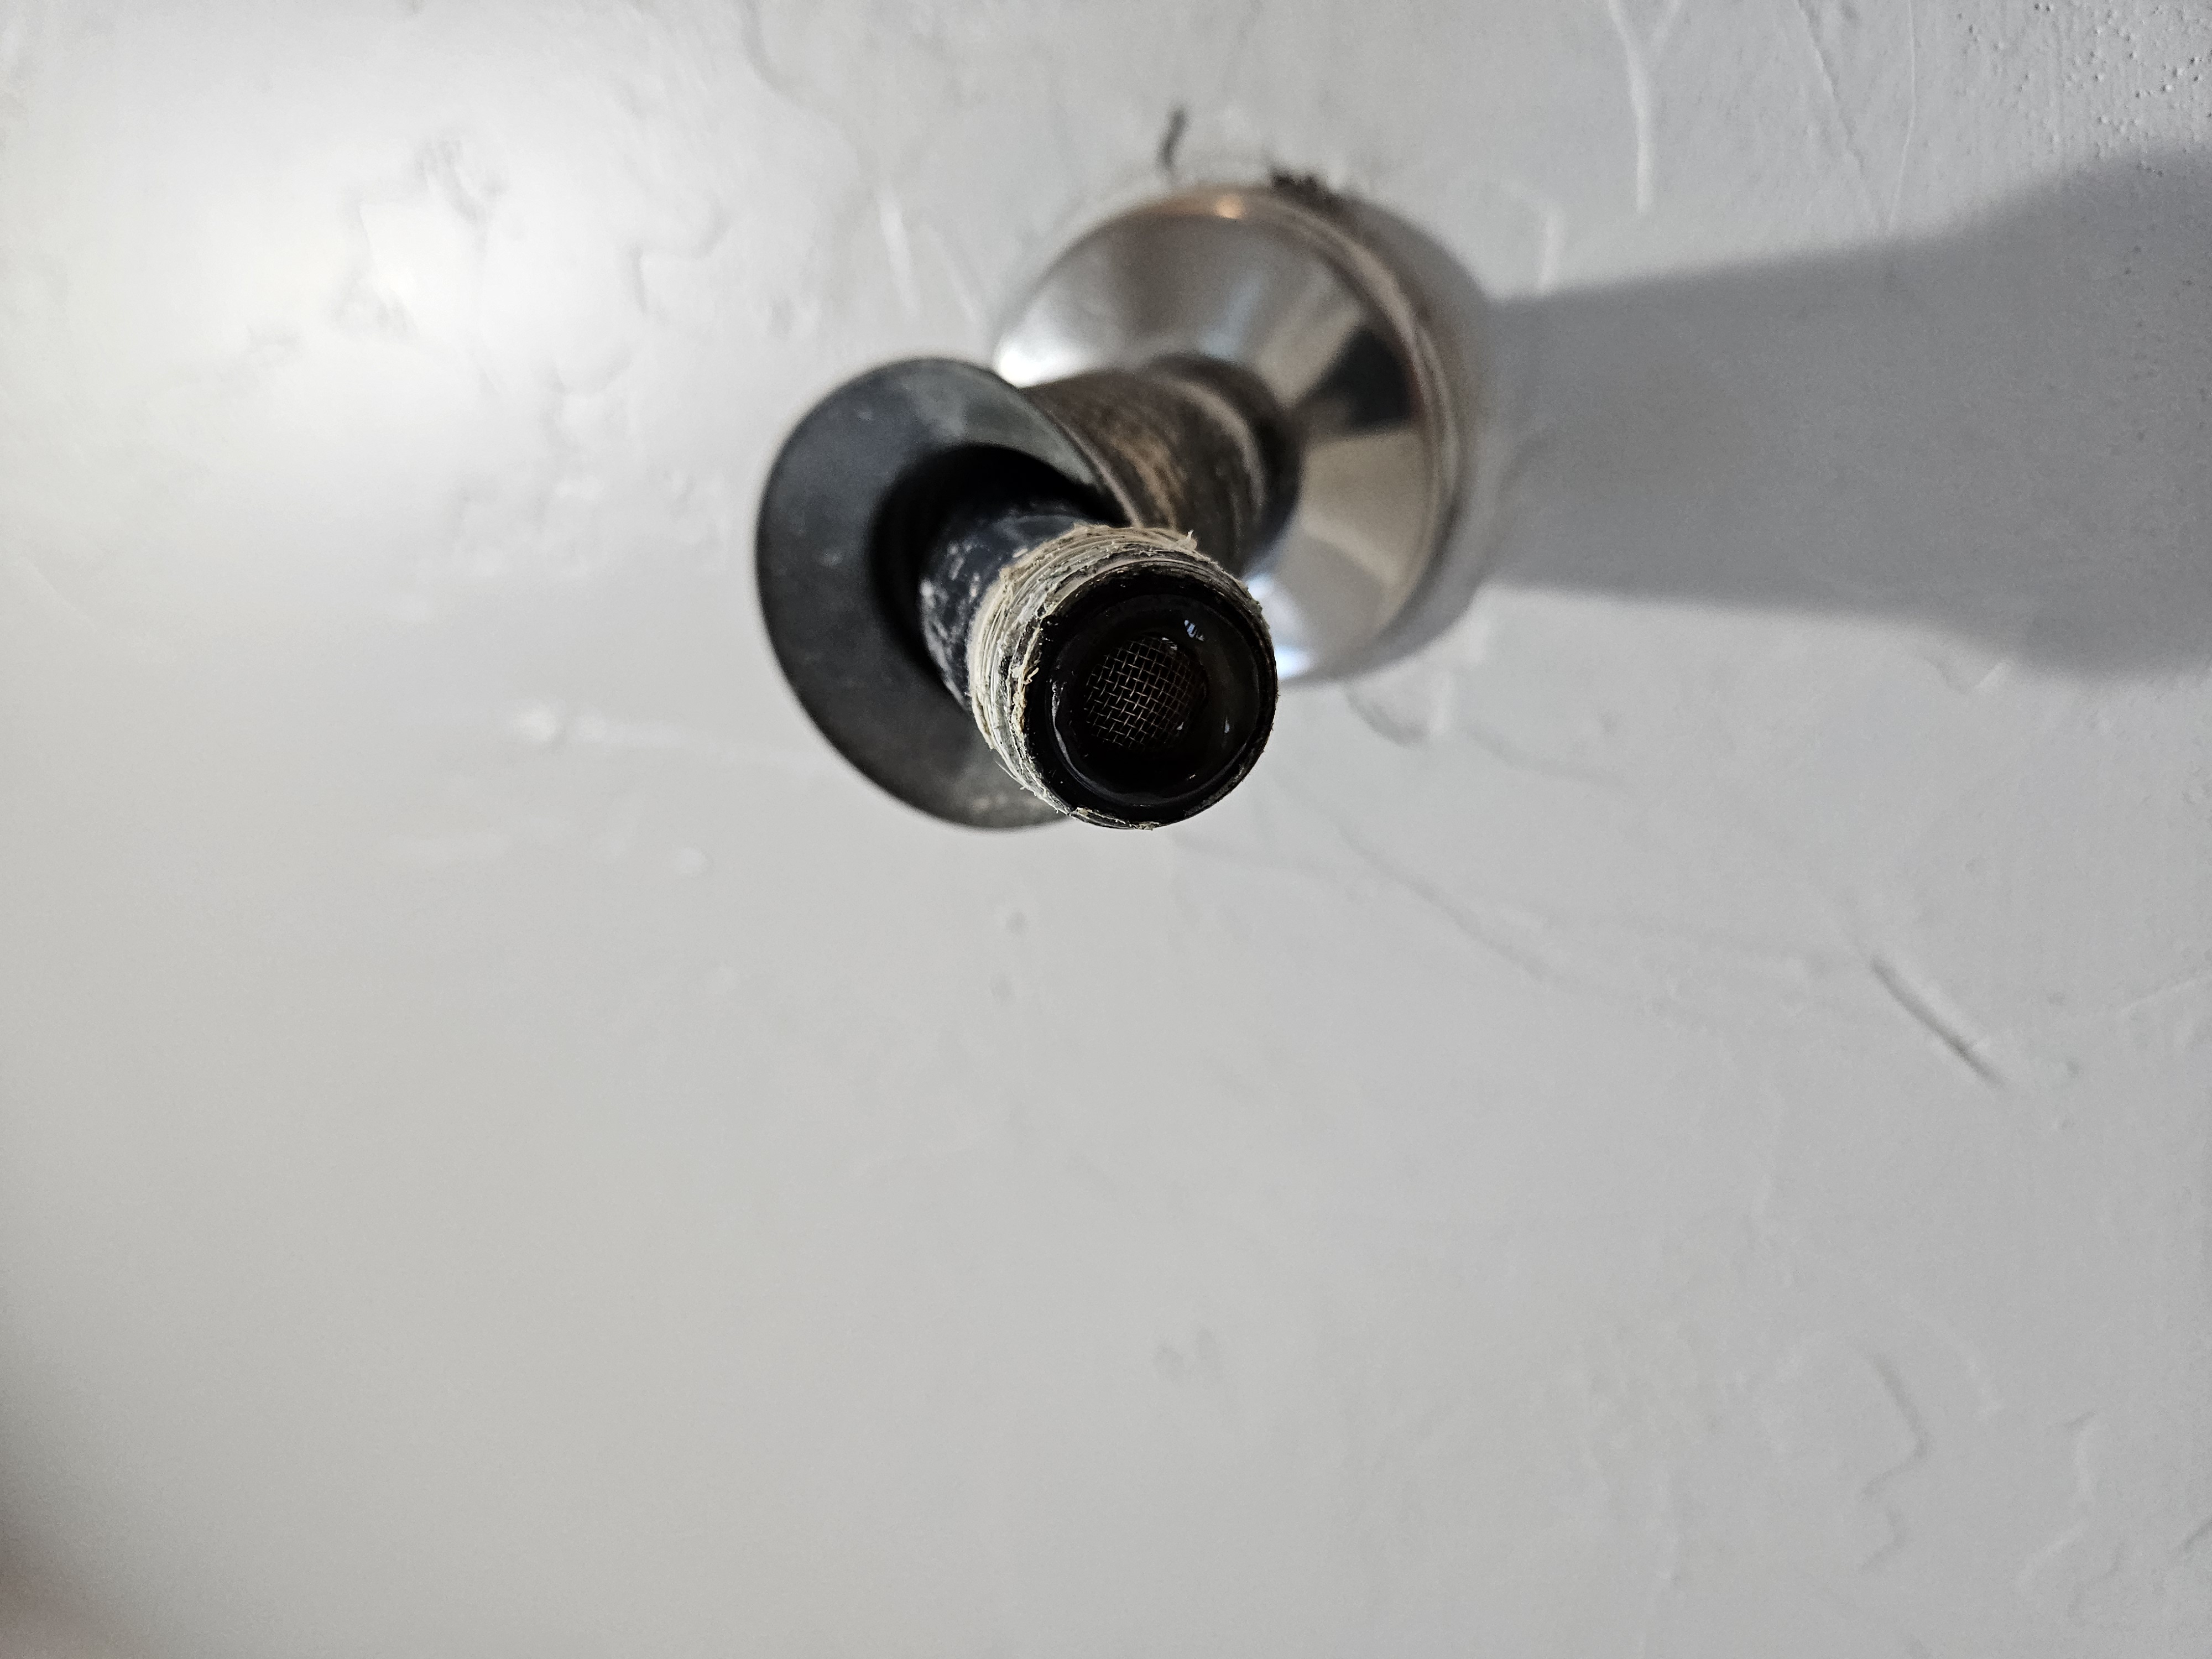
Arm thread prep and sealing detail
Thread condition corrected before final head install.
 After
After
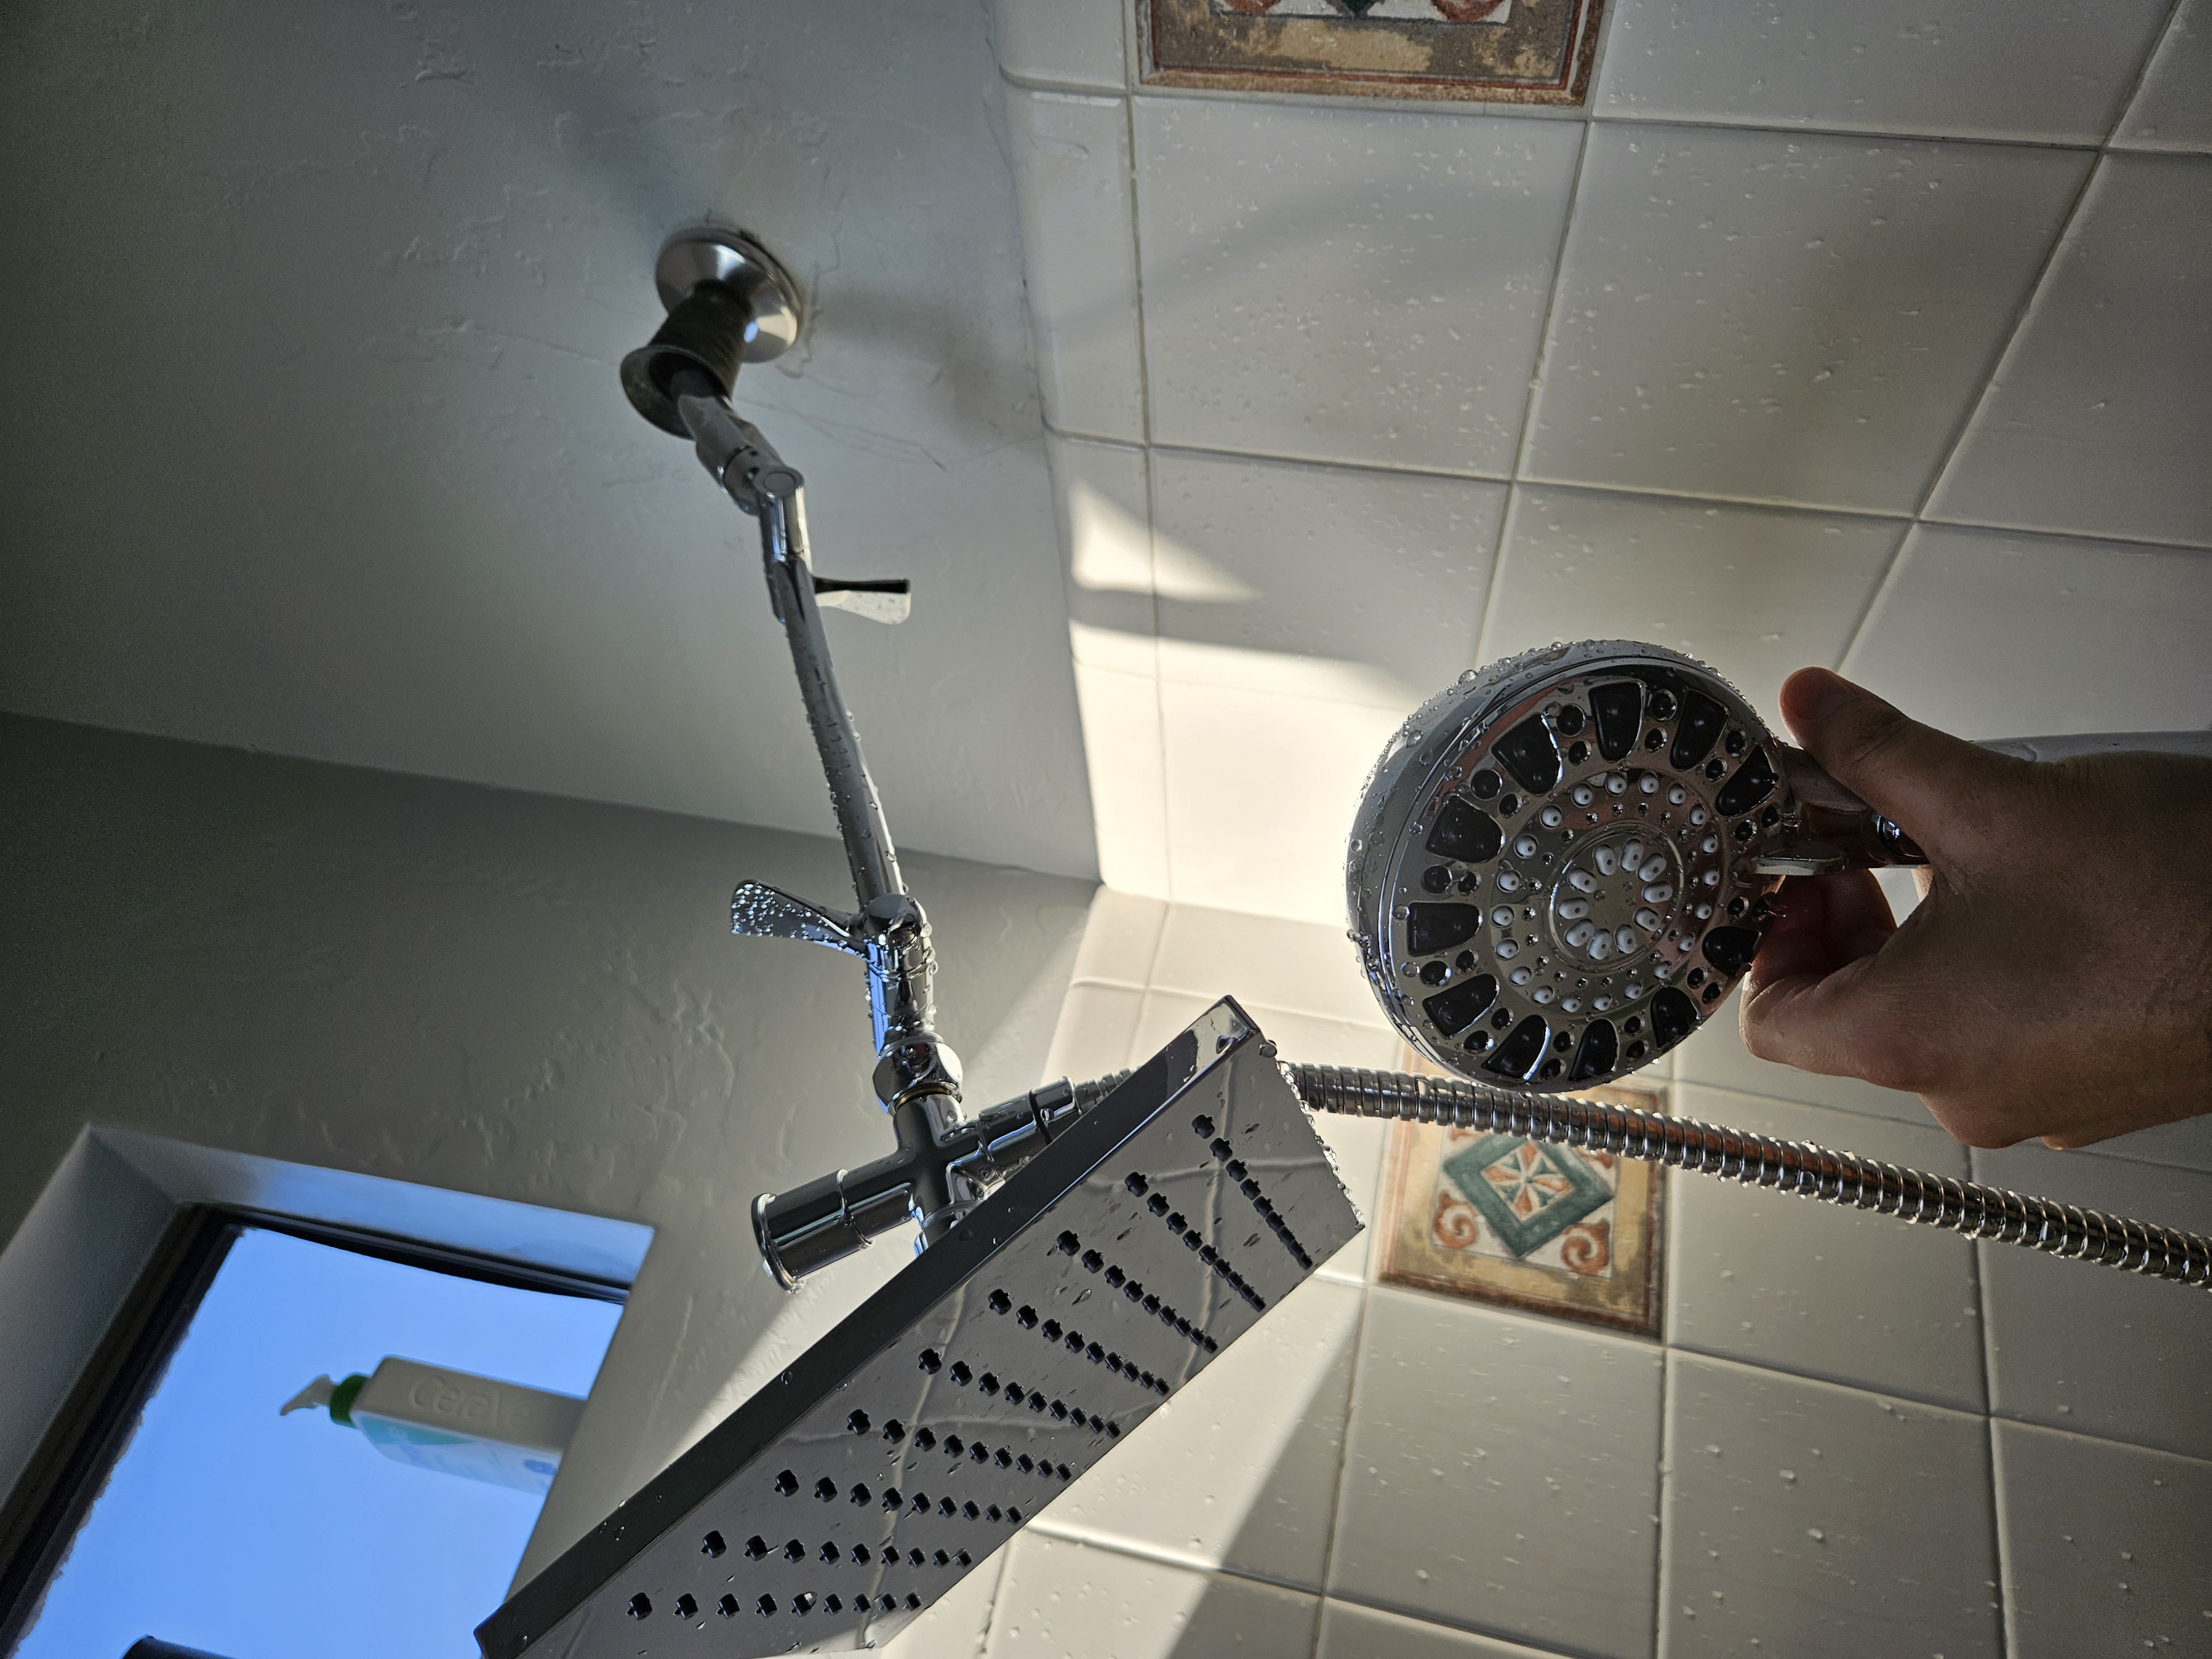
Dual showerhead upgrade completed
Final alignment and finish after install.
TV mounting, mirrors, large artwork, curtain rods, and wall décor, secured into studs or the right anchors for your wall, leveled, and hung to last.
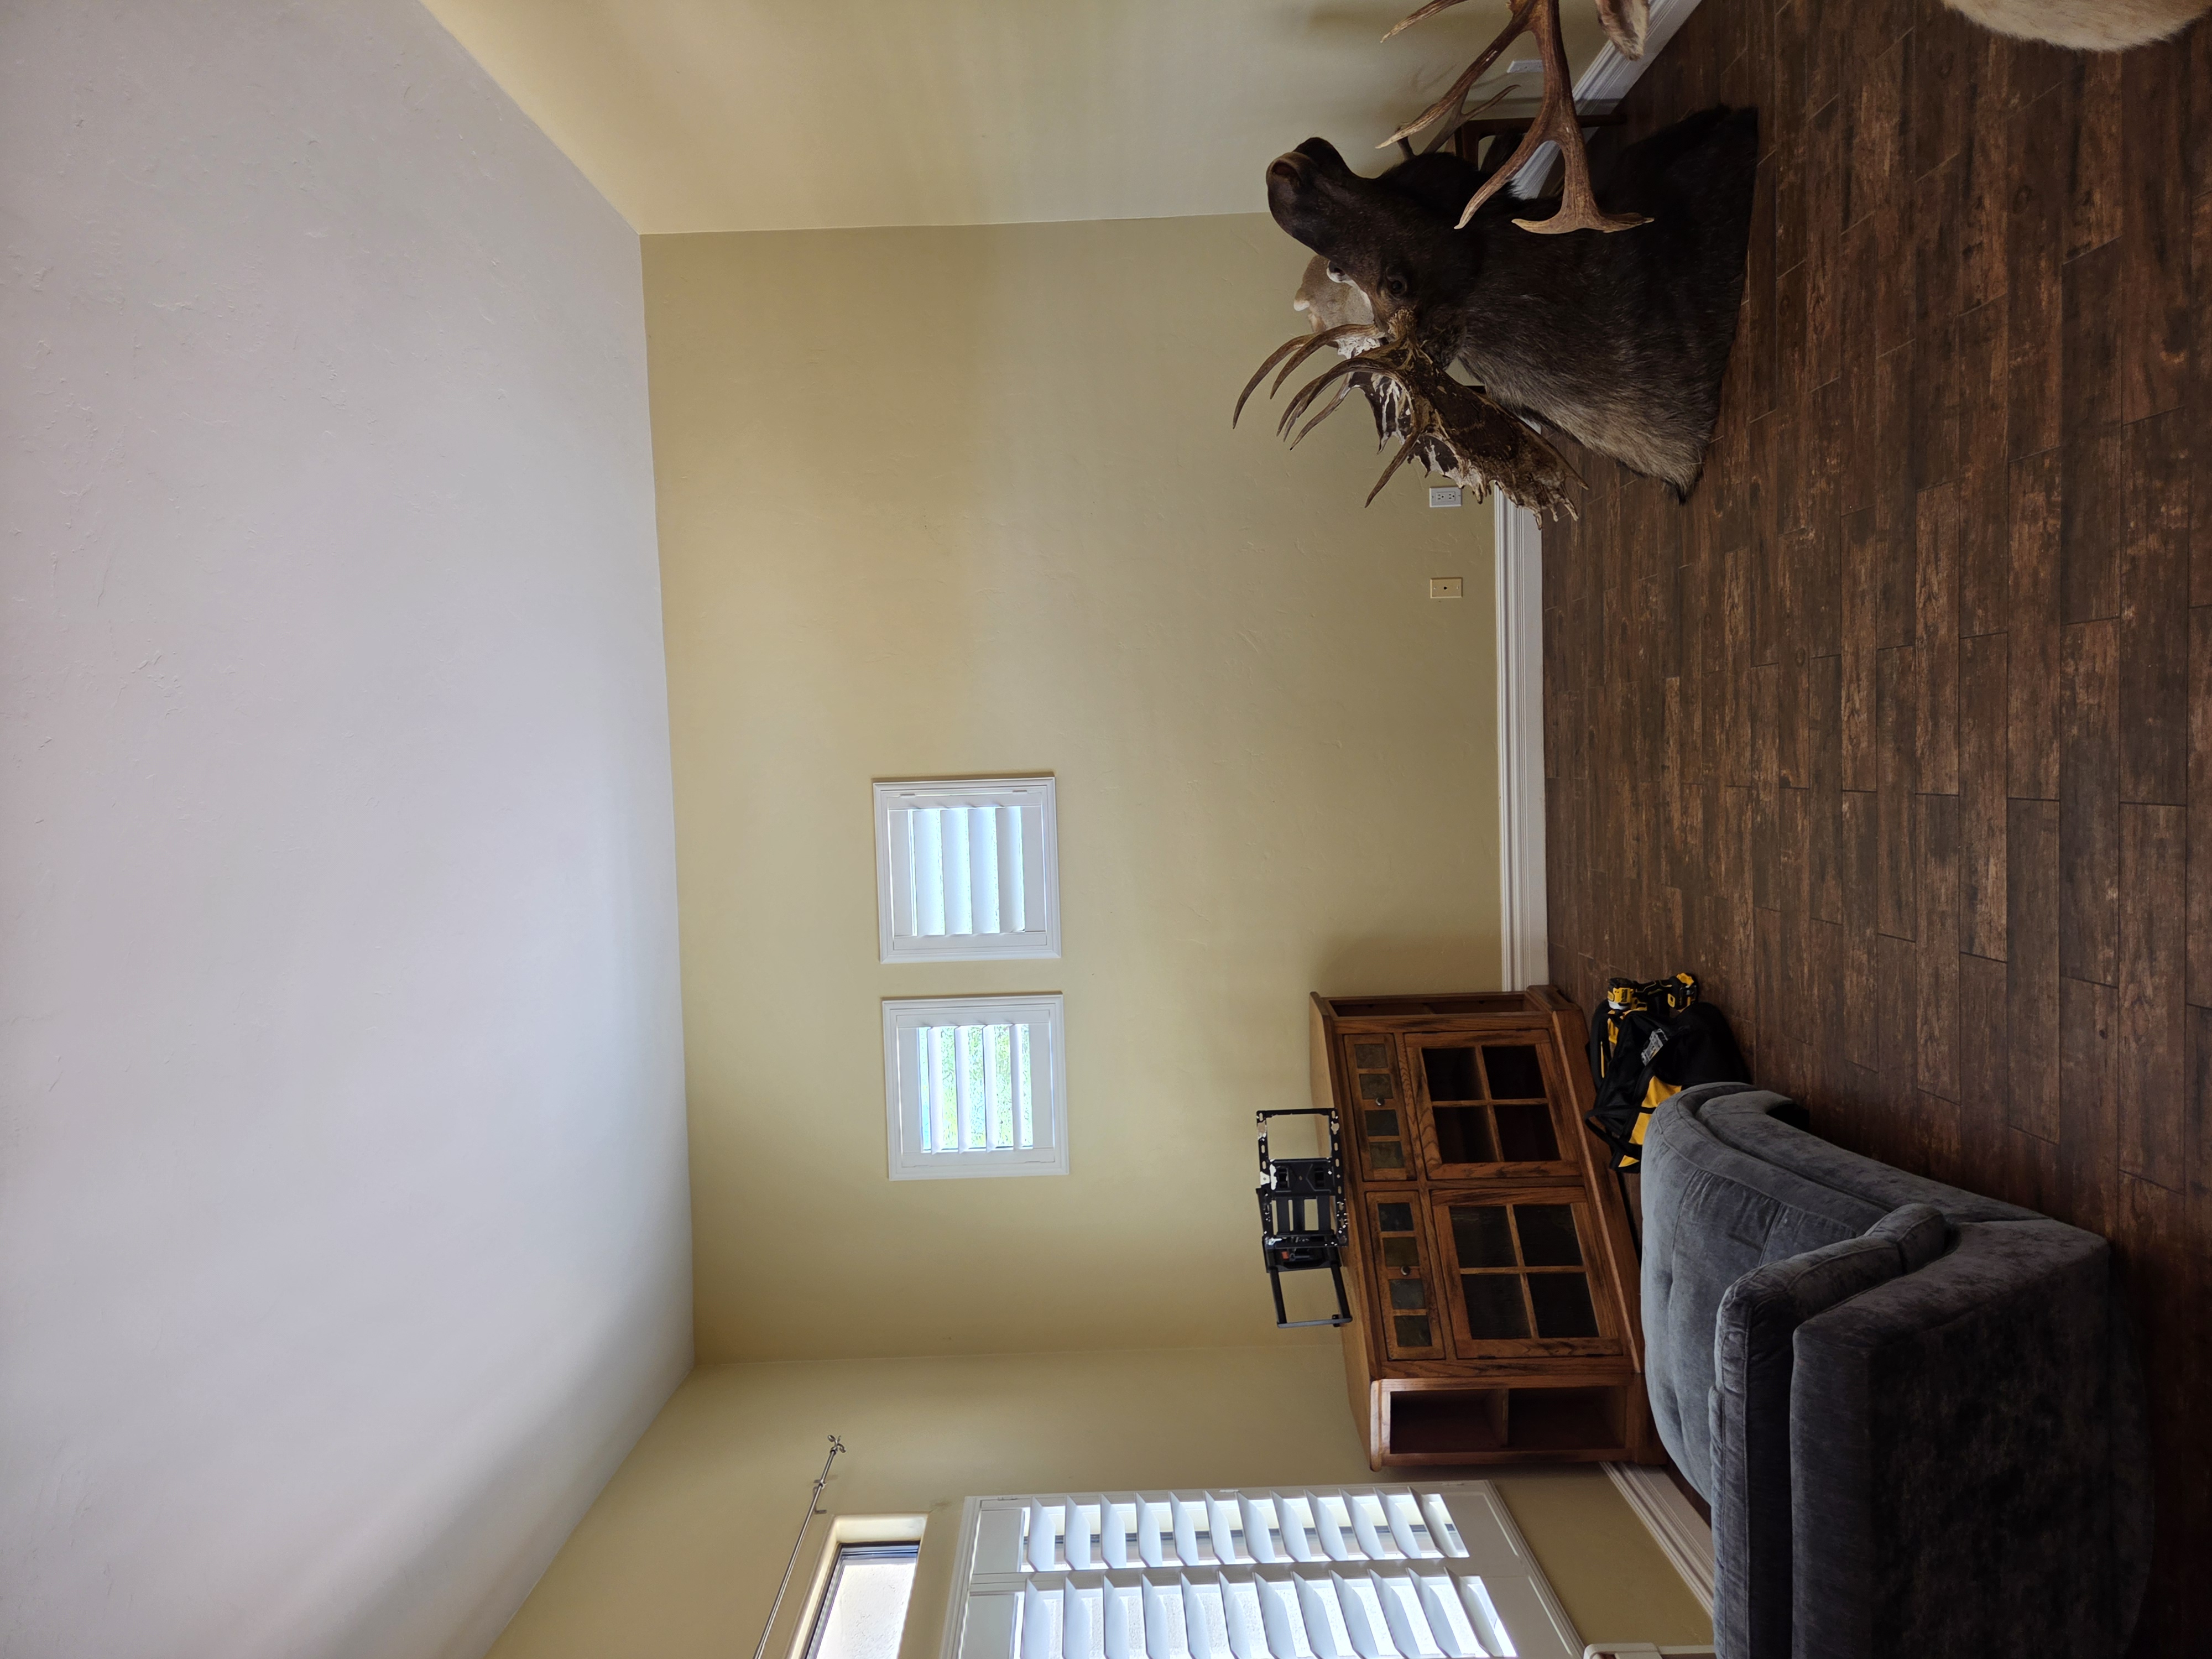 Before
TV + taxidermy wall before install
Initial room layout before setting TV mount height and trophy anchor points.
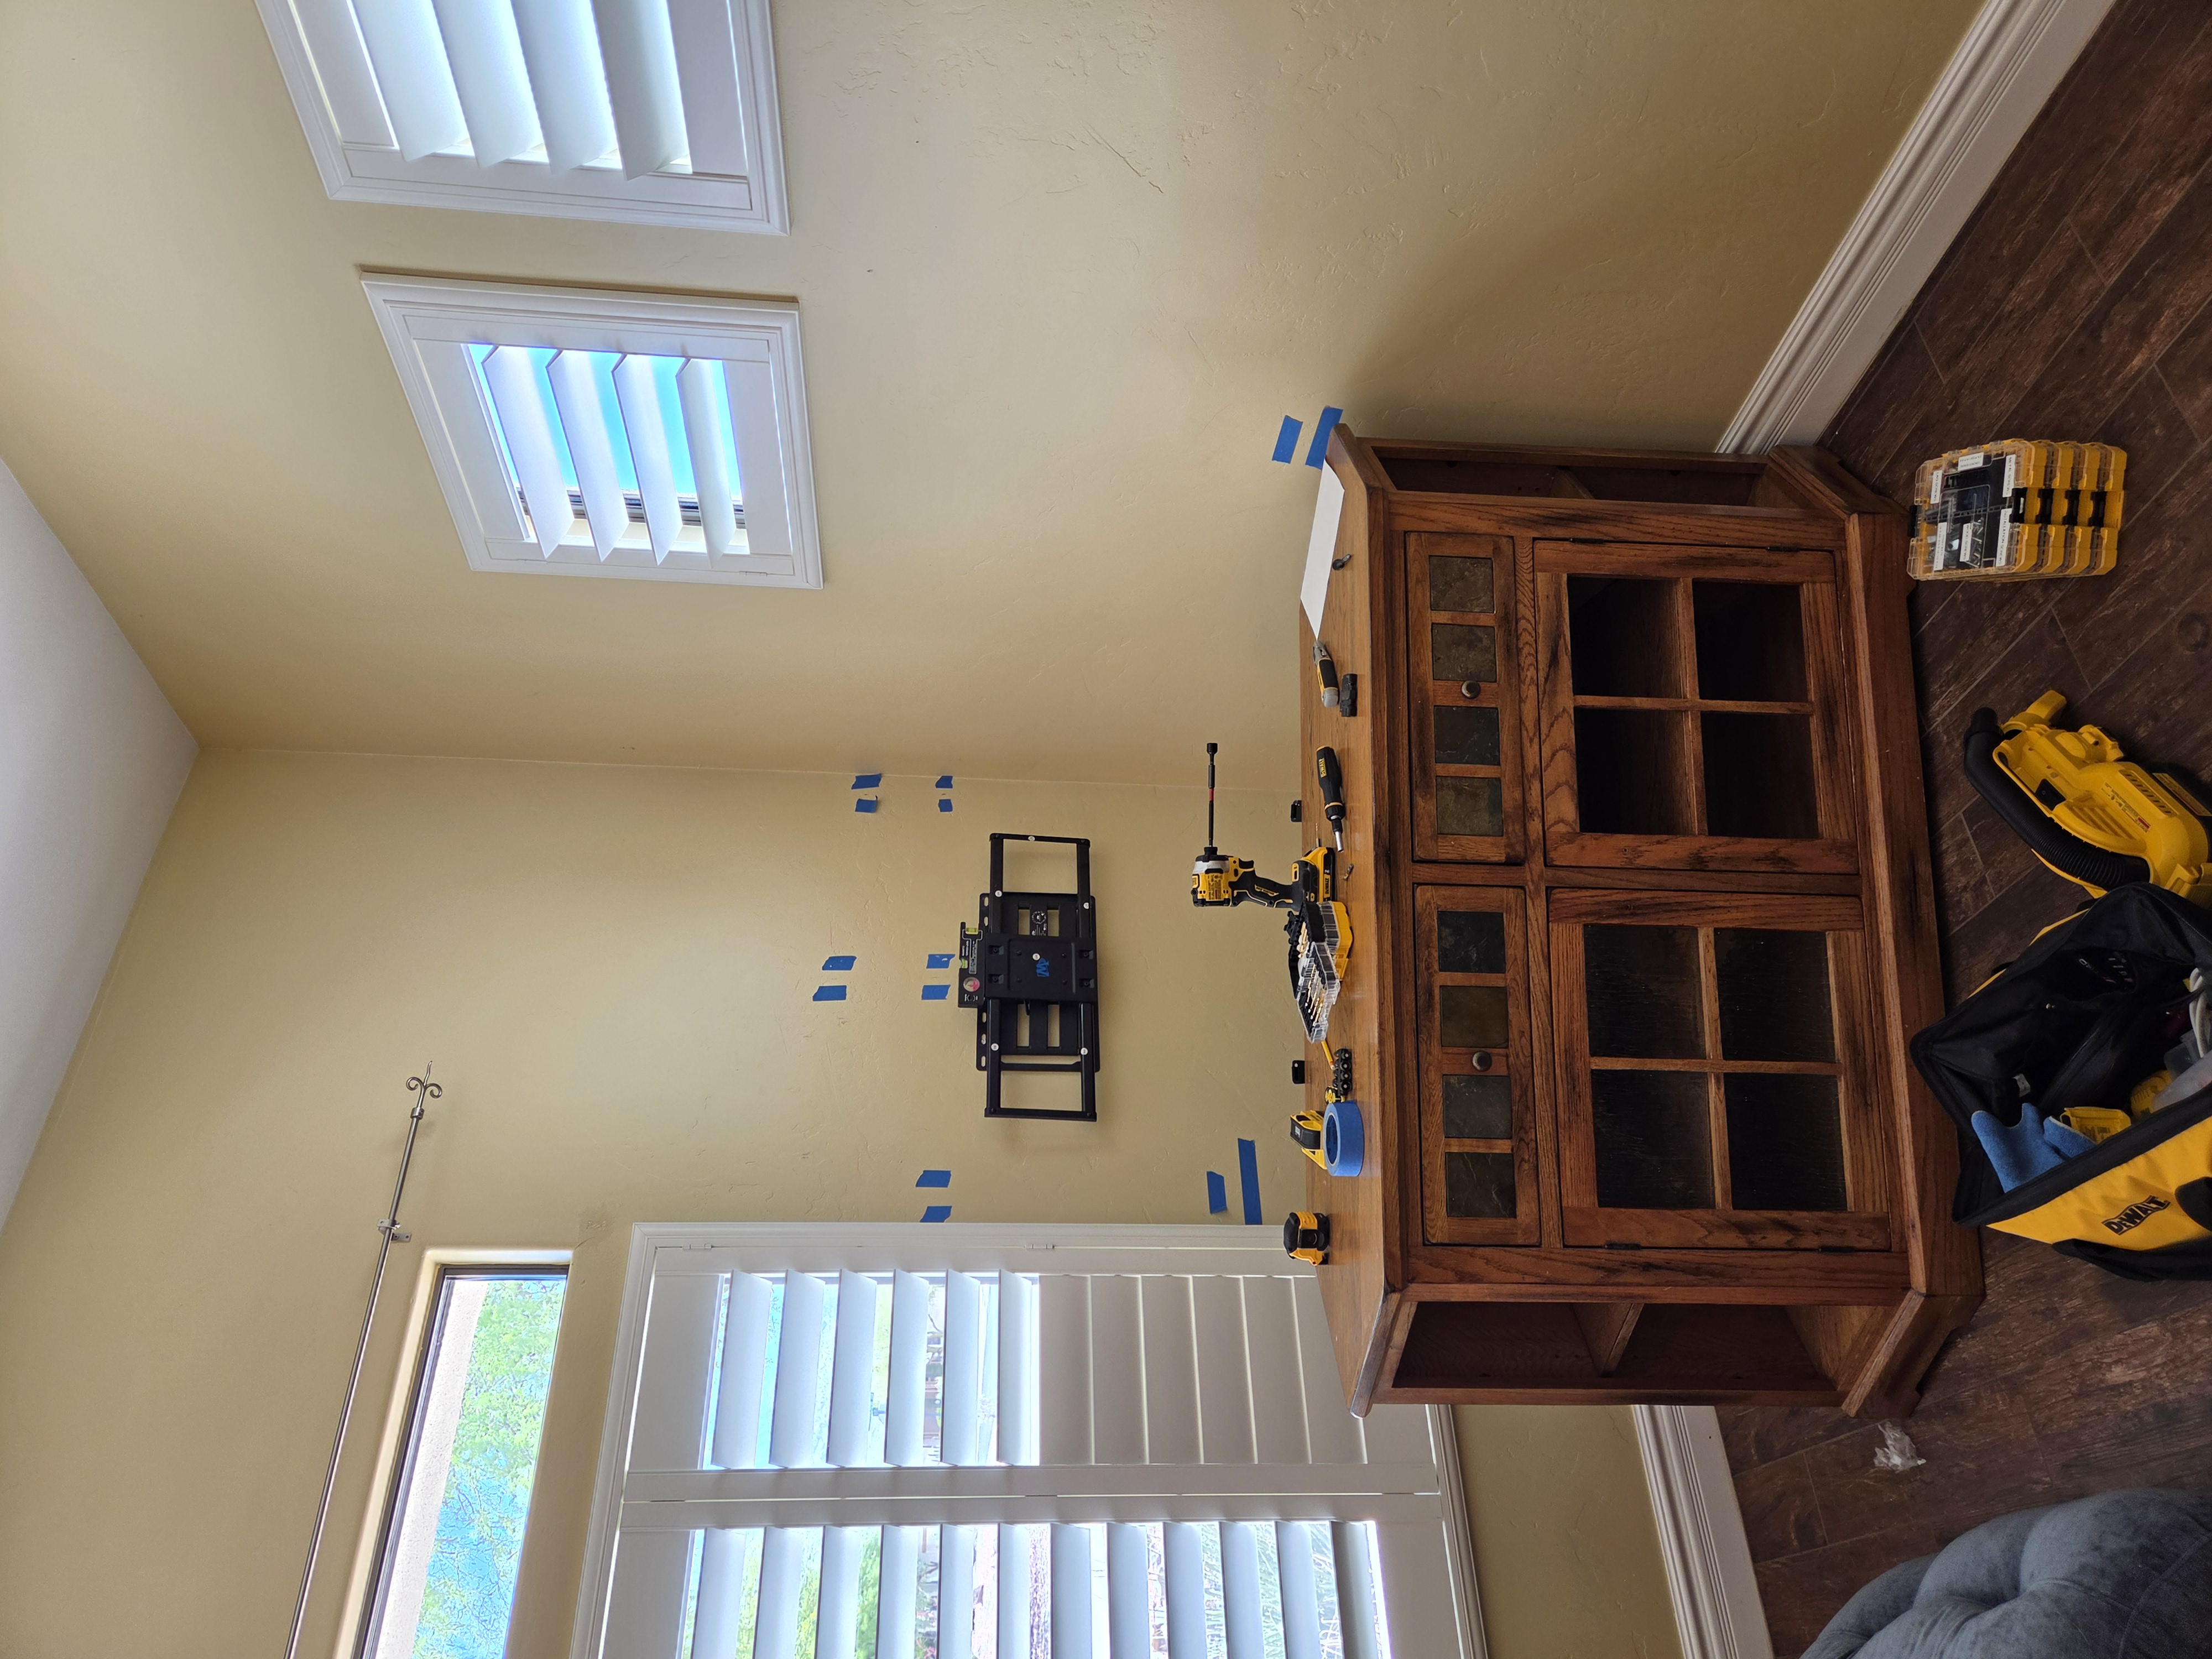 Process
TV bracket and taxidermy layout
TV bracket installed and mount points marked for balanced final placement.
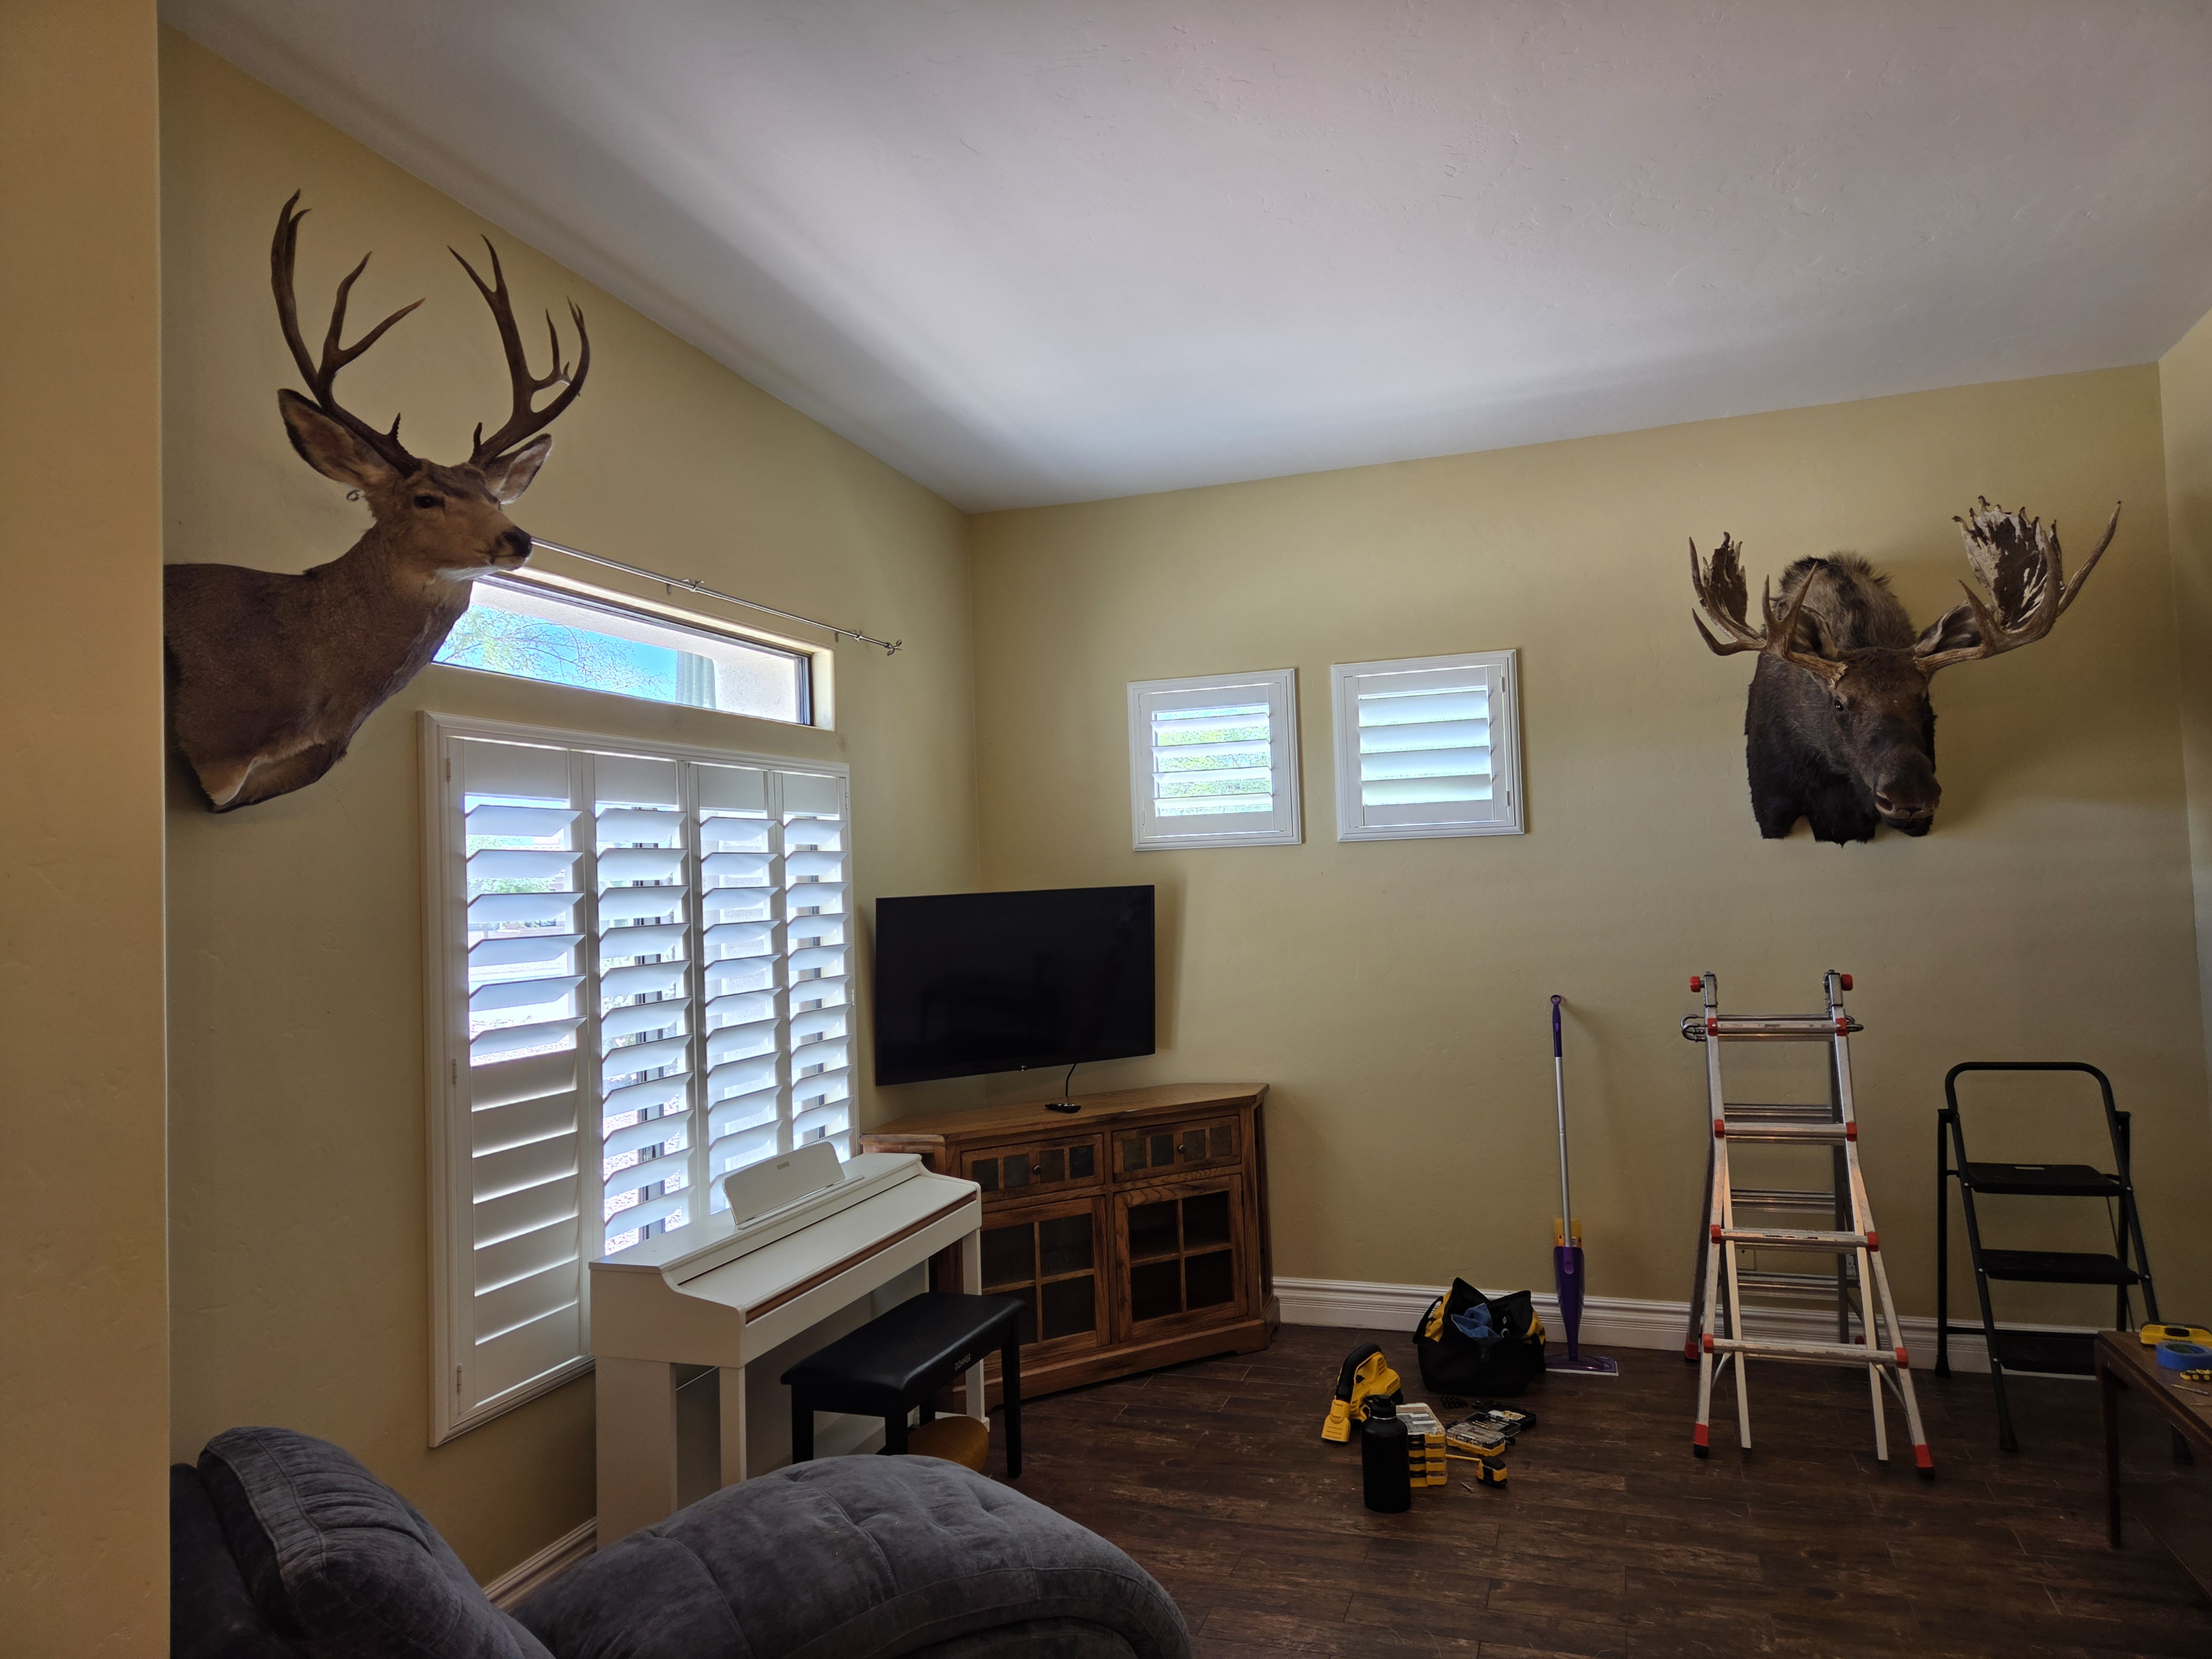 After
After
TV + taxidermy mounting complete
TV position and trophy mounts finalized with level alignment.
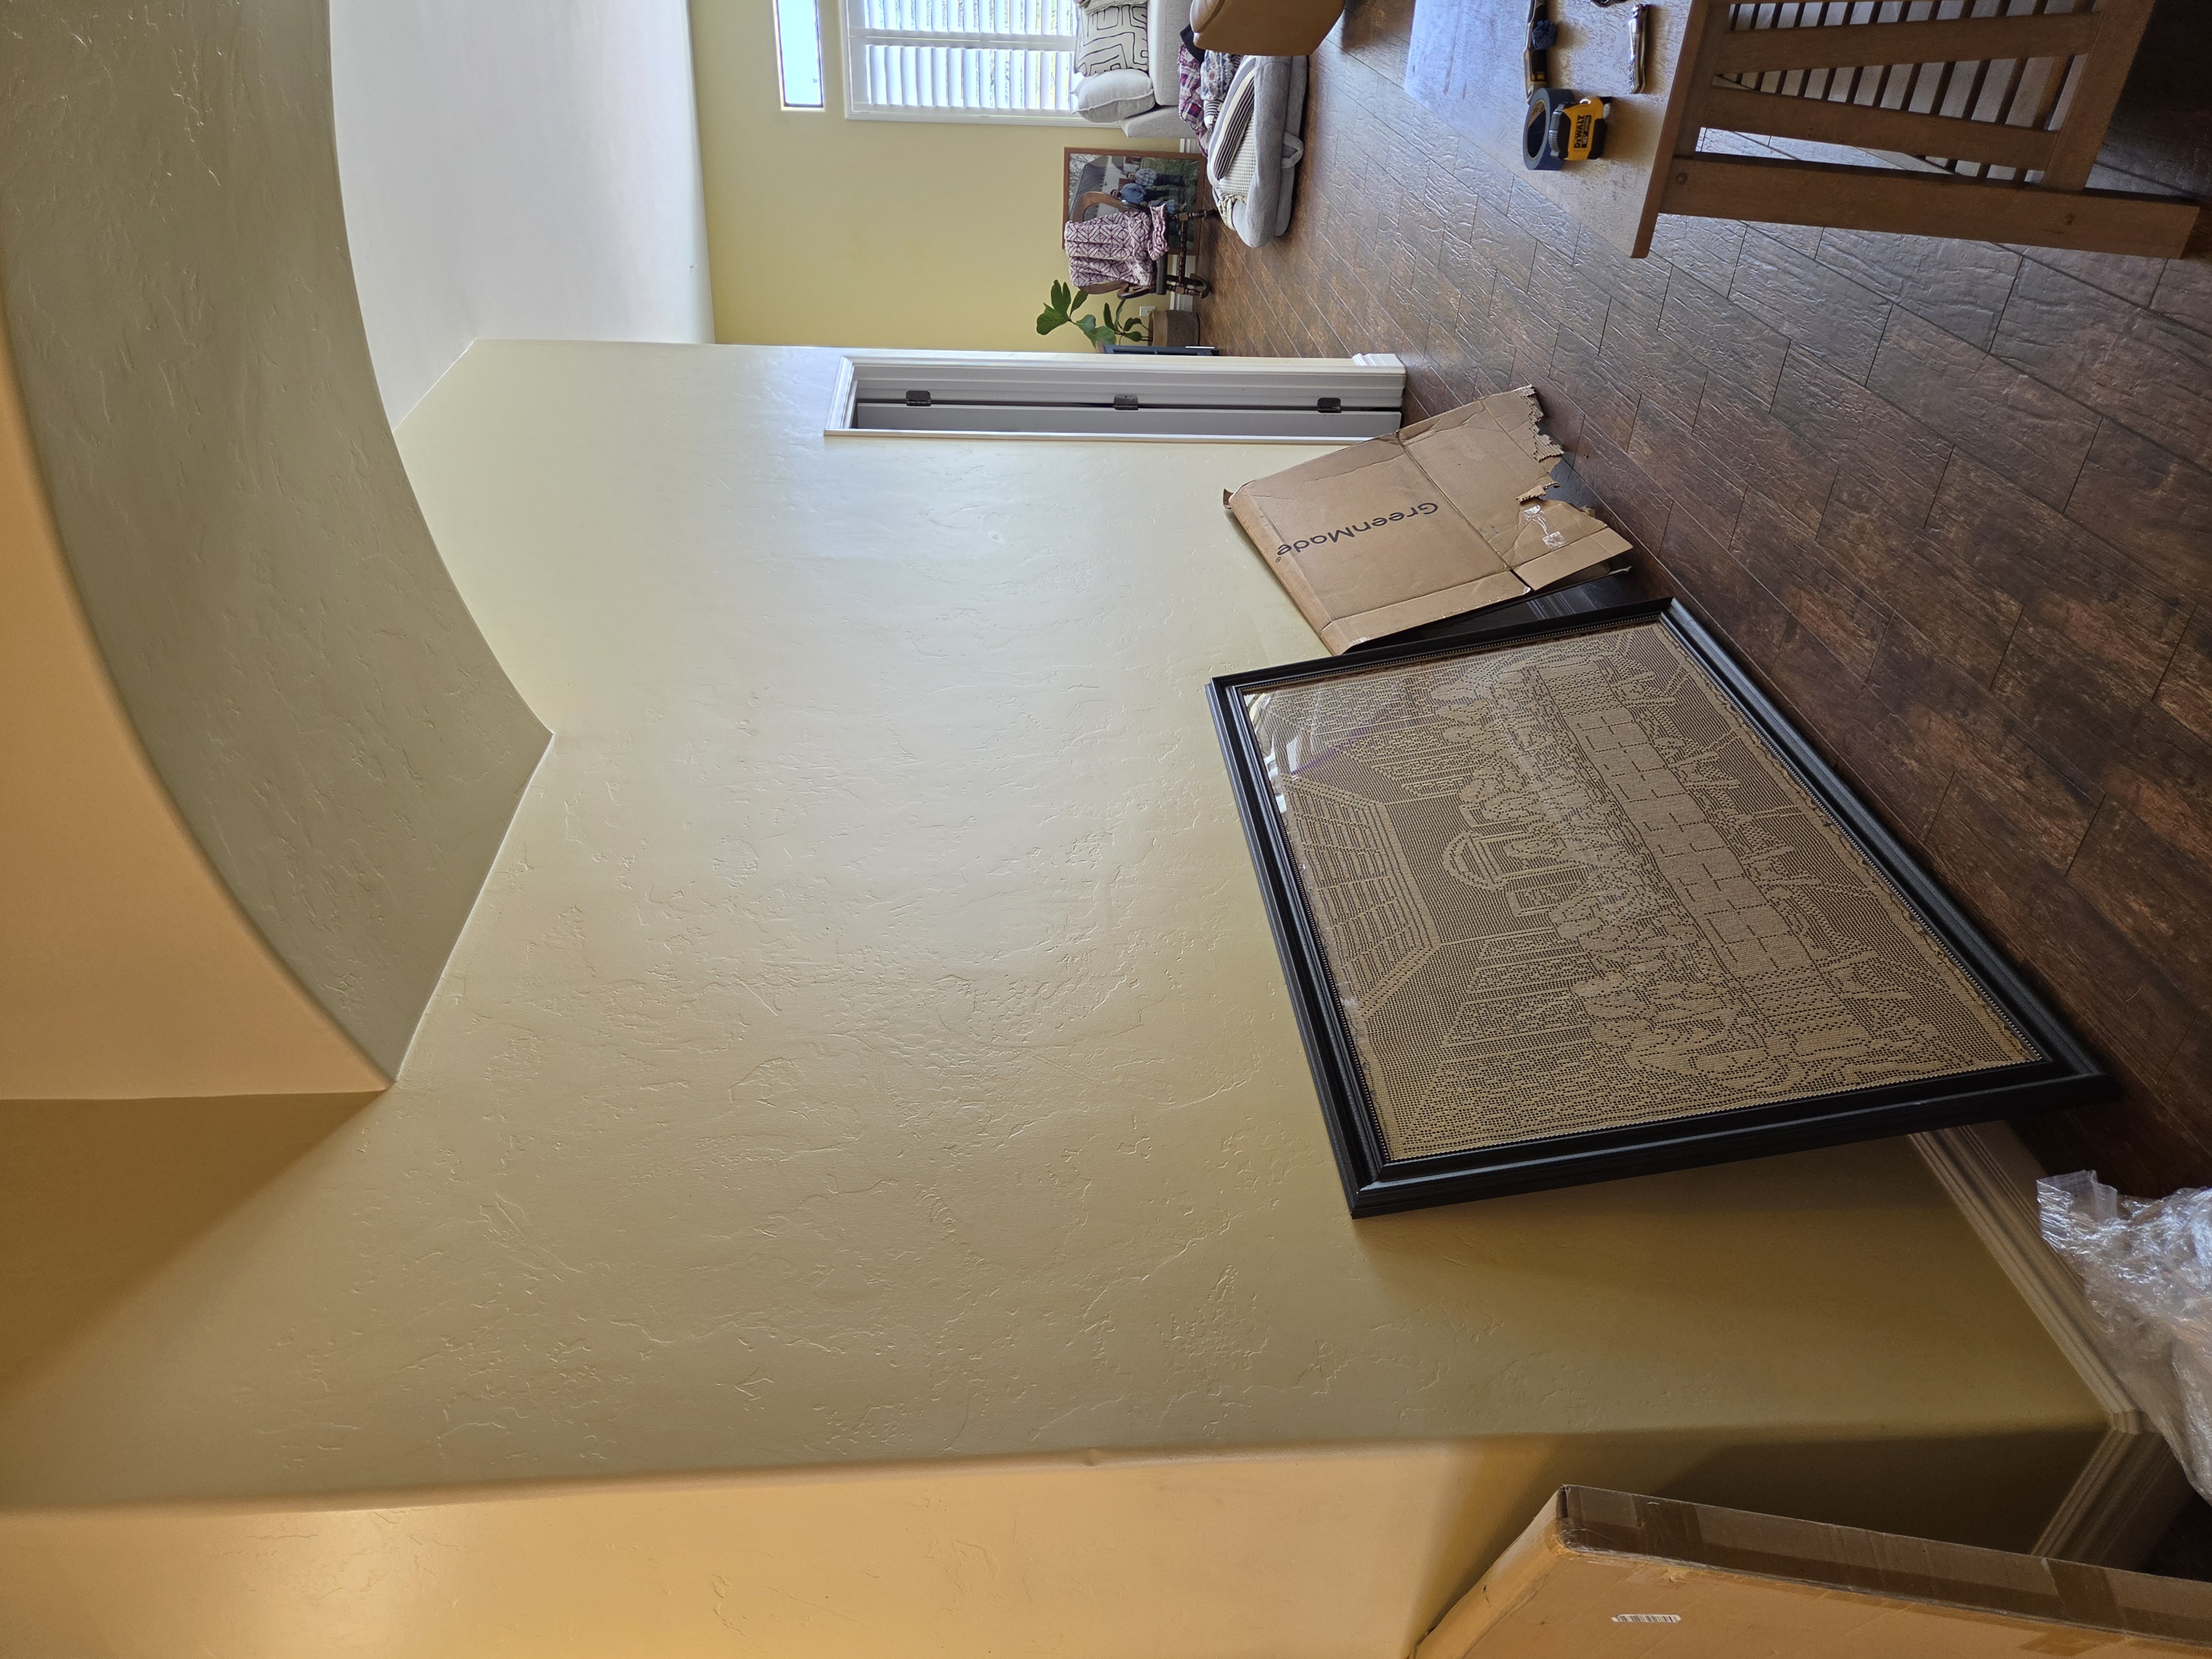 Before
Hallway wall before artwork install
Blank wall and frame staged before layout marks.
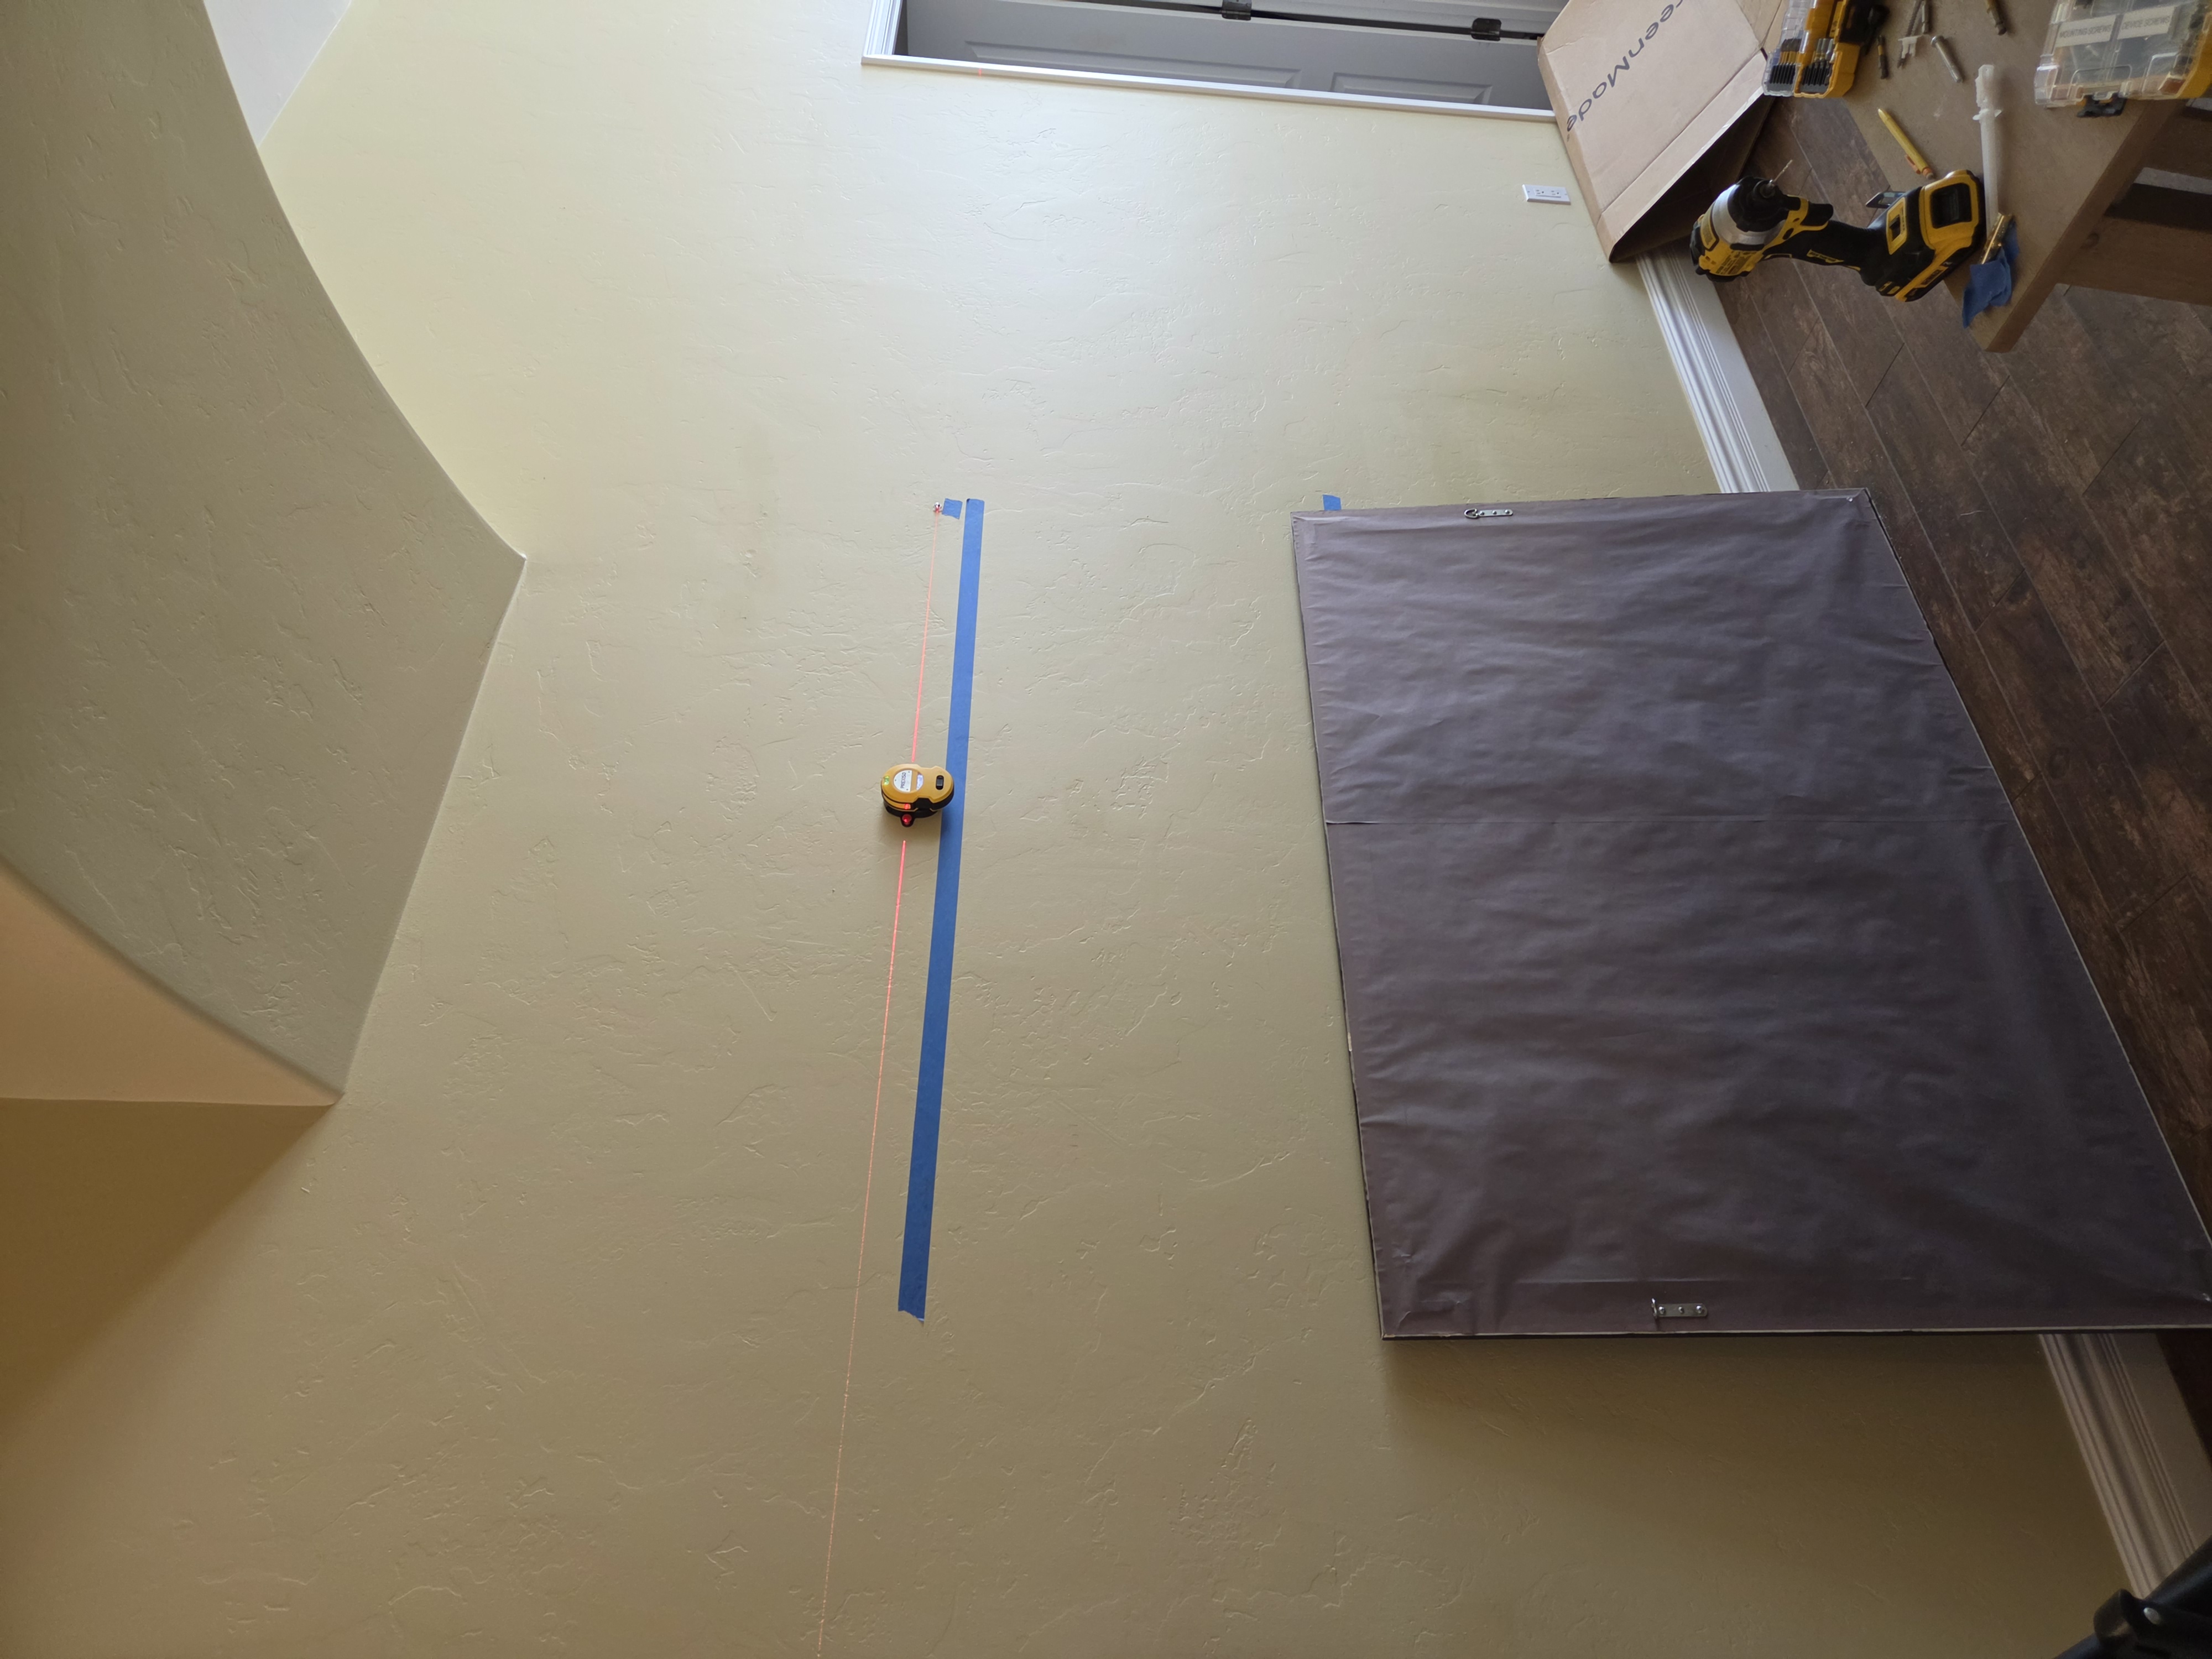 Process
Laser layout and mark-up
Centerline and hanger points marked for accurate placement.
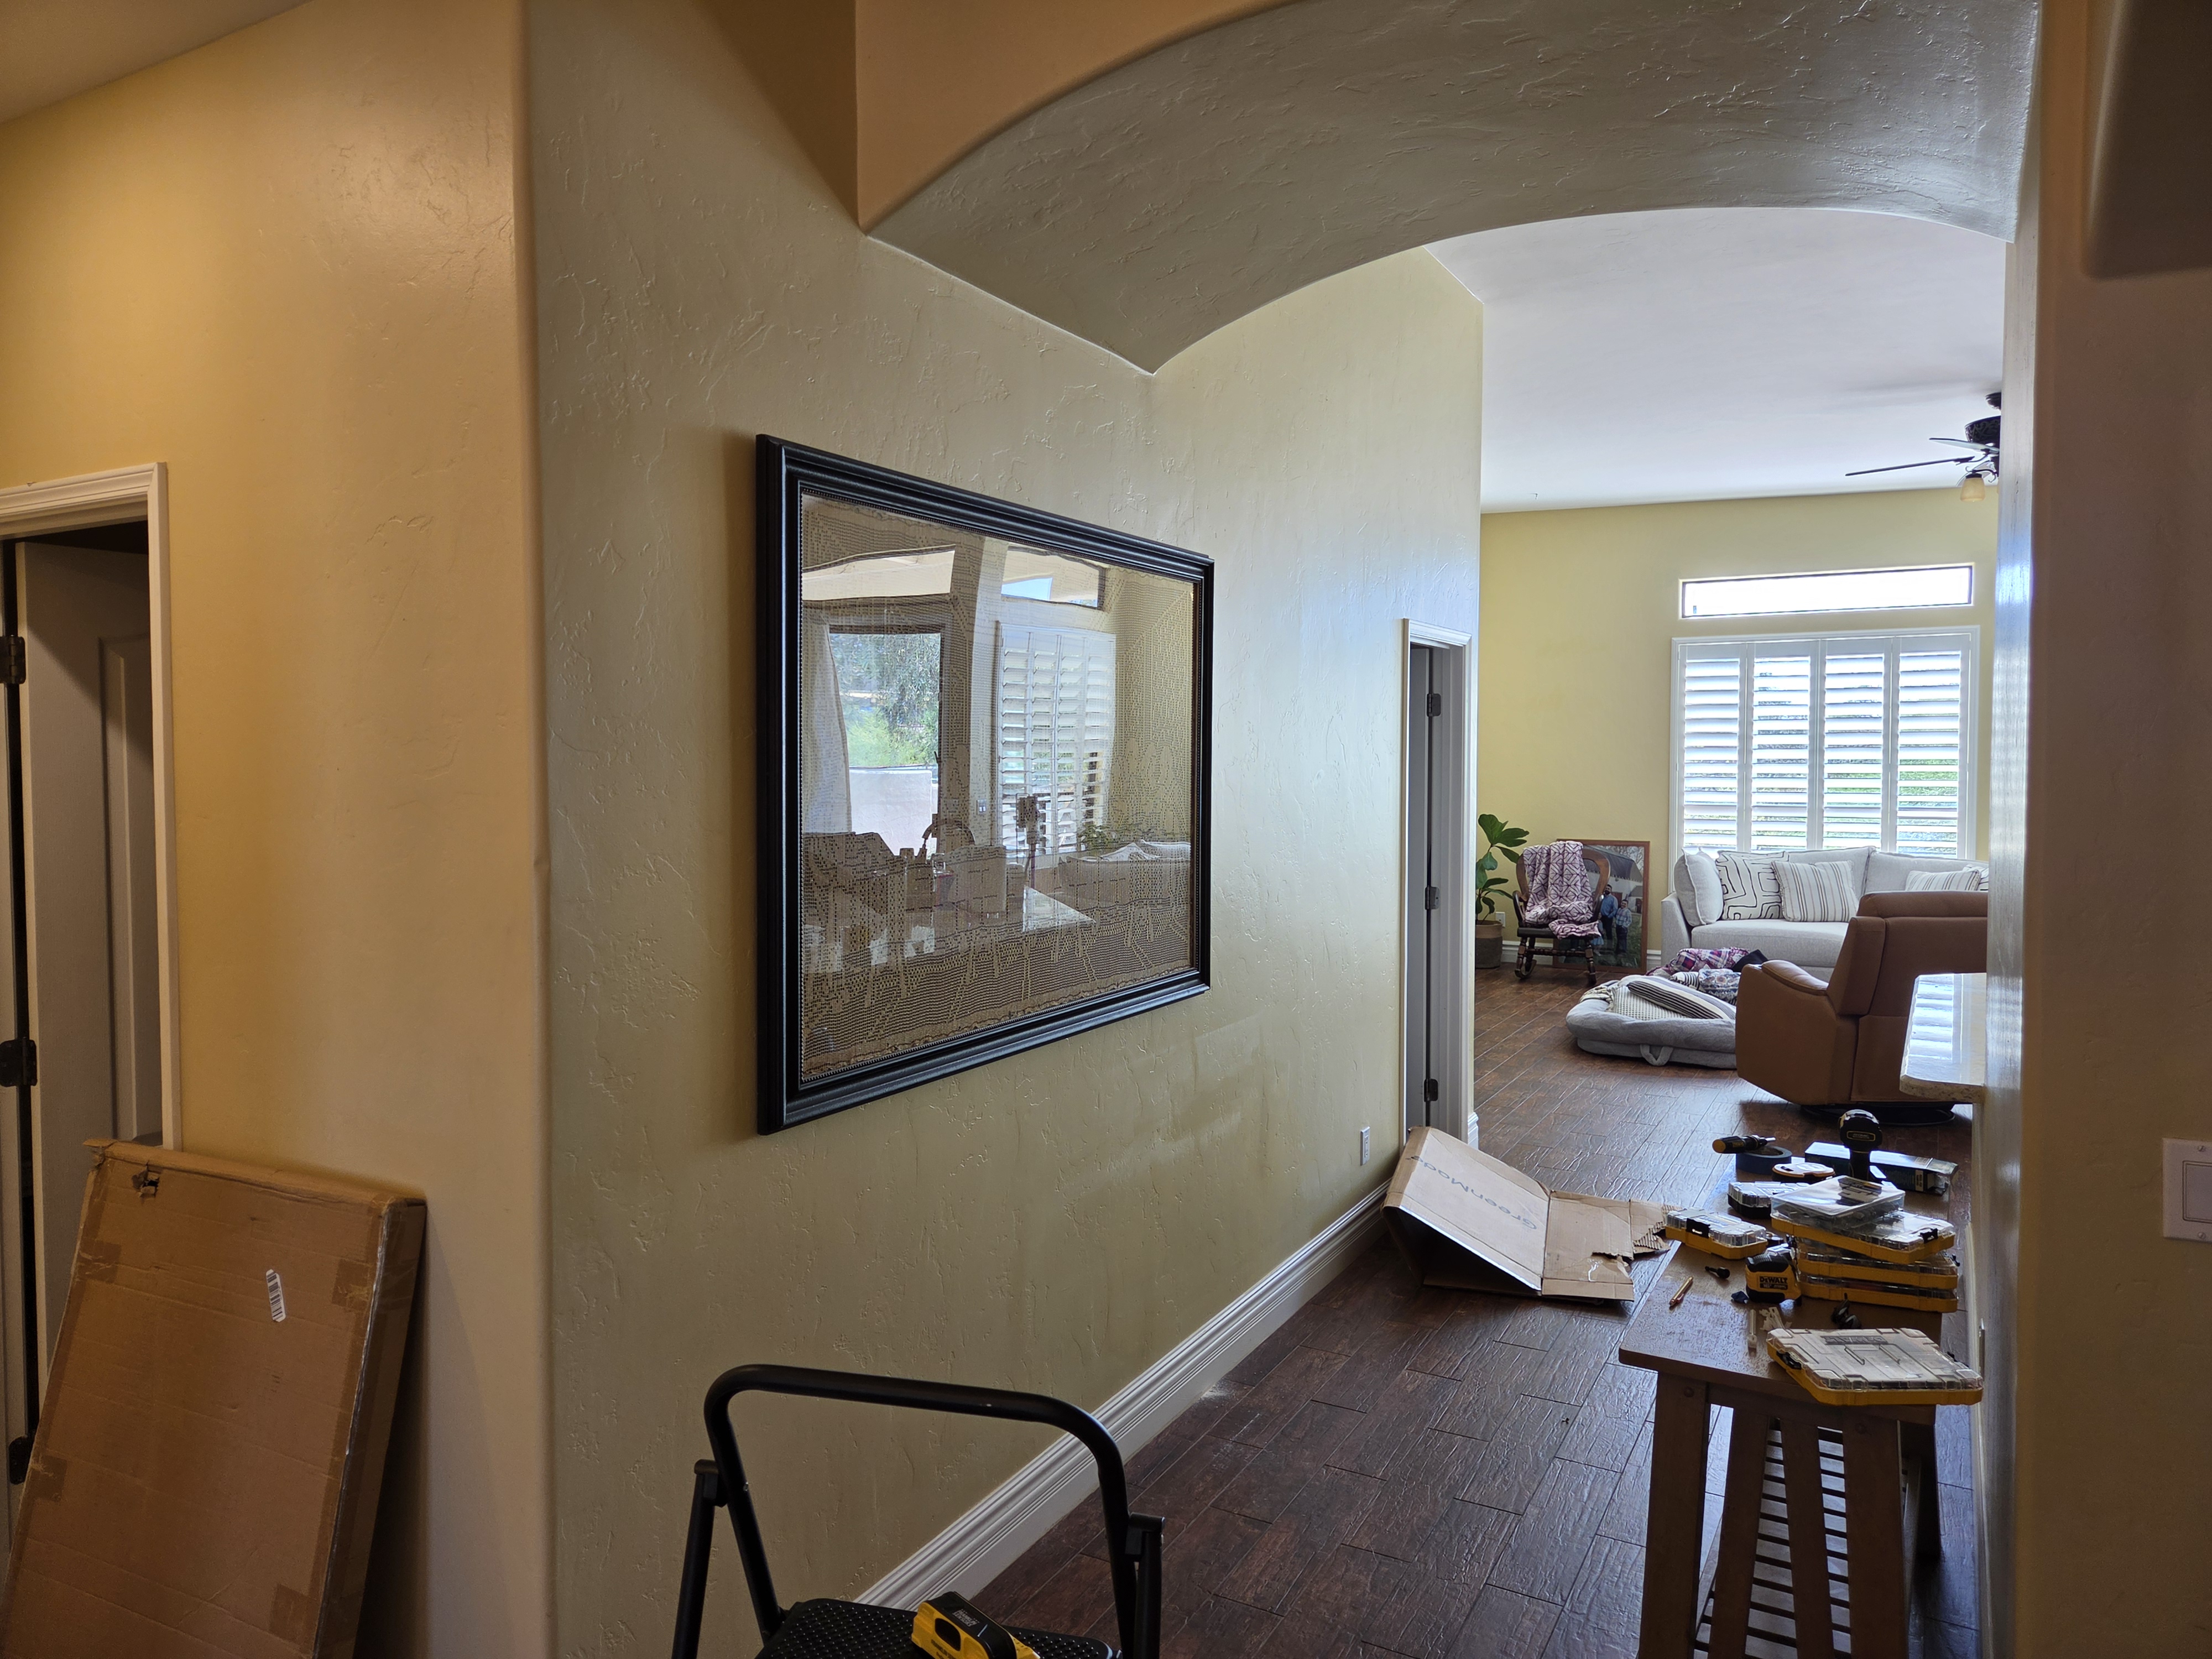 After
After
Wall art installation complete
Large frame mounted level with clean final presentation.
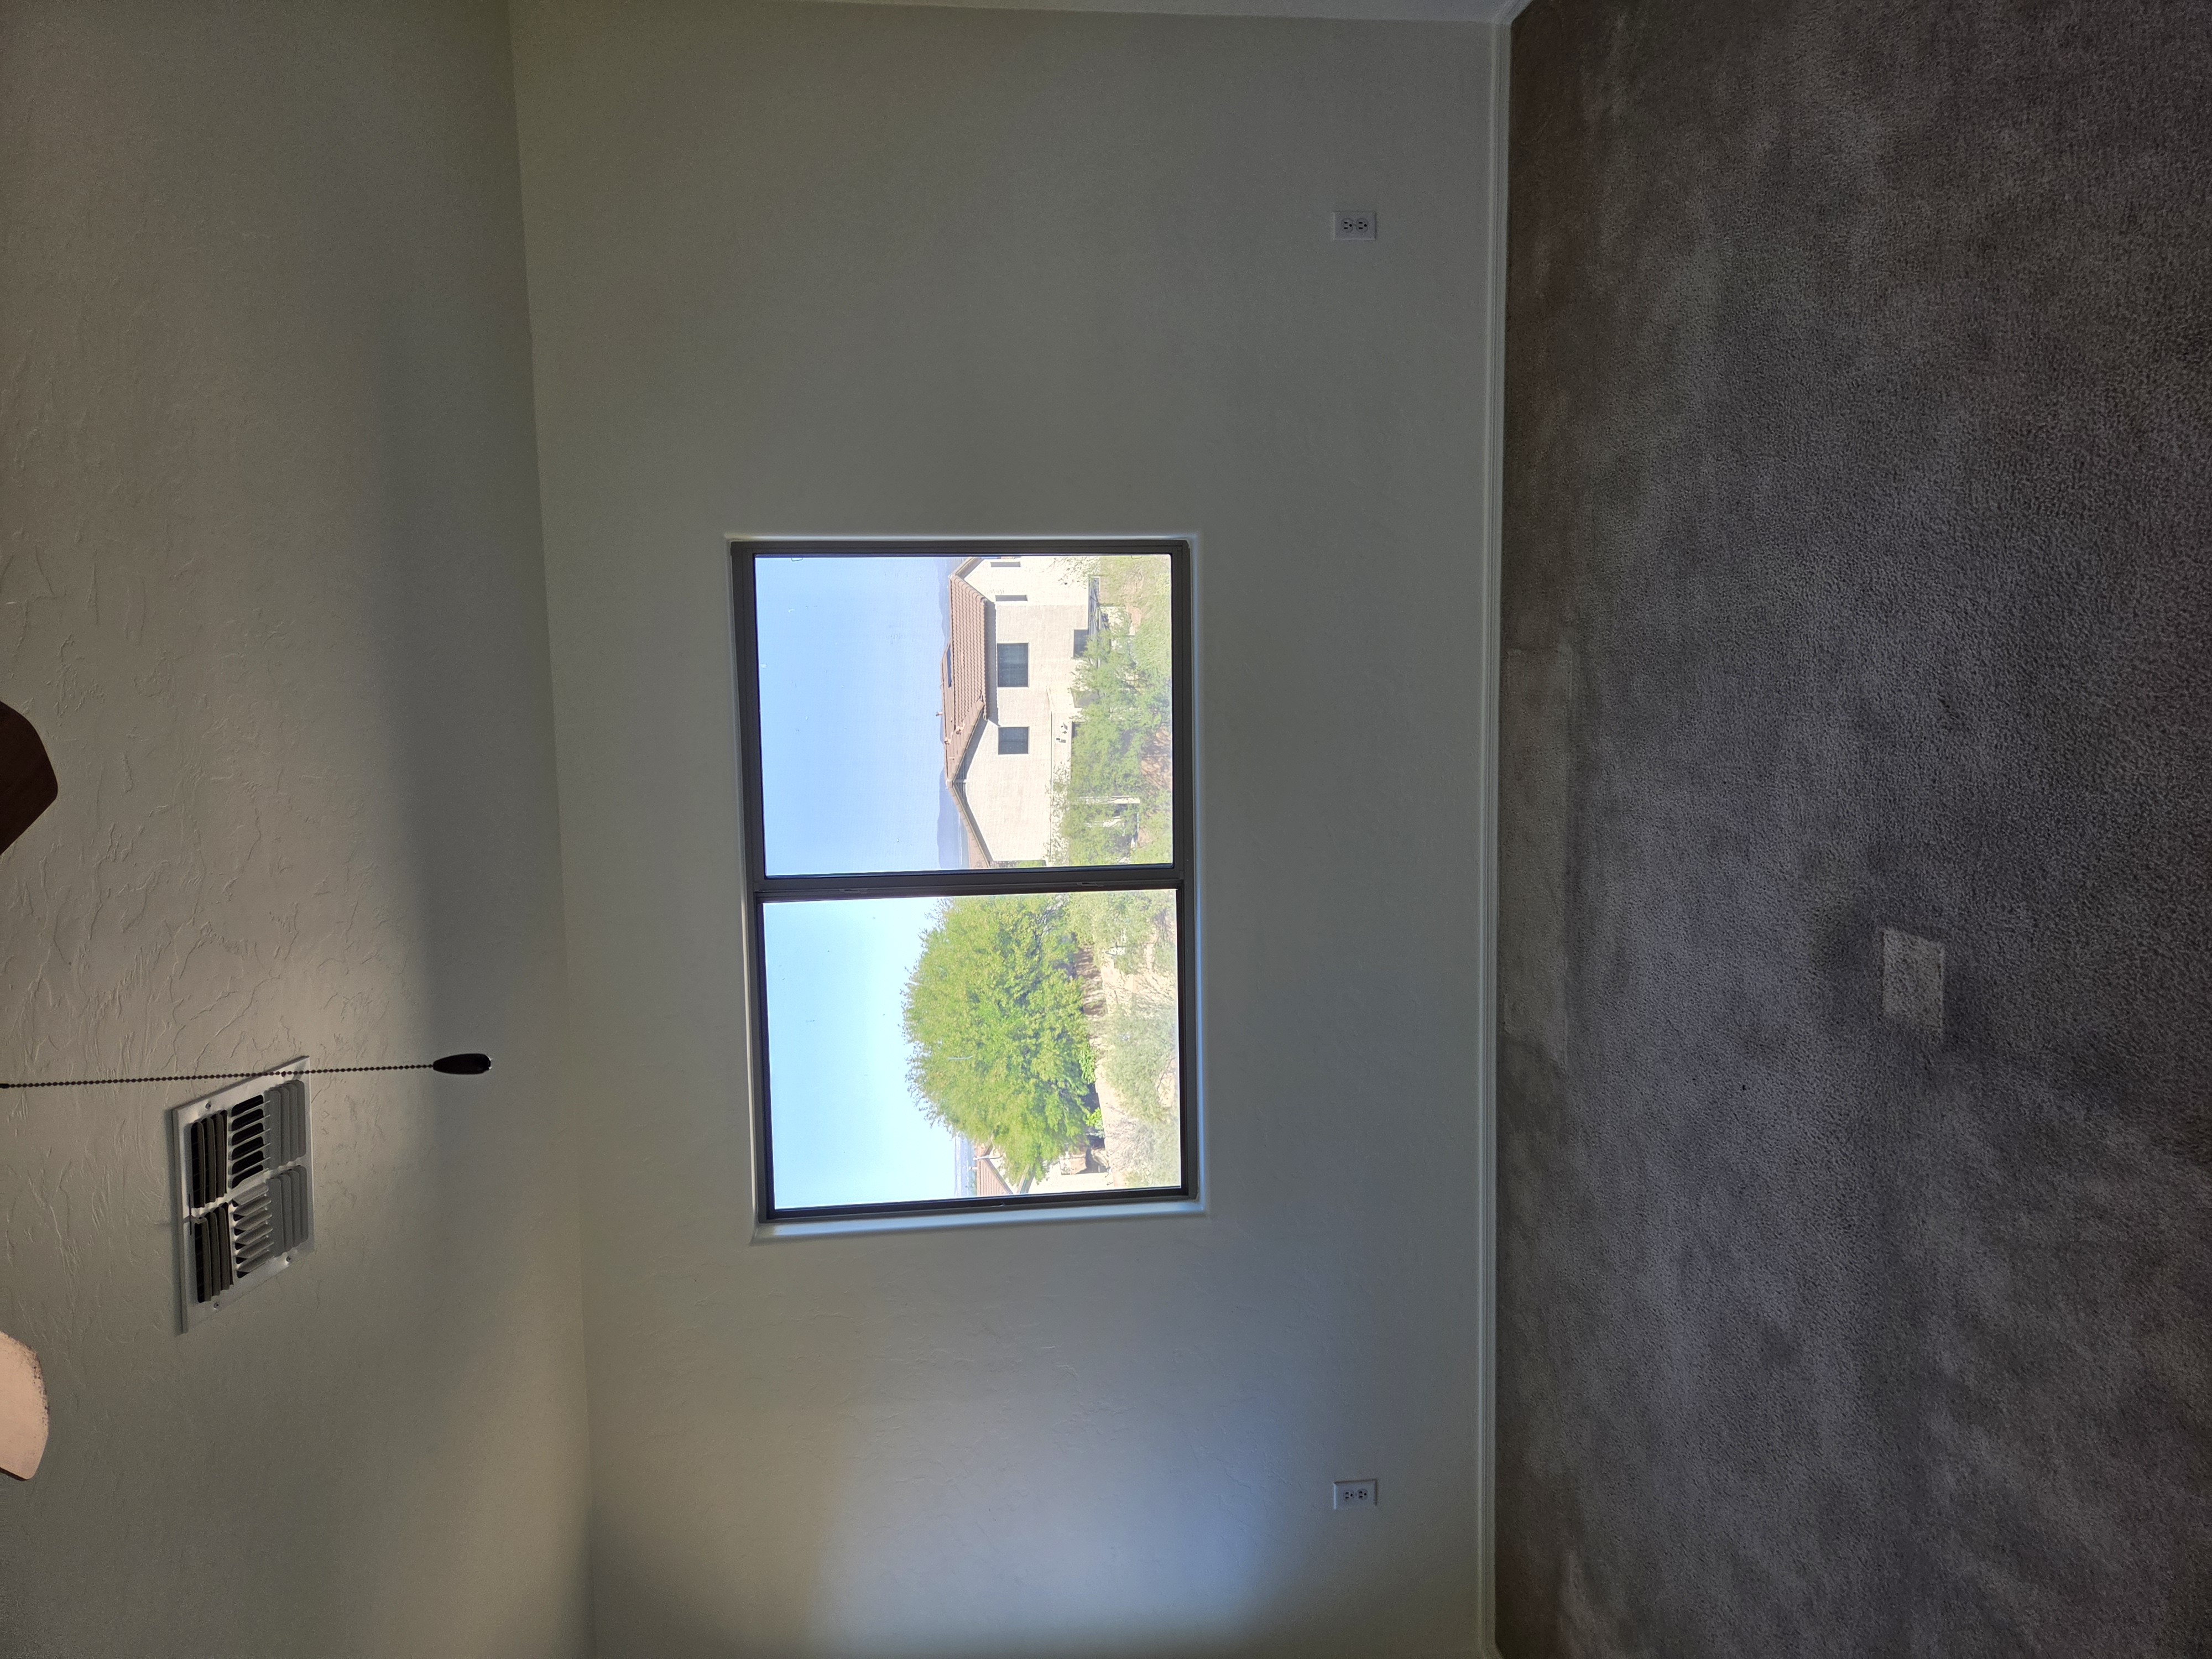 Before
Original curtain rod setup
Existing mounting baseline before replacement.
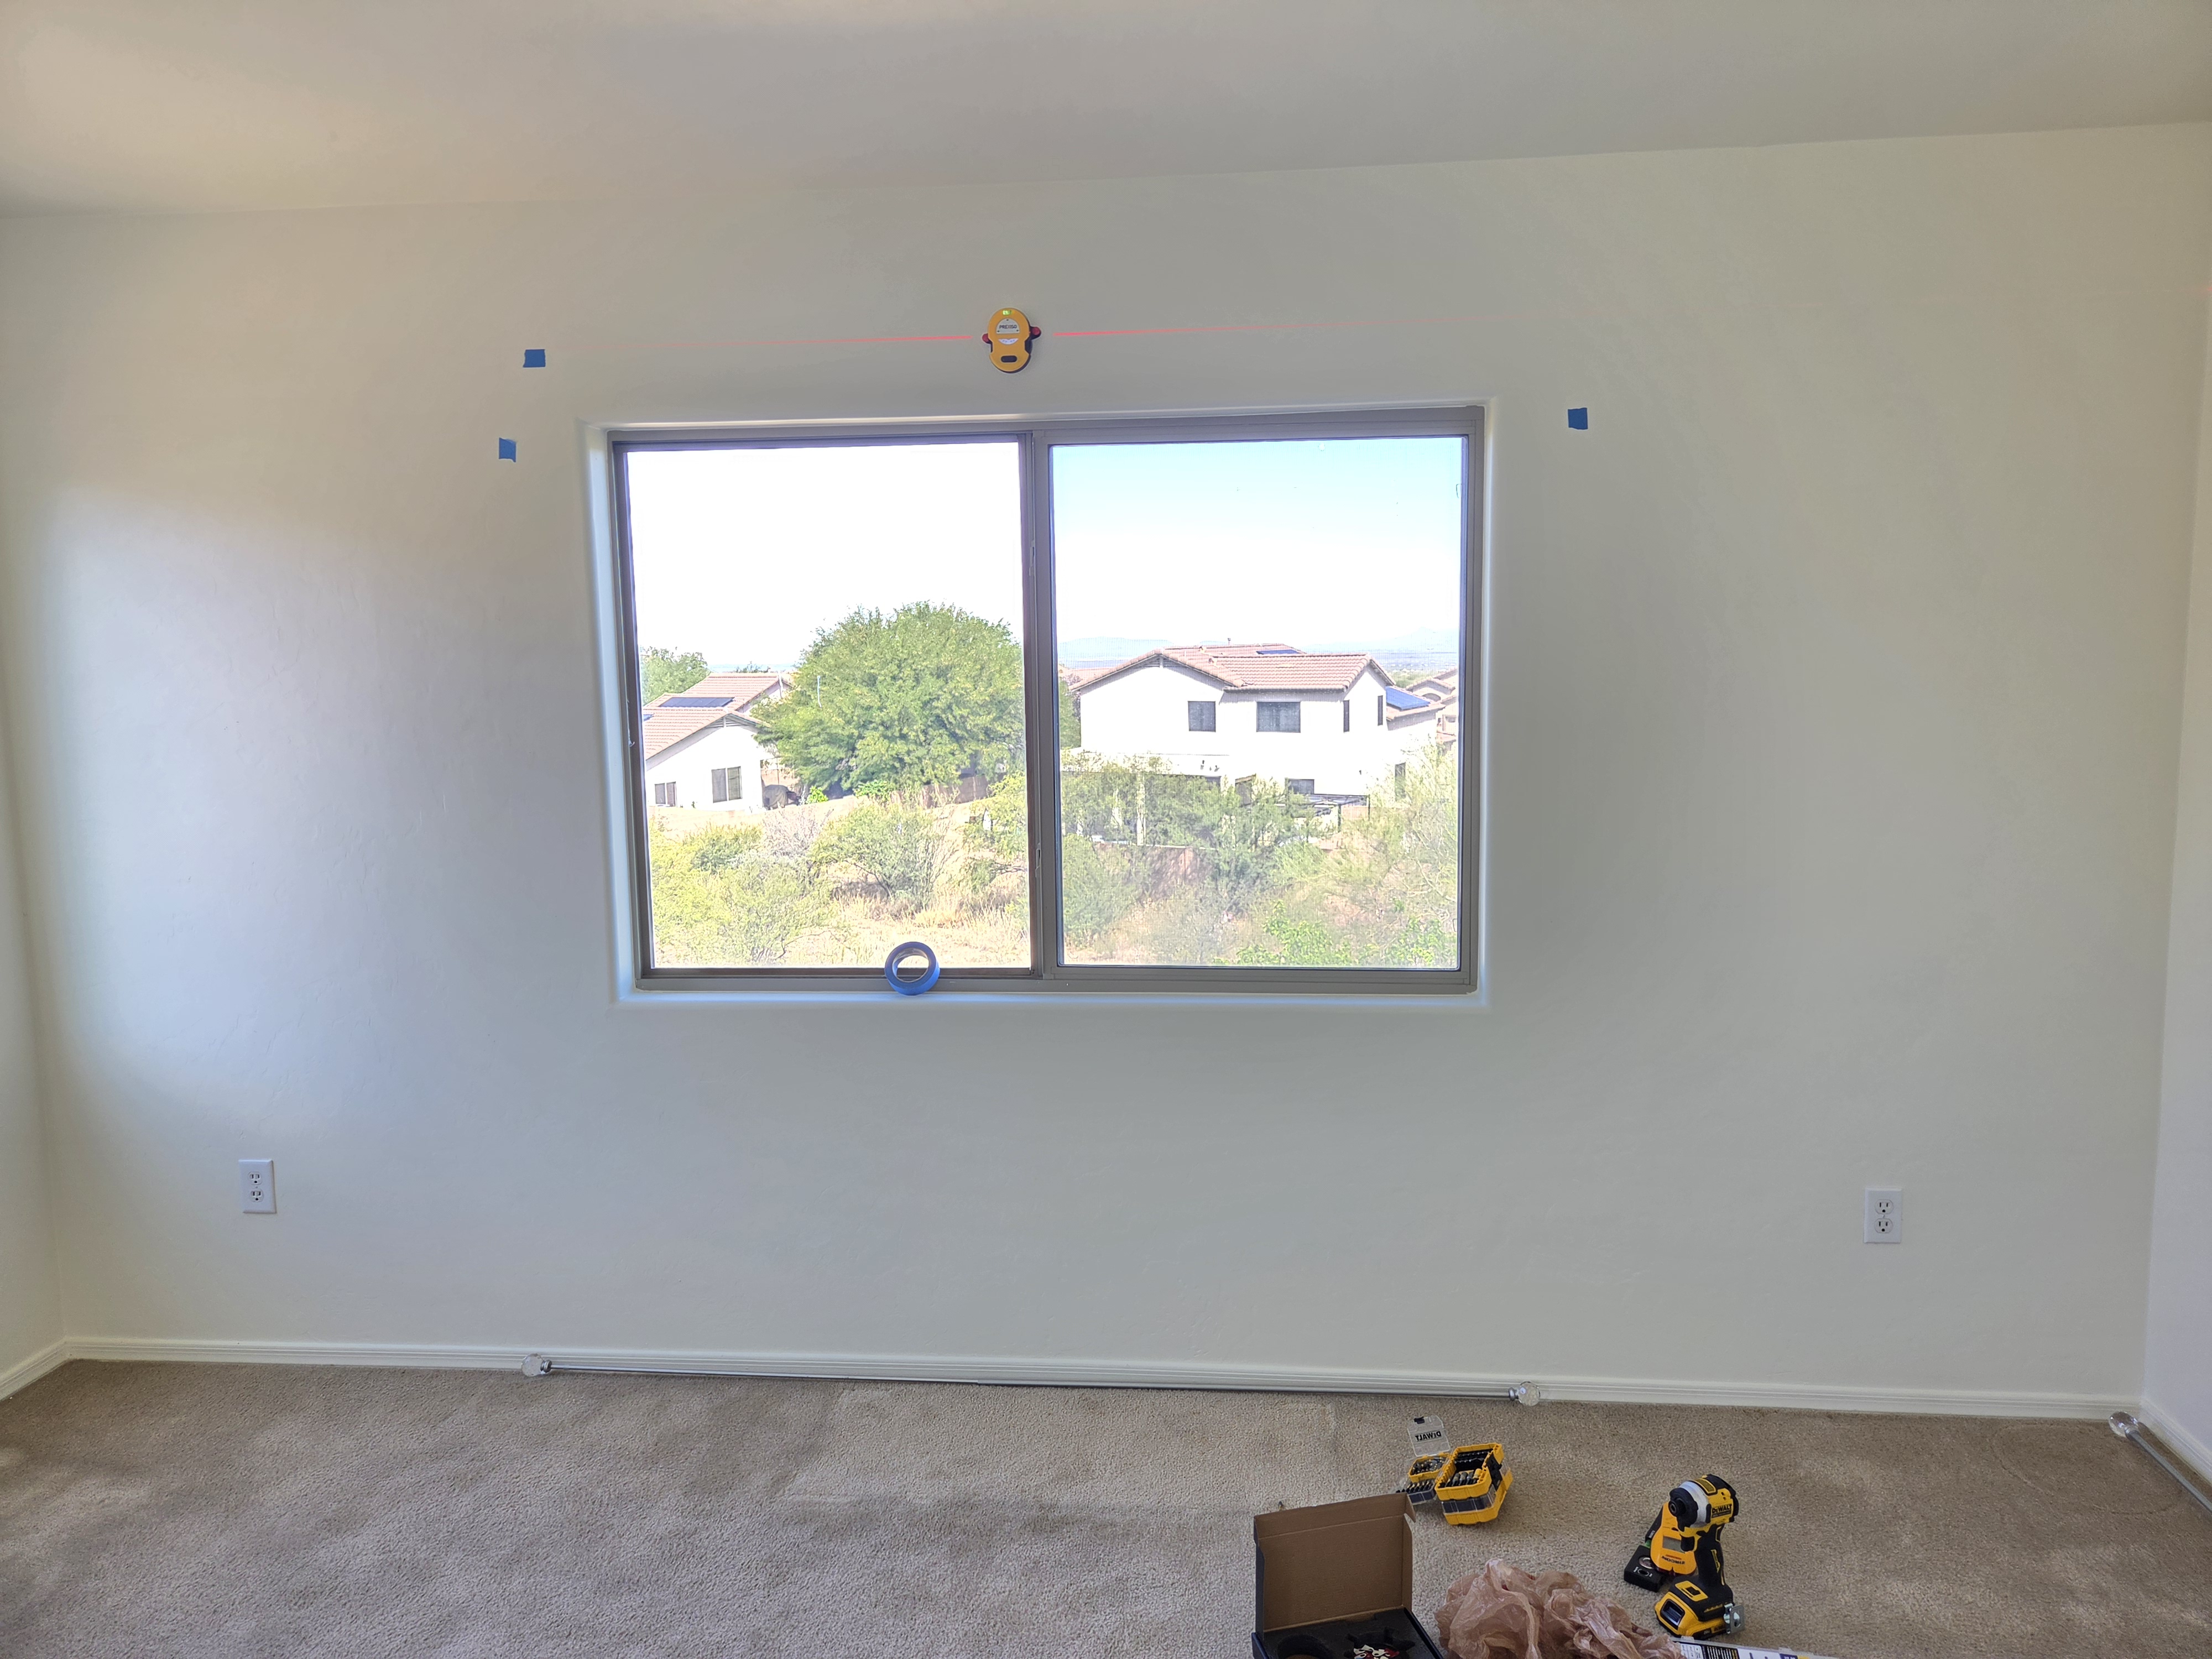 Process
Bracket and alignment detail
Hardware placement and spacing check during install.
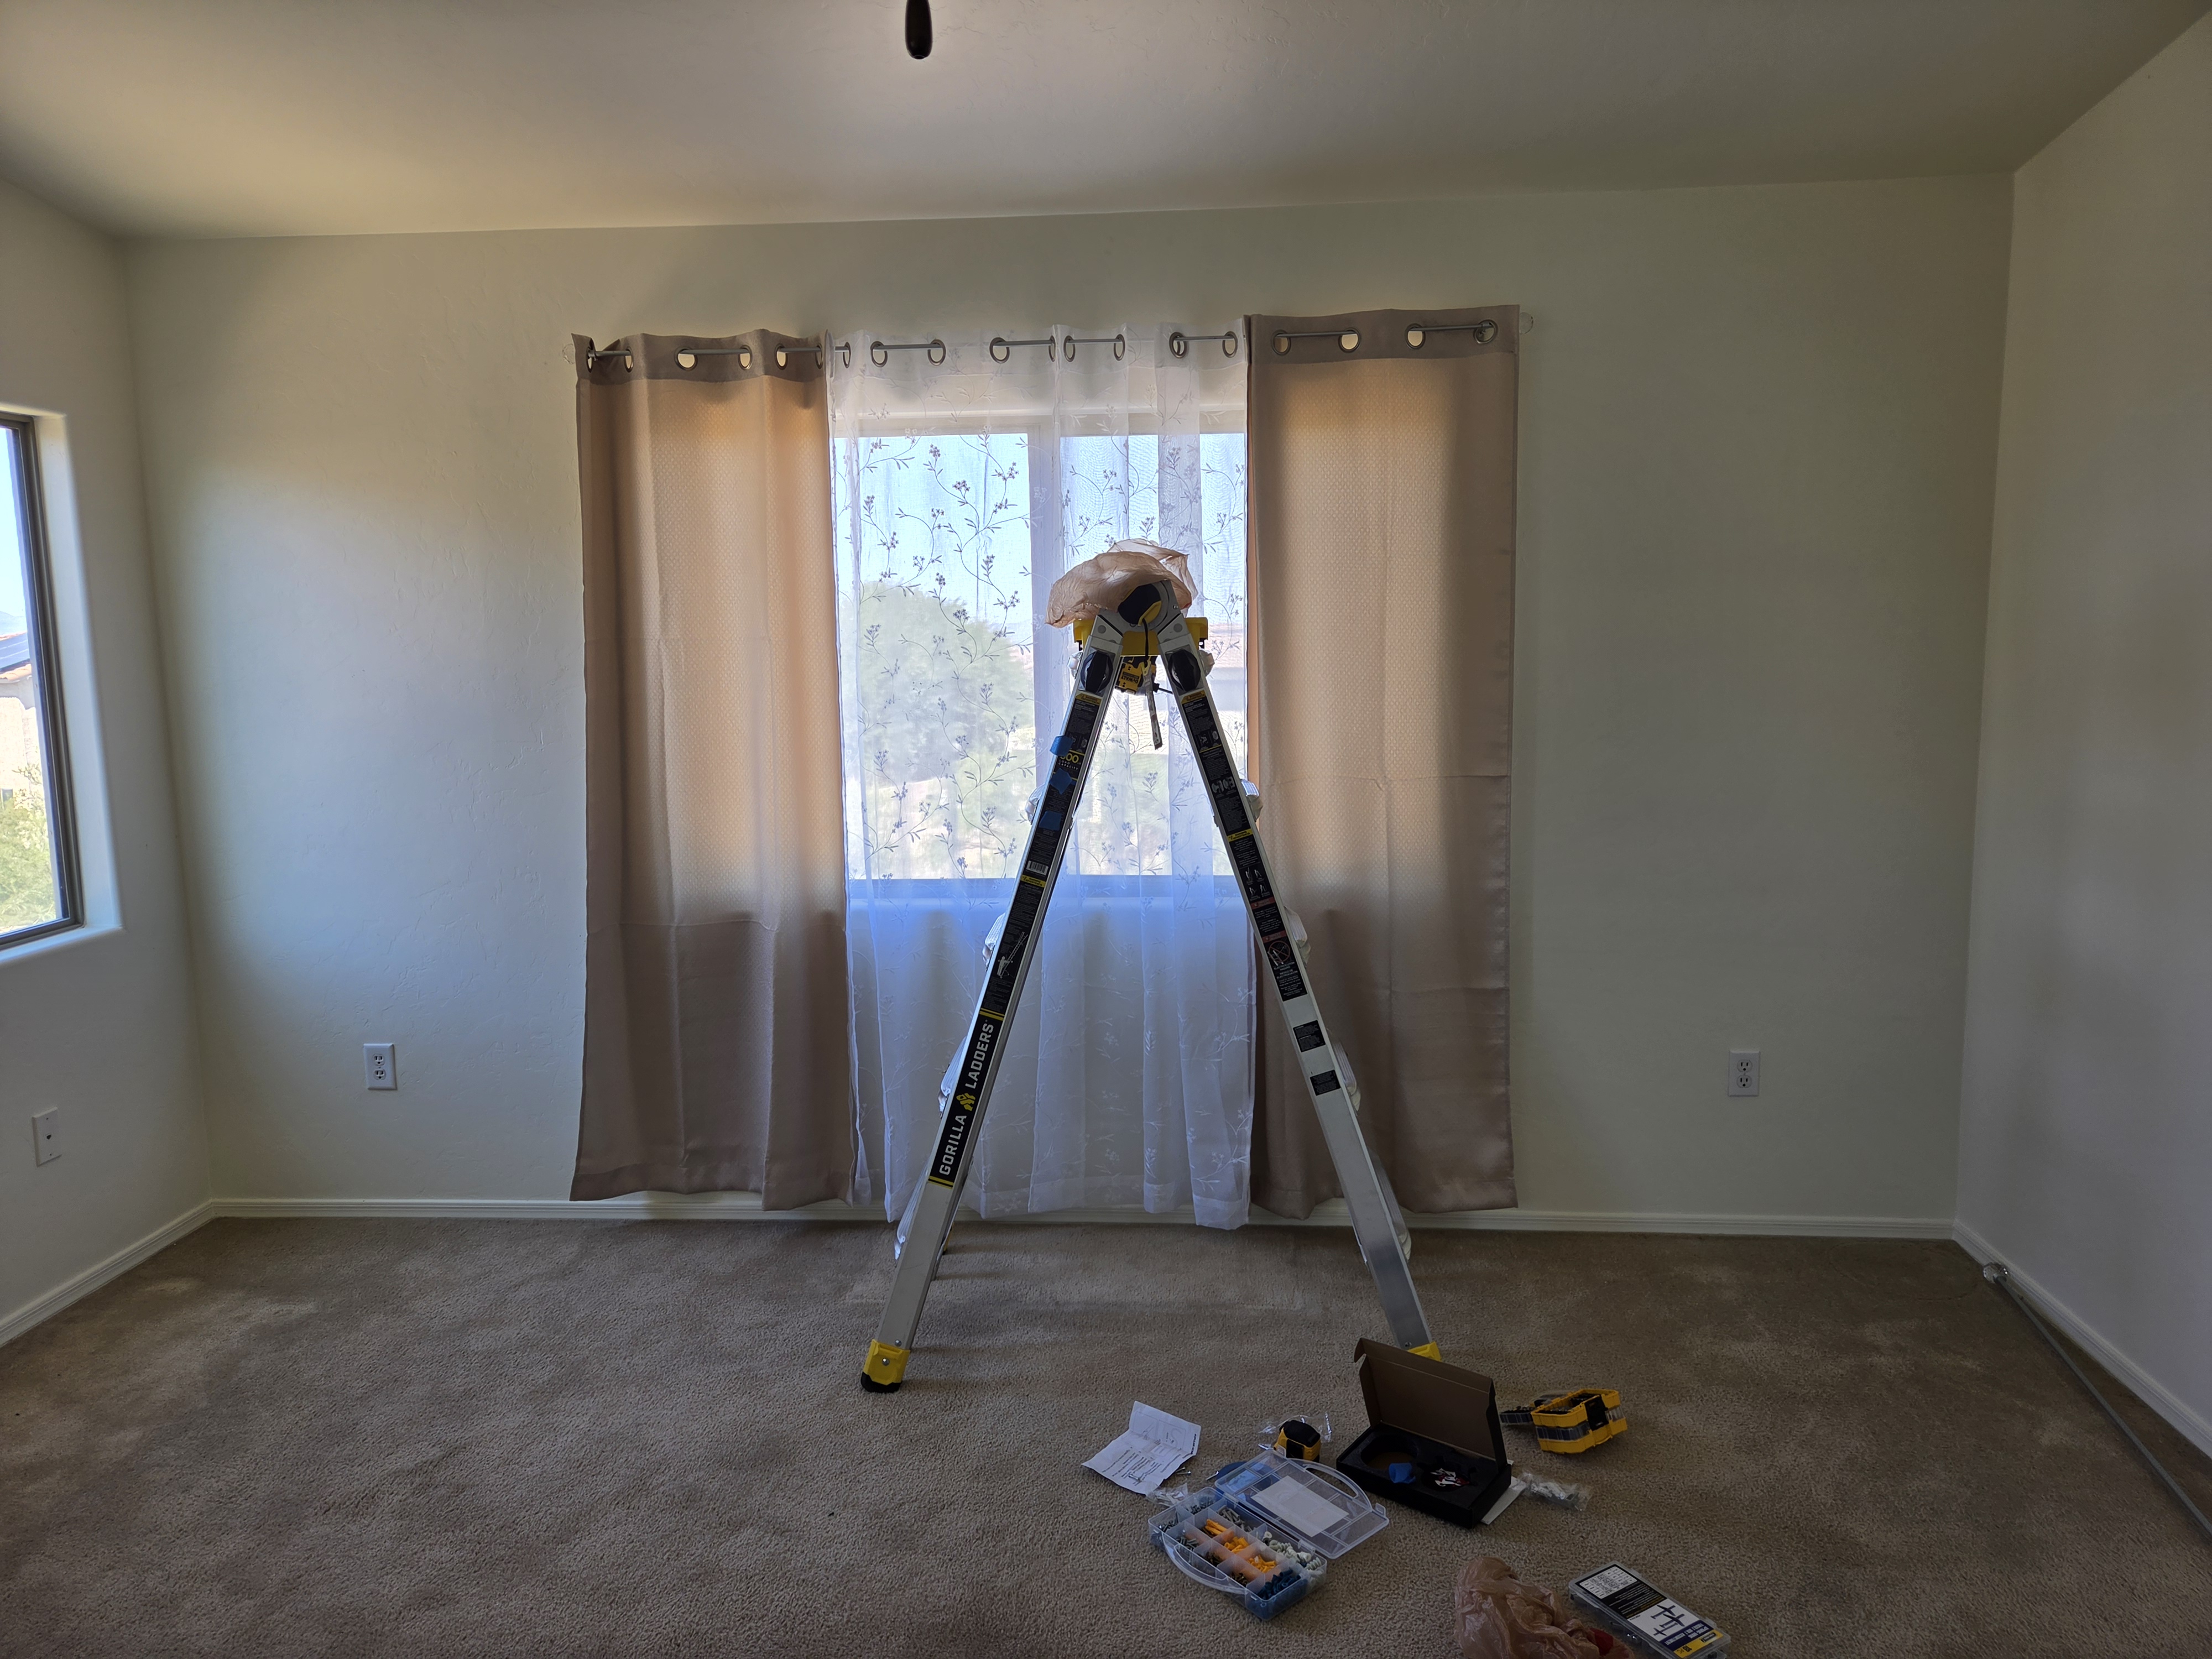 After
After
Finished curtain rod installation
Clean final look with secure mounting points.
AC coil cleaning, preventative maintenance, HVAC and electrical troubleshooting, and component replacement for common condenser issues.
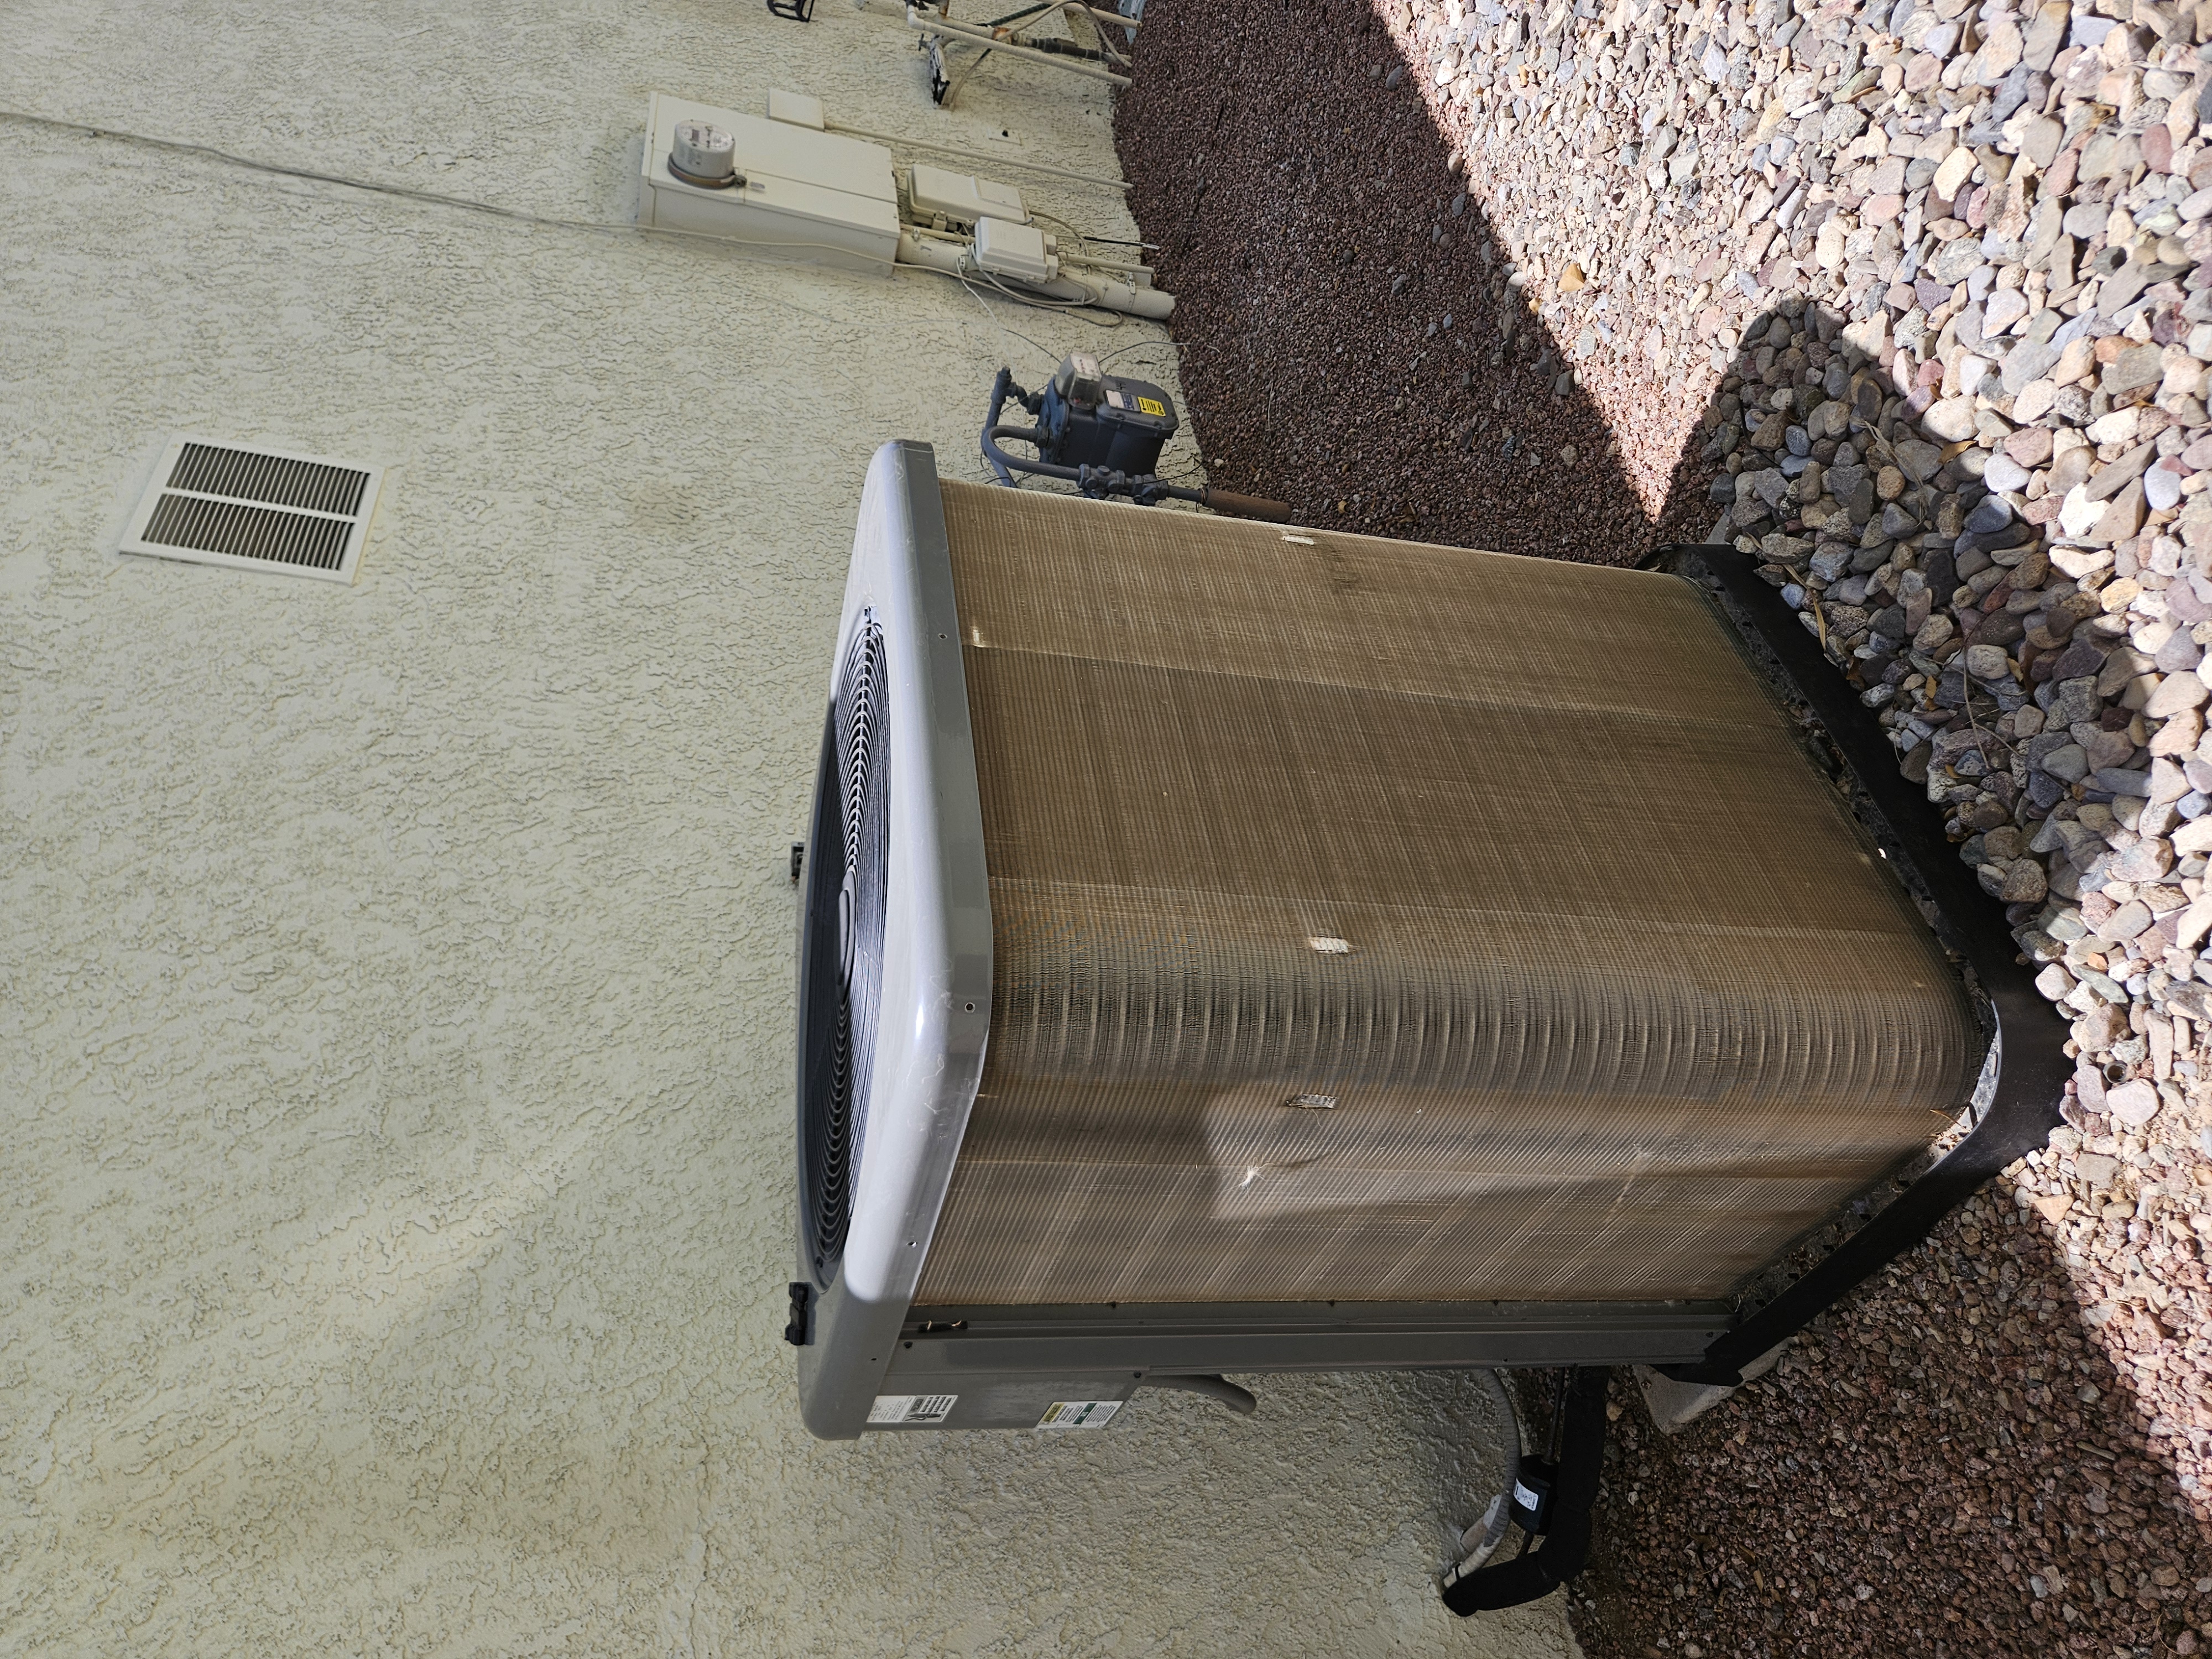 Before
Dirty coil
Initial condition captured before opening and cleaning.
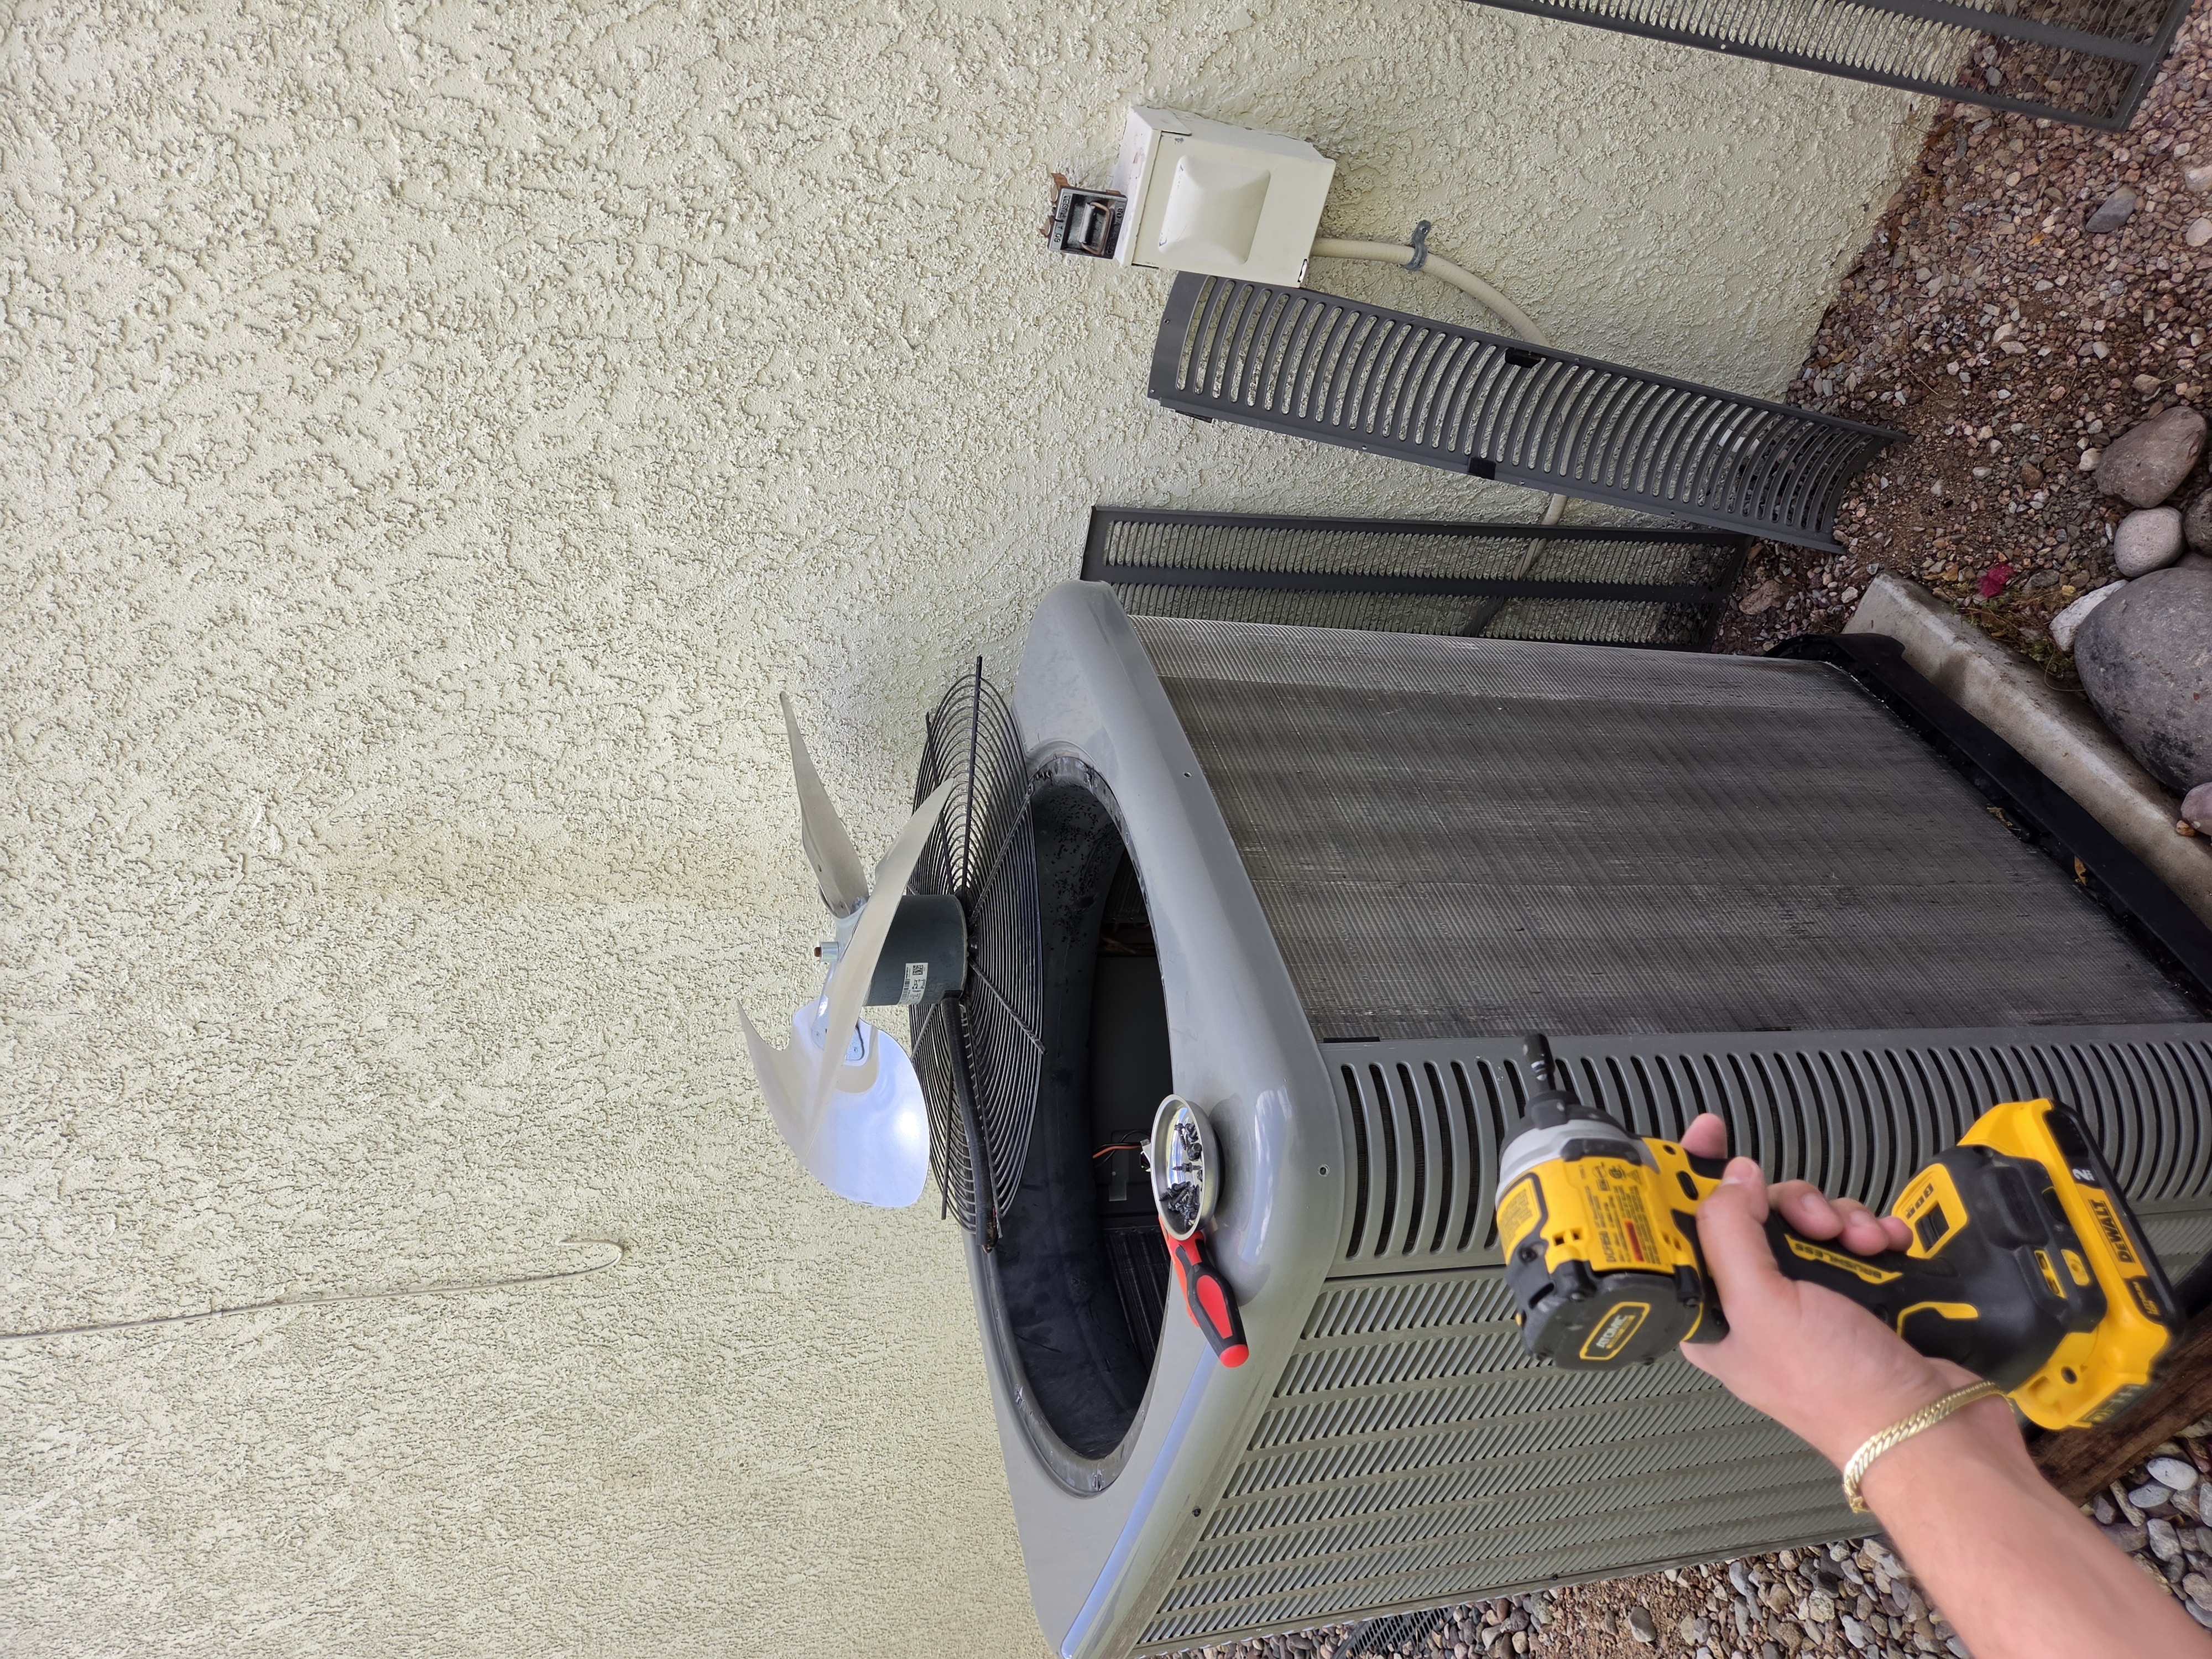 Process
Disassembly + tools
Top assembly removed for interior access and safe cleaning setup.
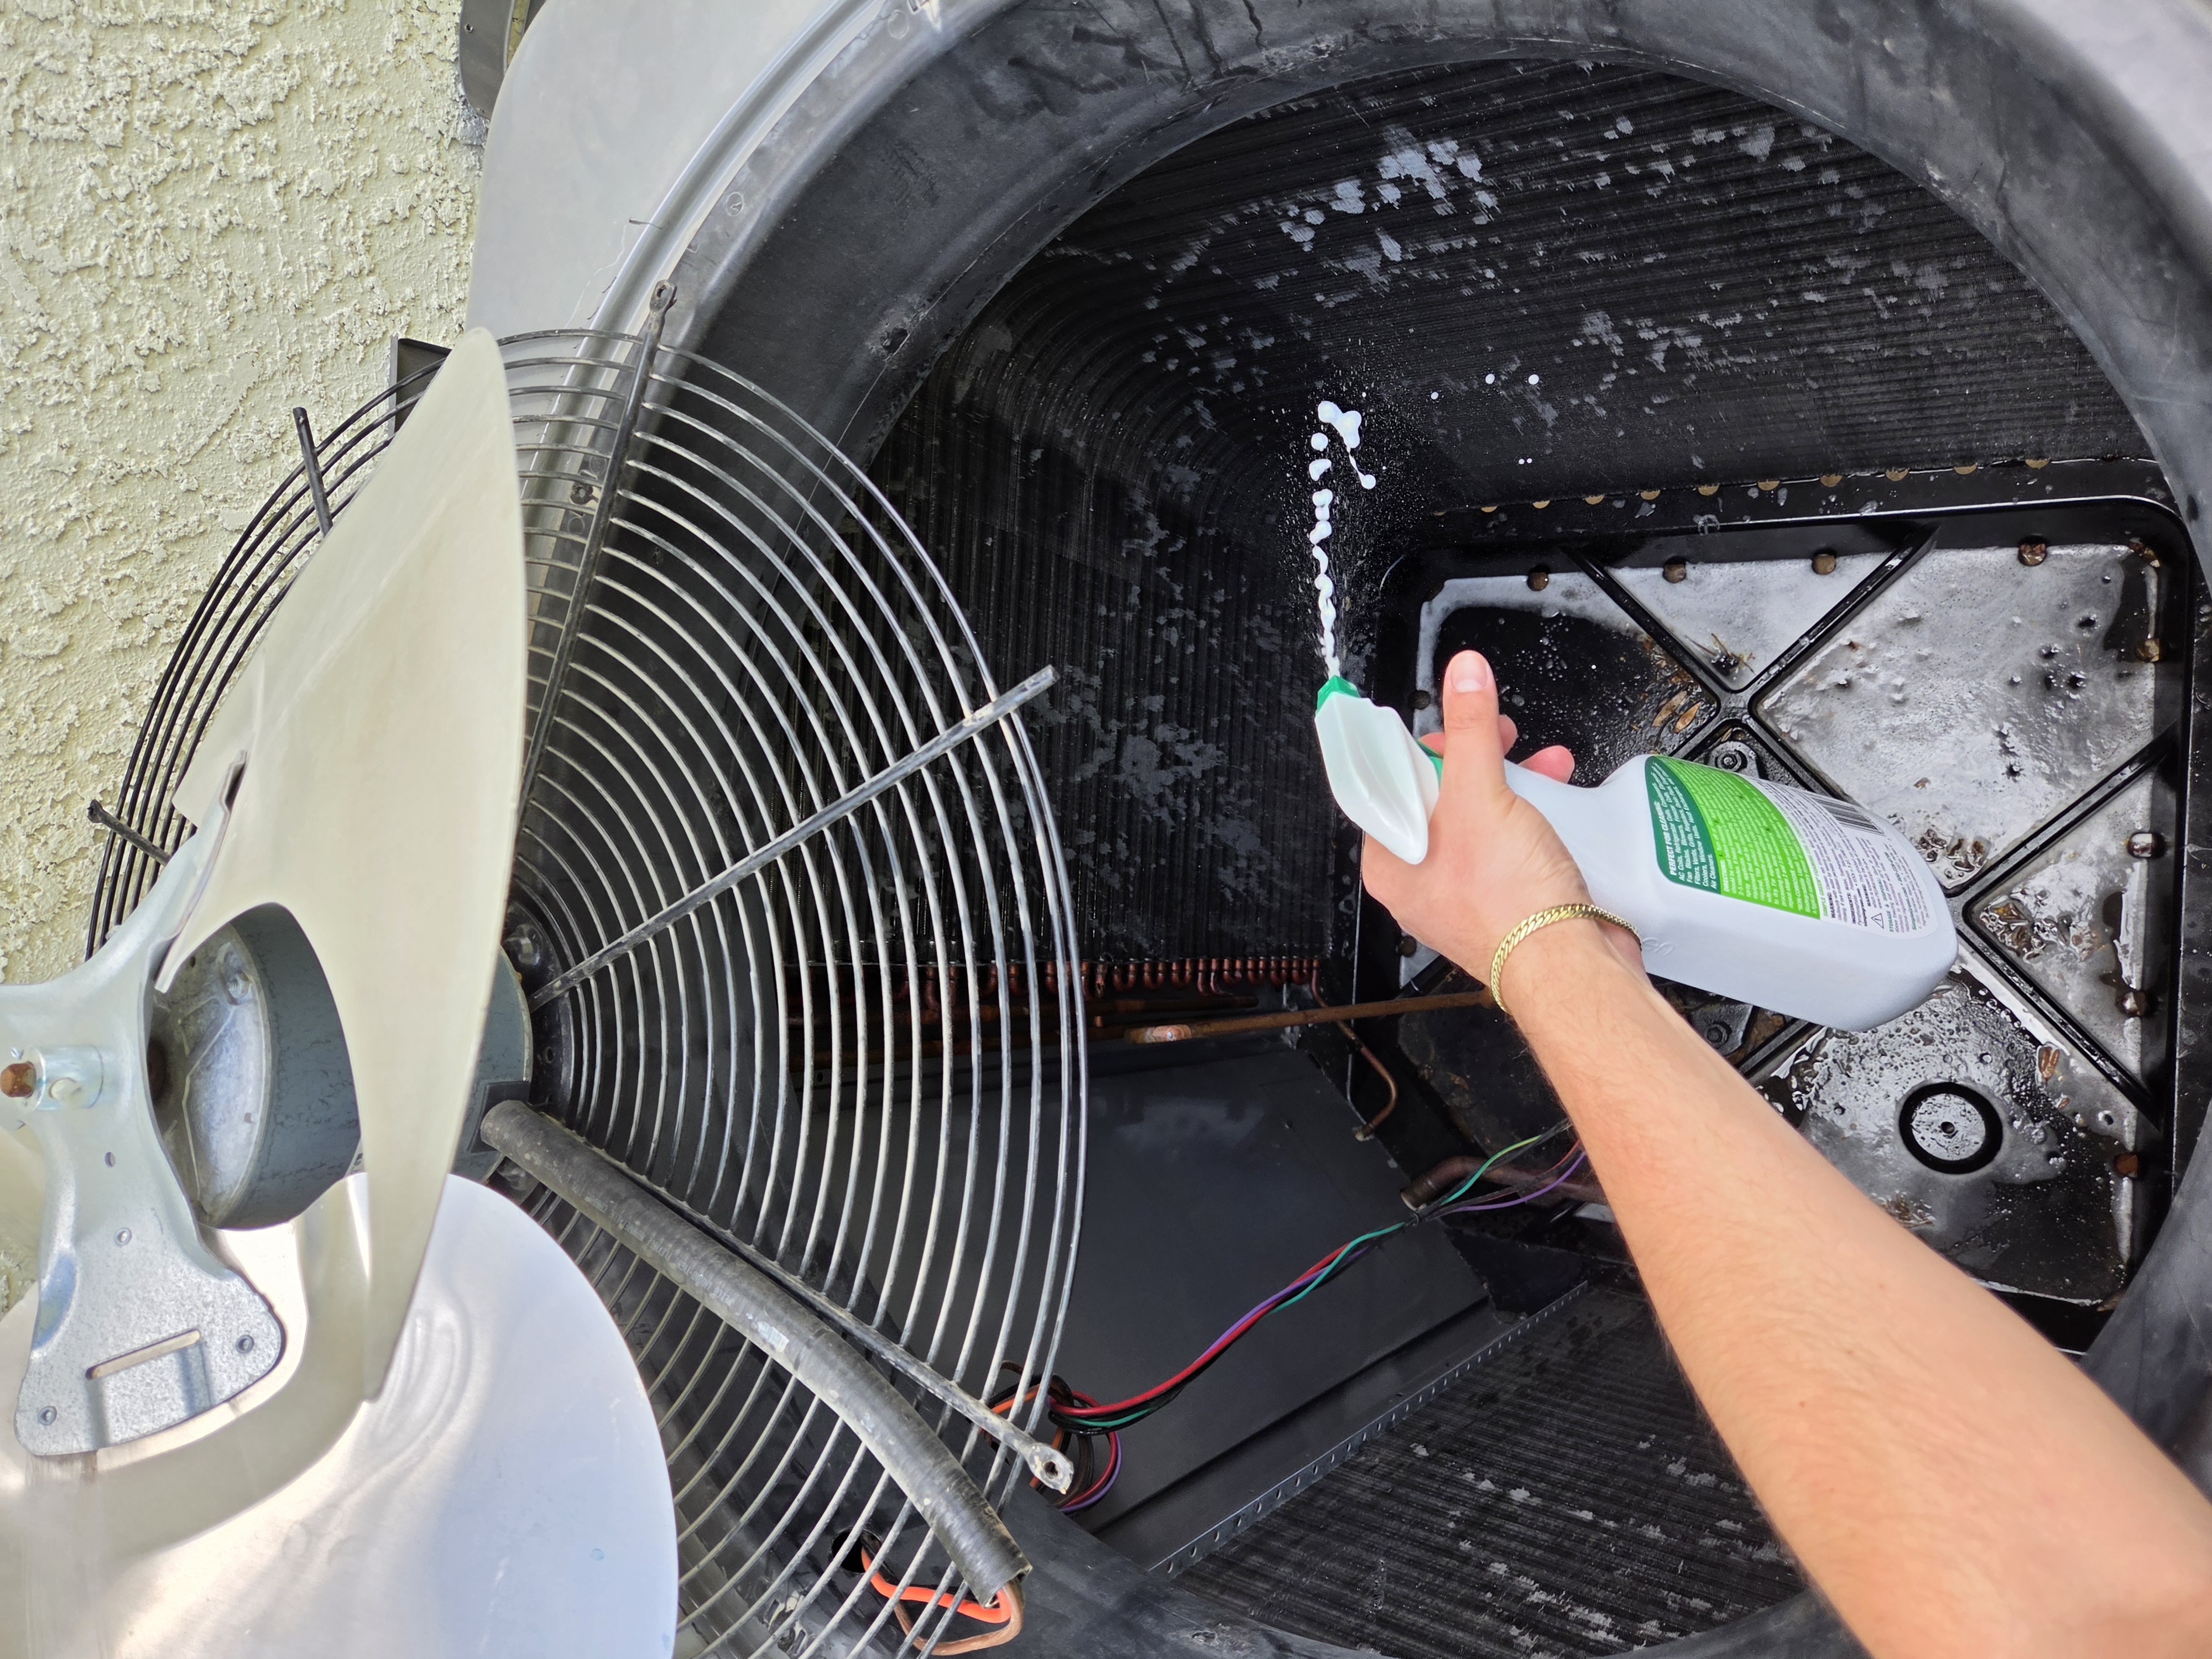 Process
Foam application
Coil cleaner applied and allowed to dwell before rinsing.
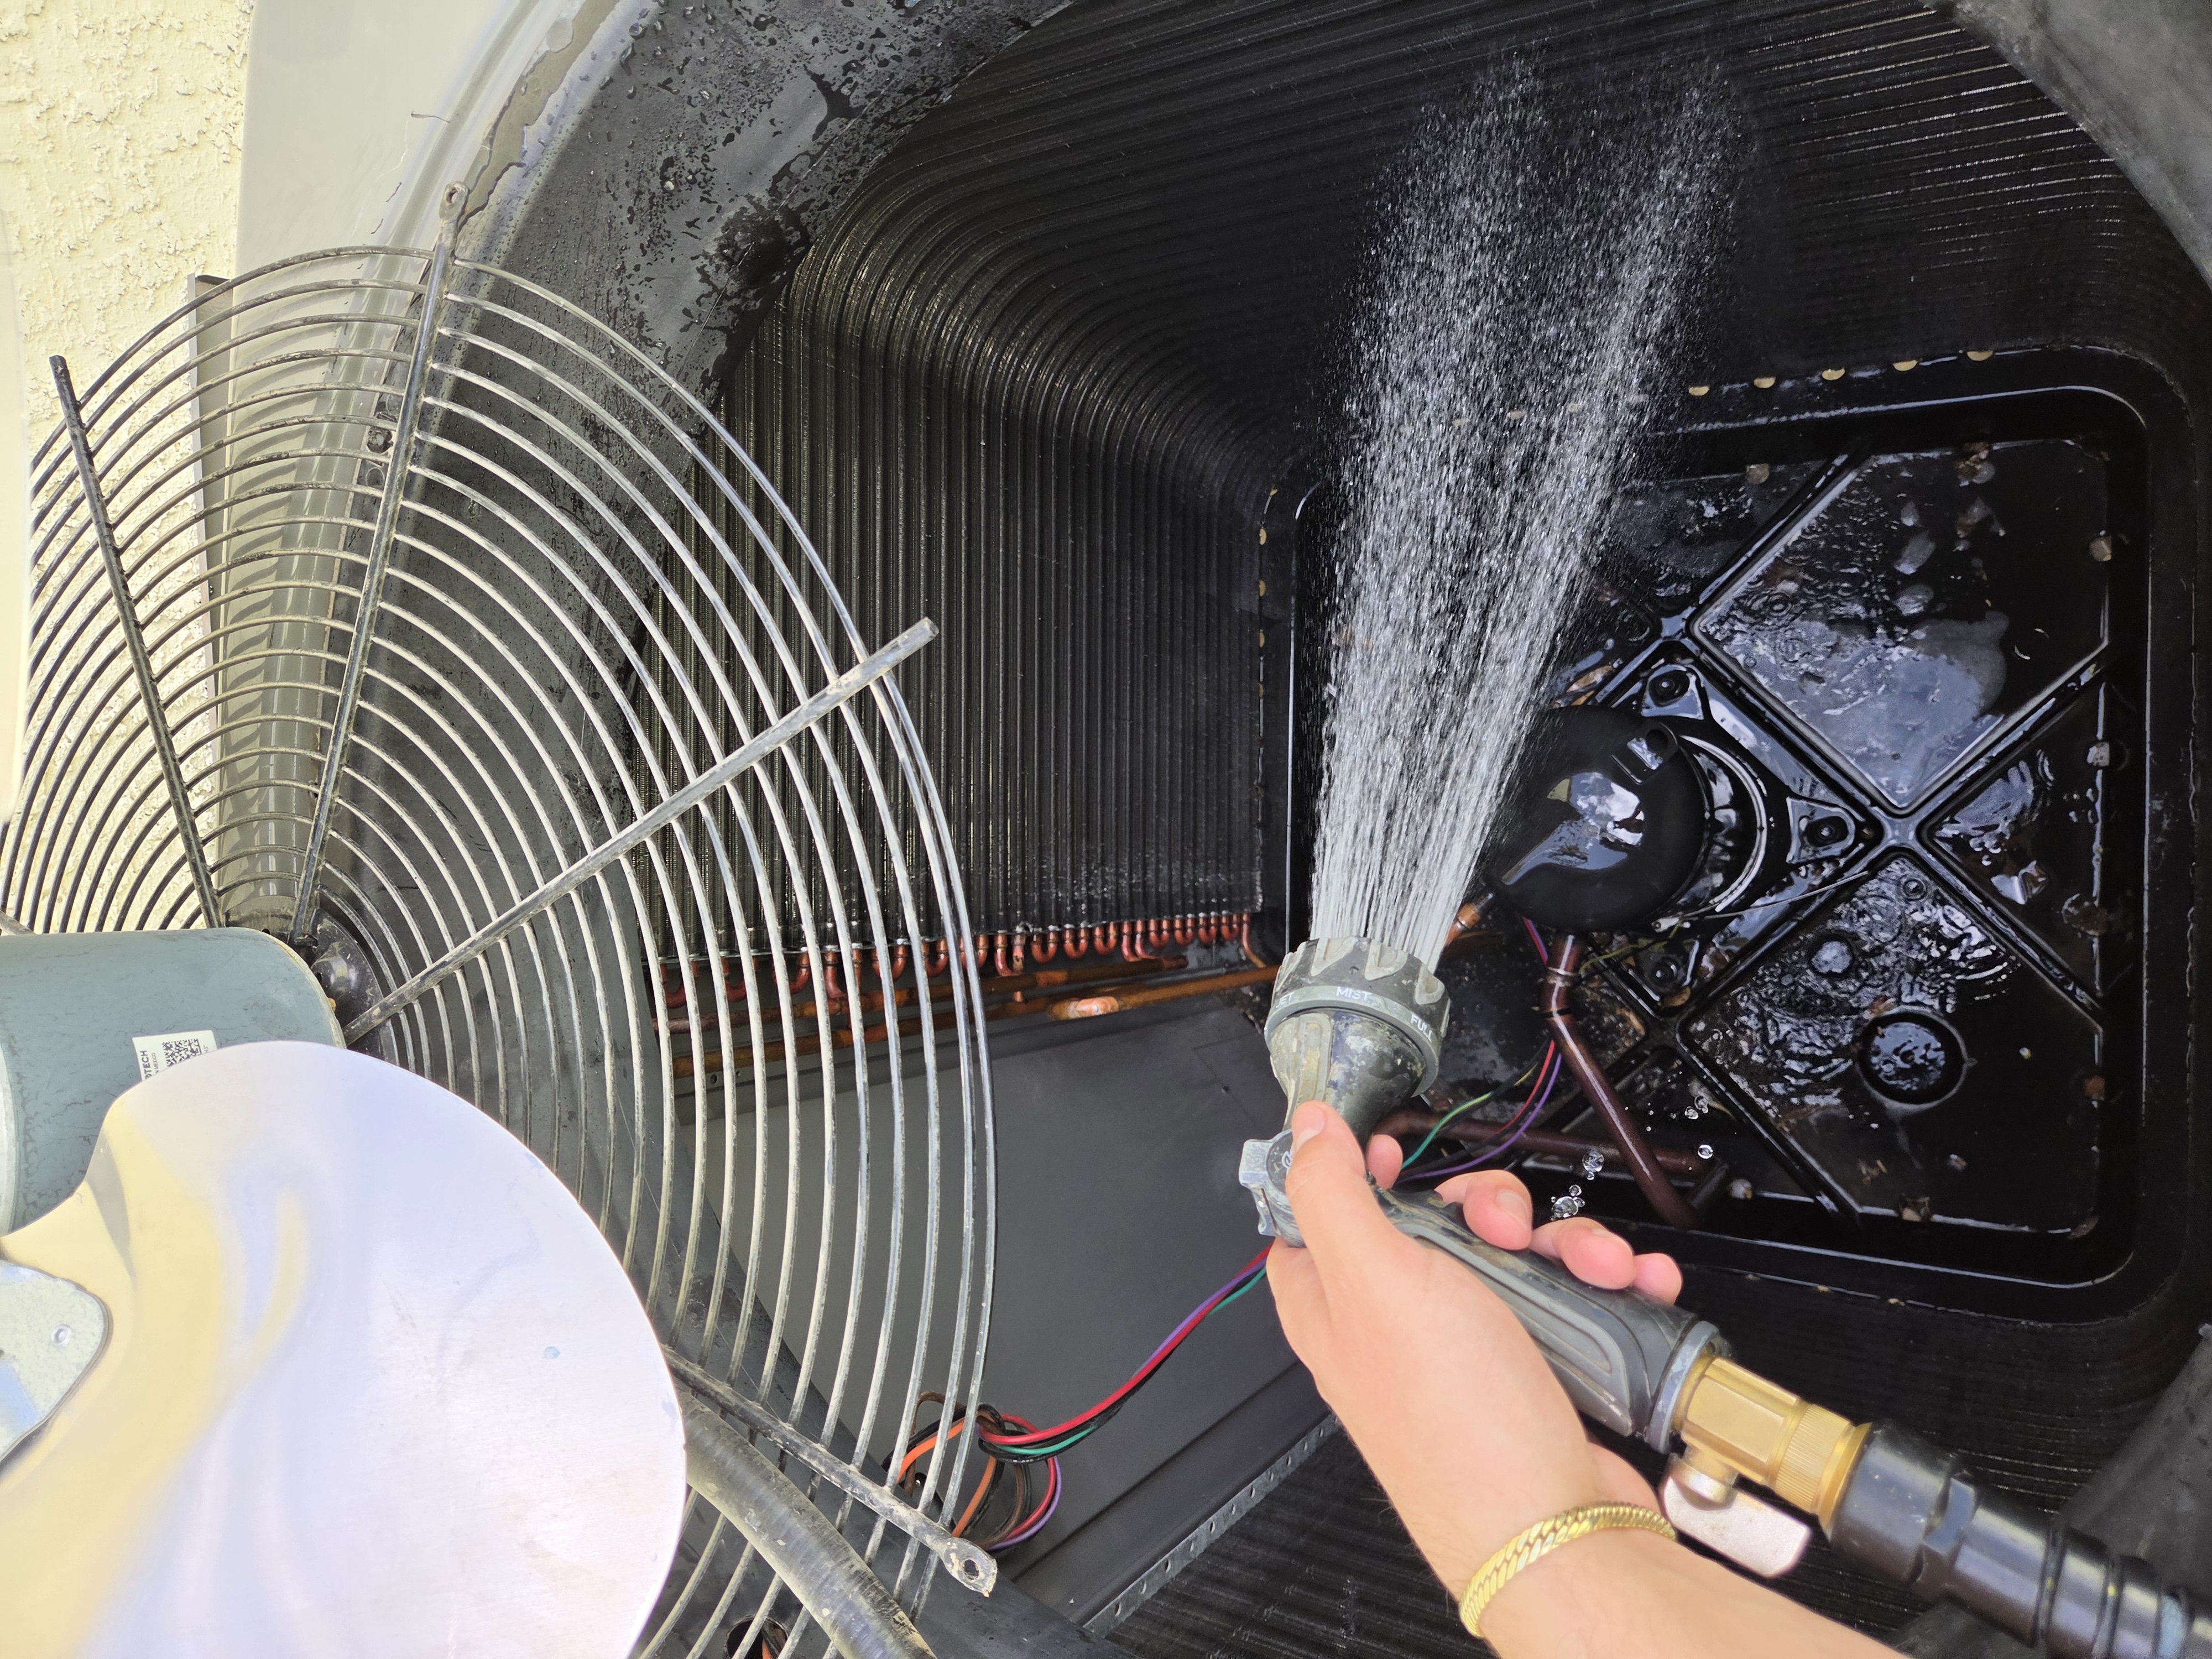 Process
Rinse spray
Foam and debris flushed from condenser coil fins.
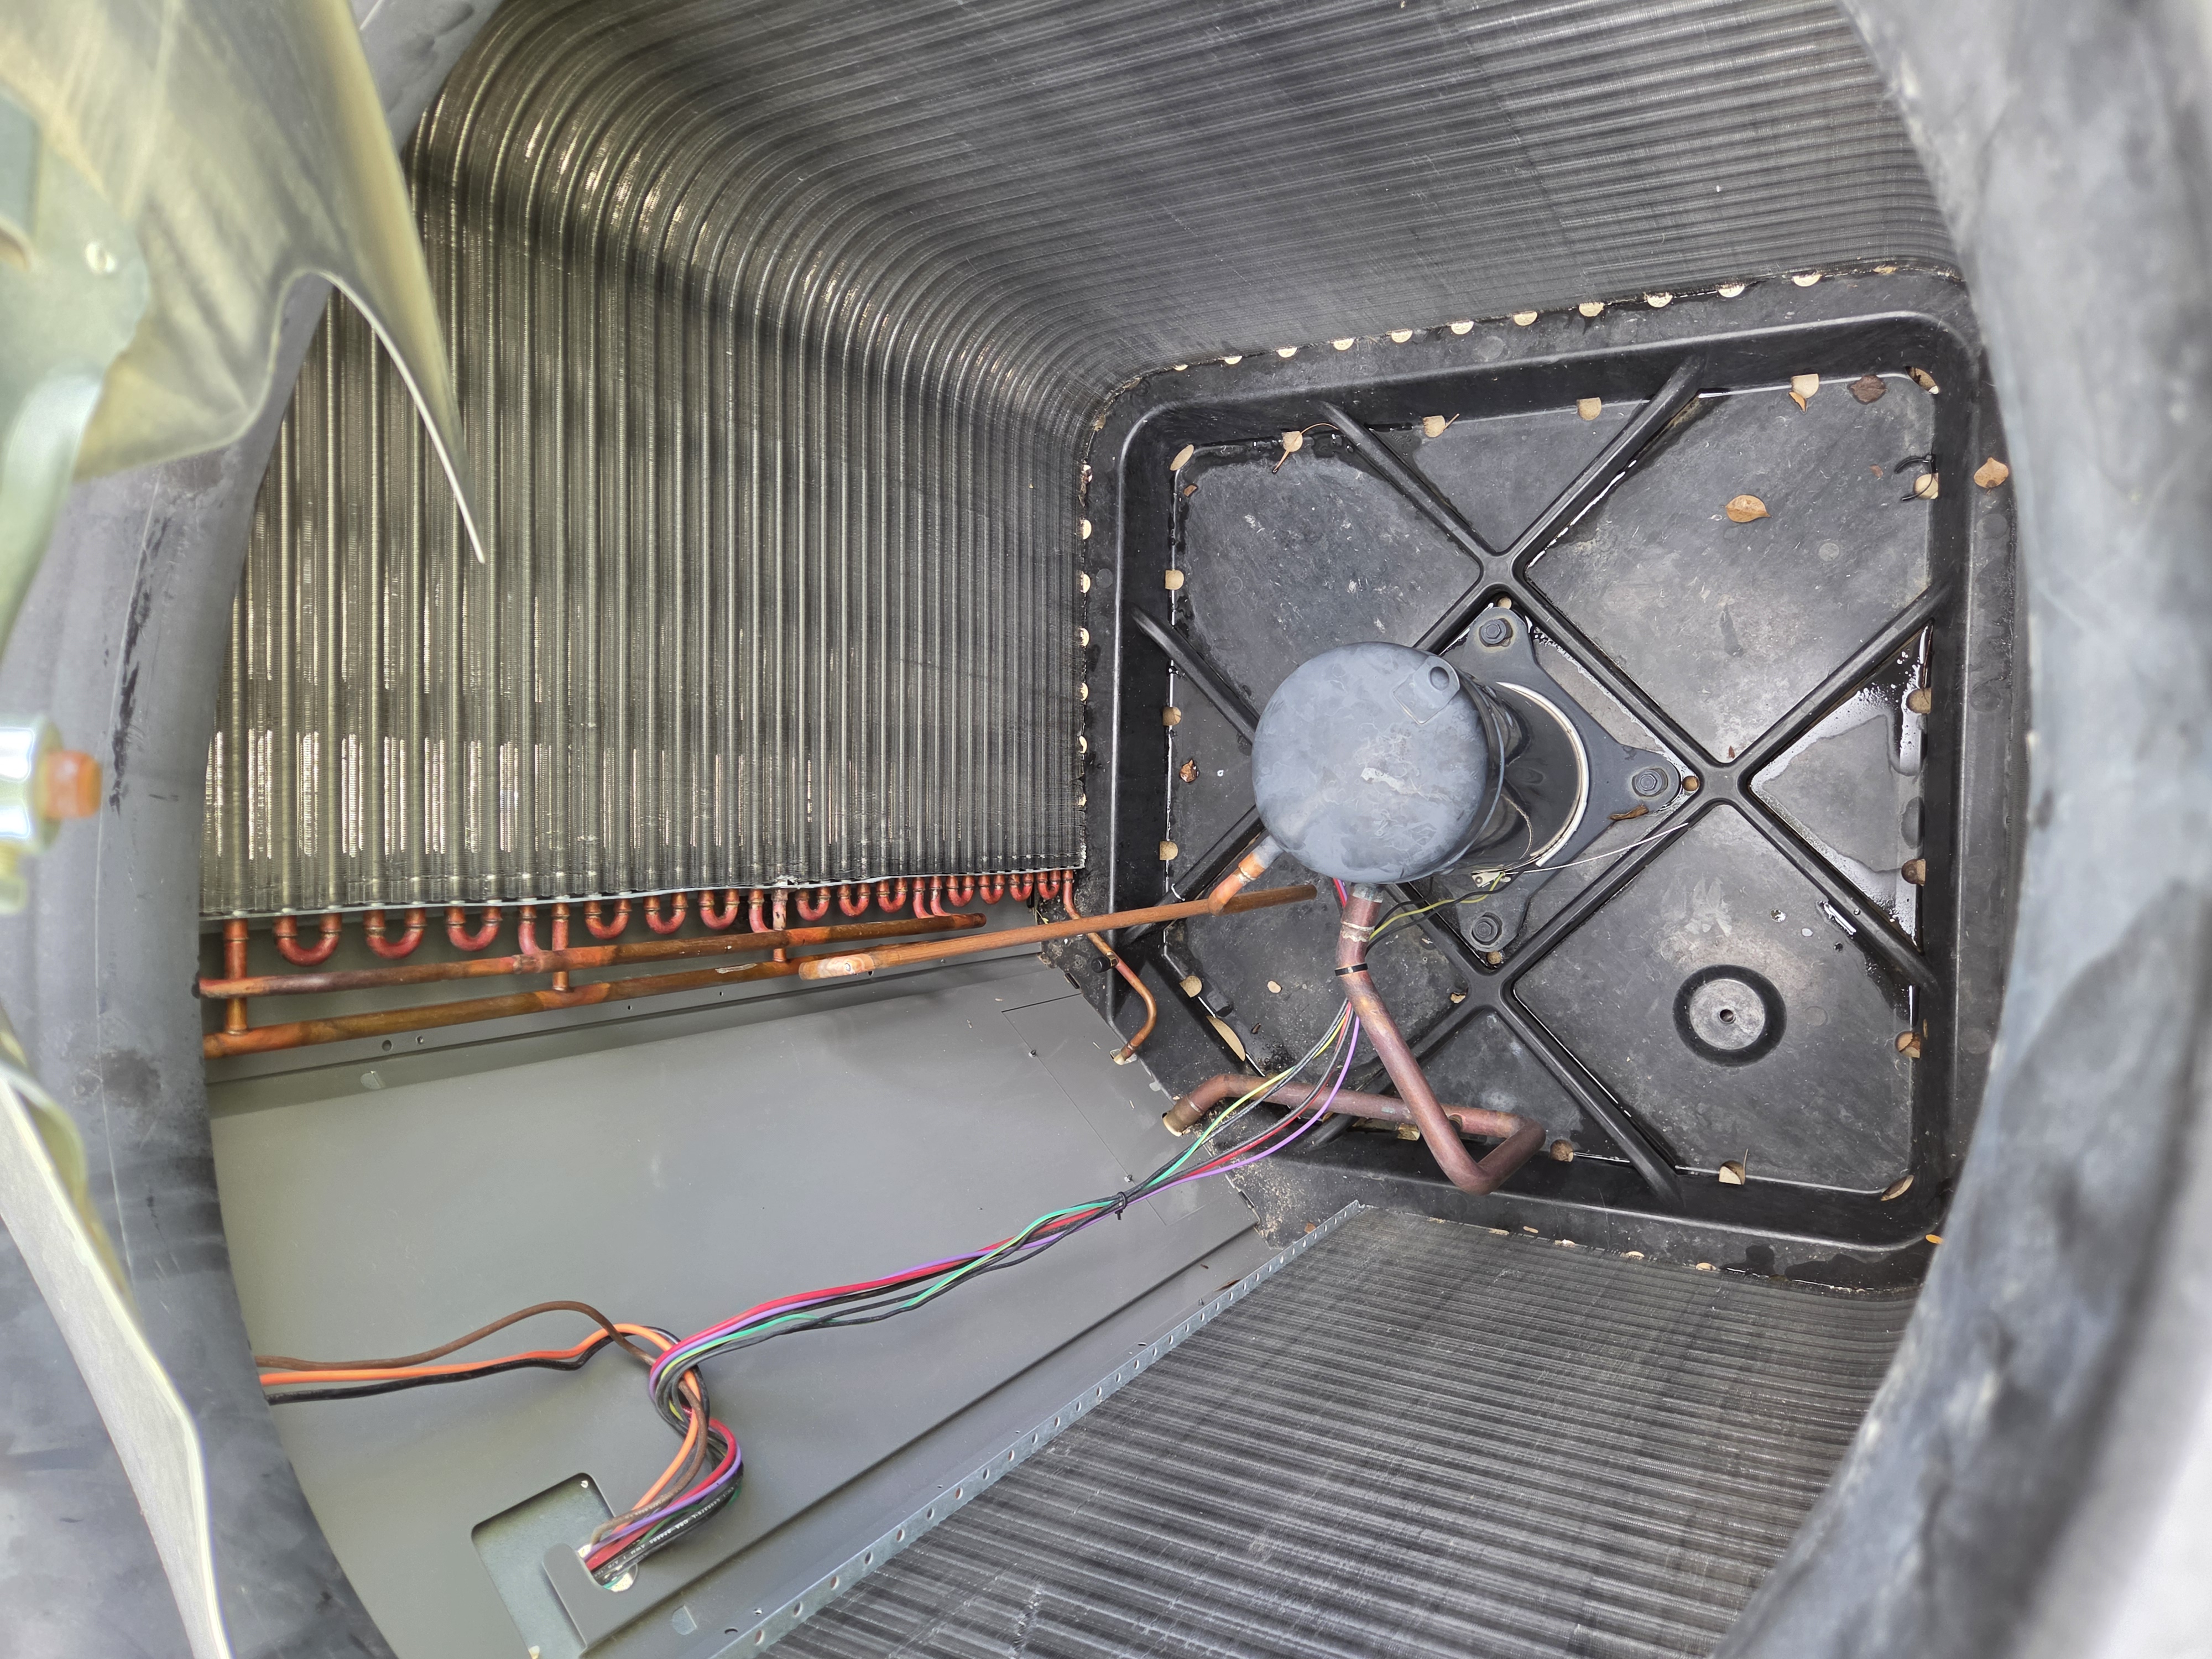 Process
Clean coil
Interior surfaces cleaned and ready for reassembly.
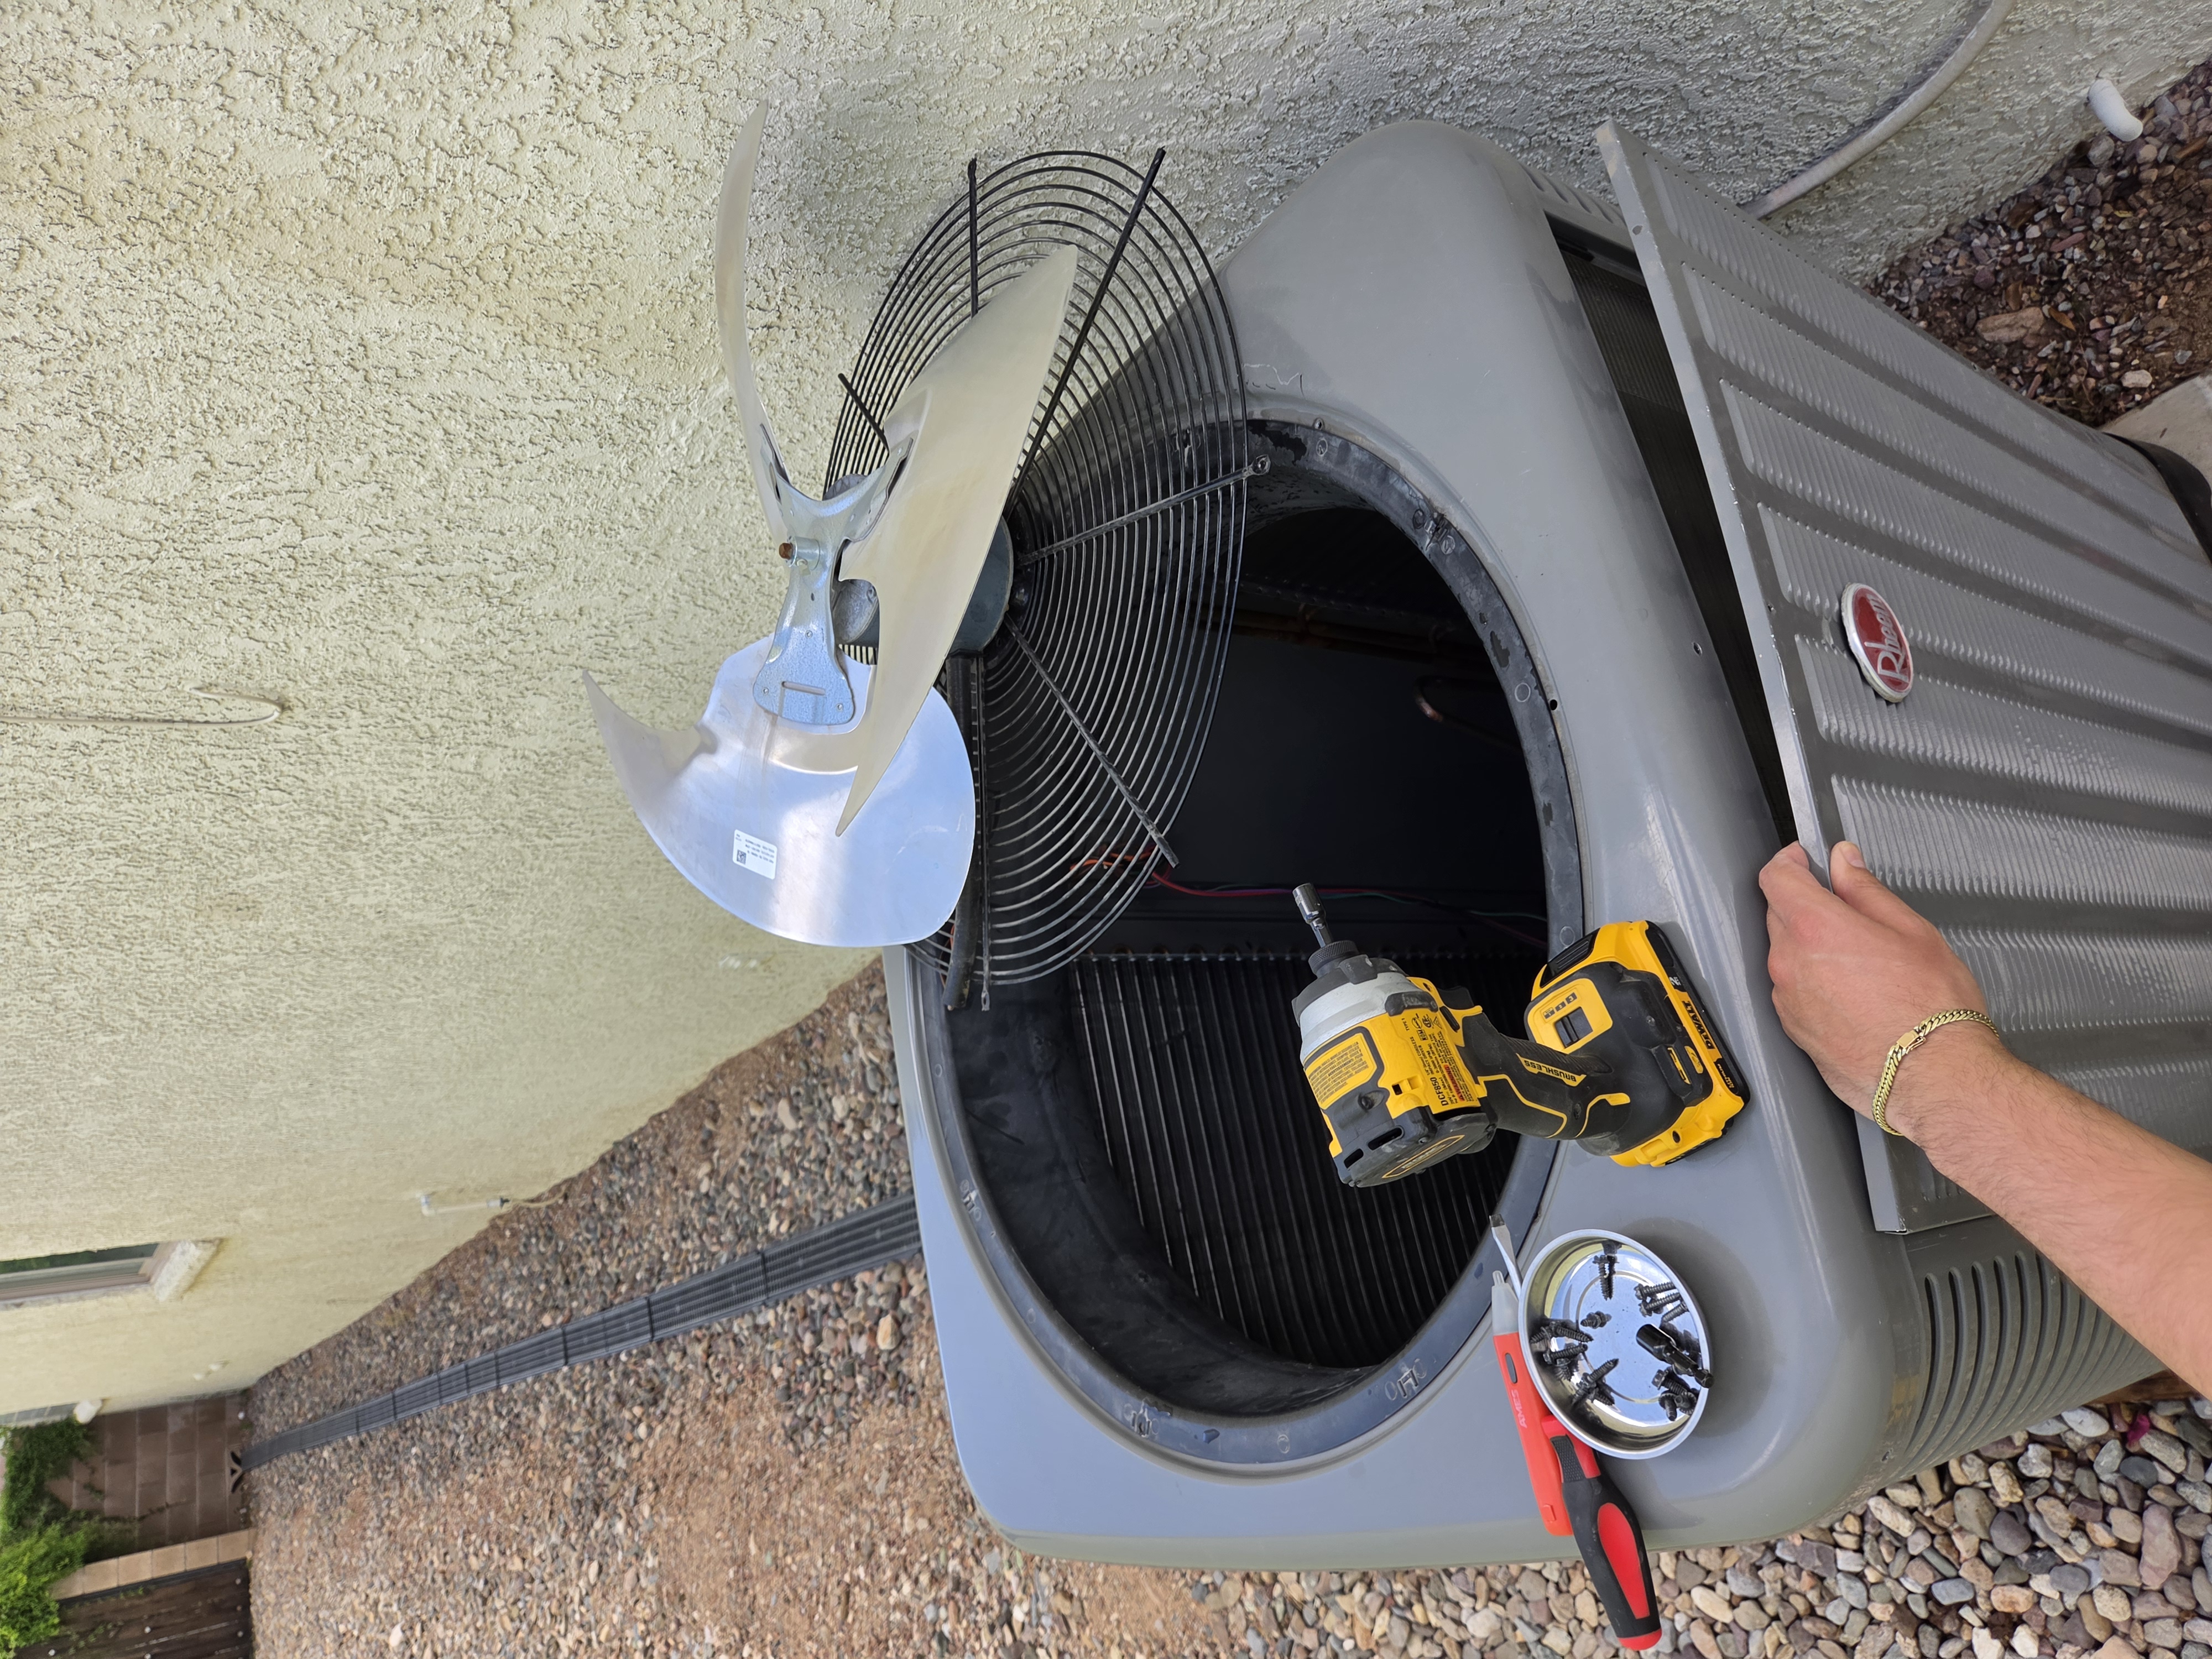 Process
Reassembly
Fan and top assembly positioned and secured.
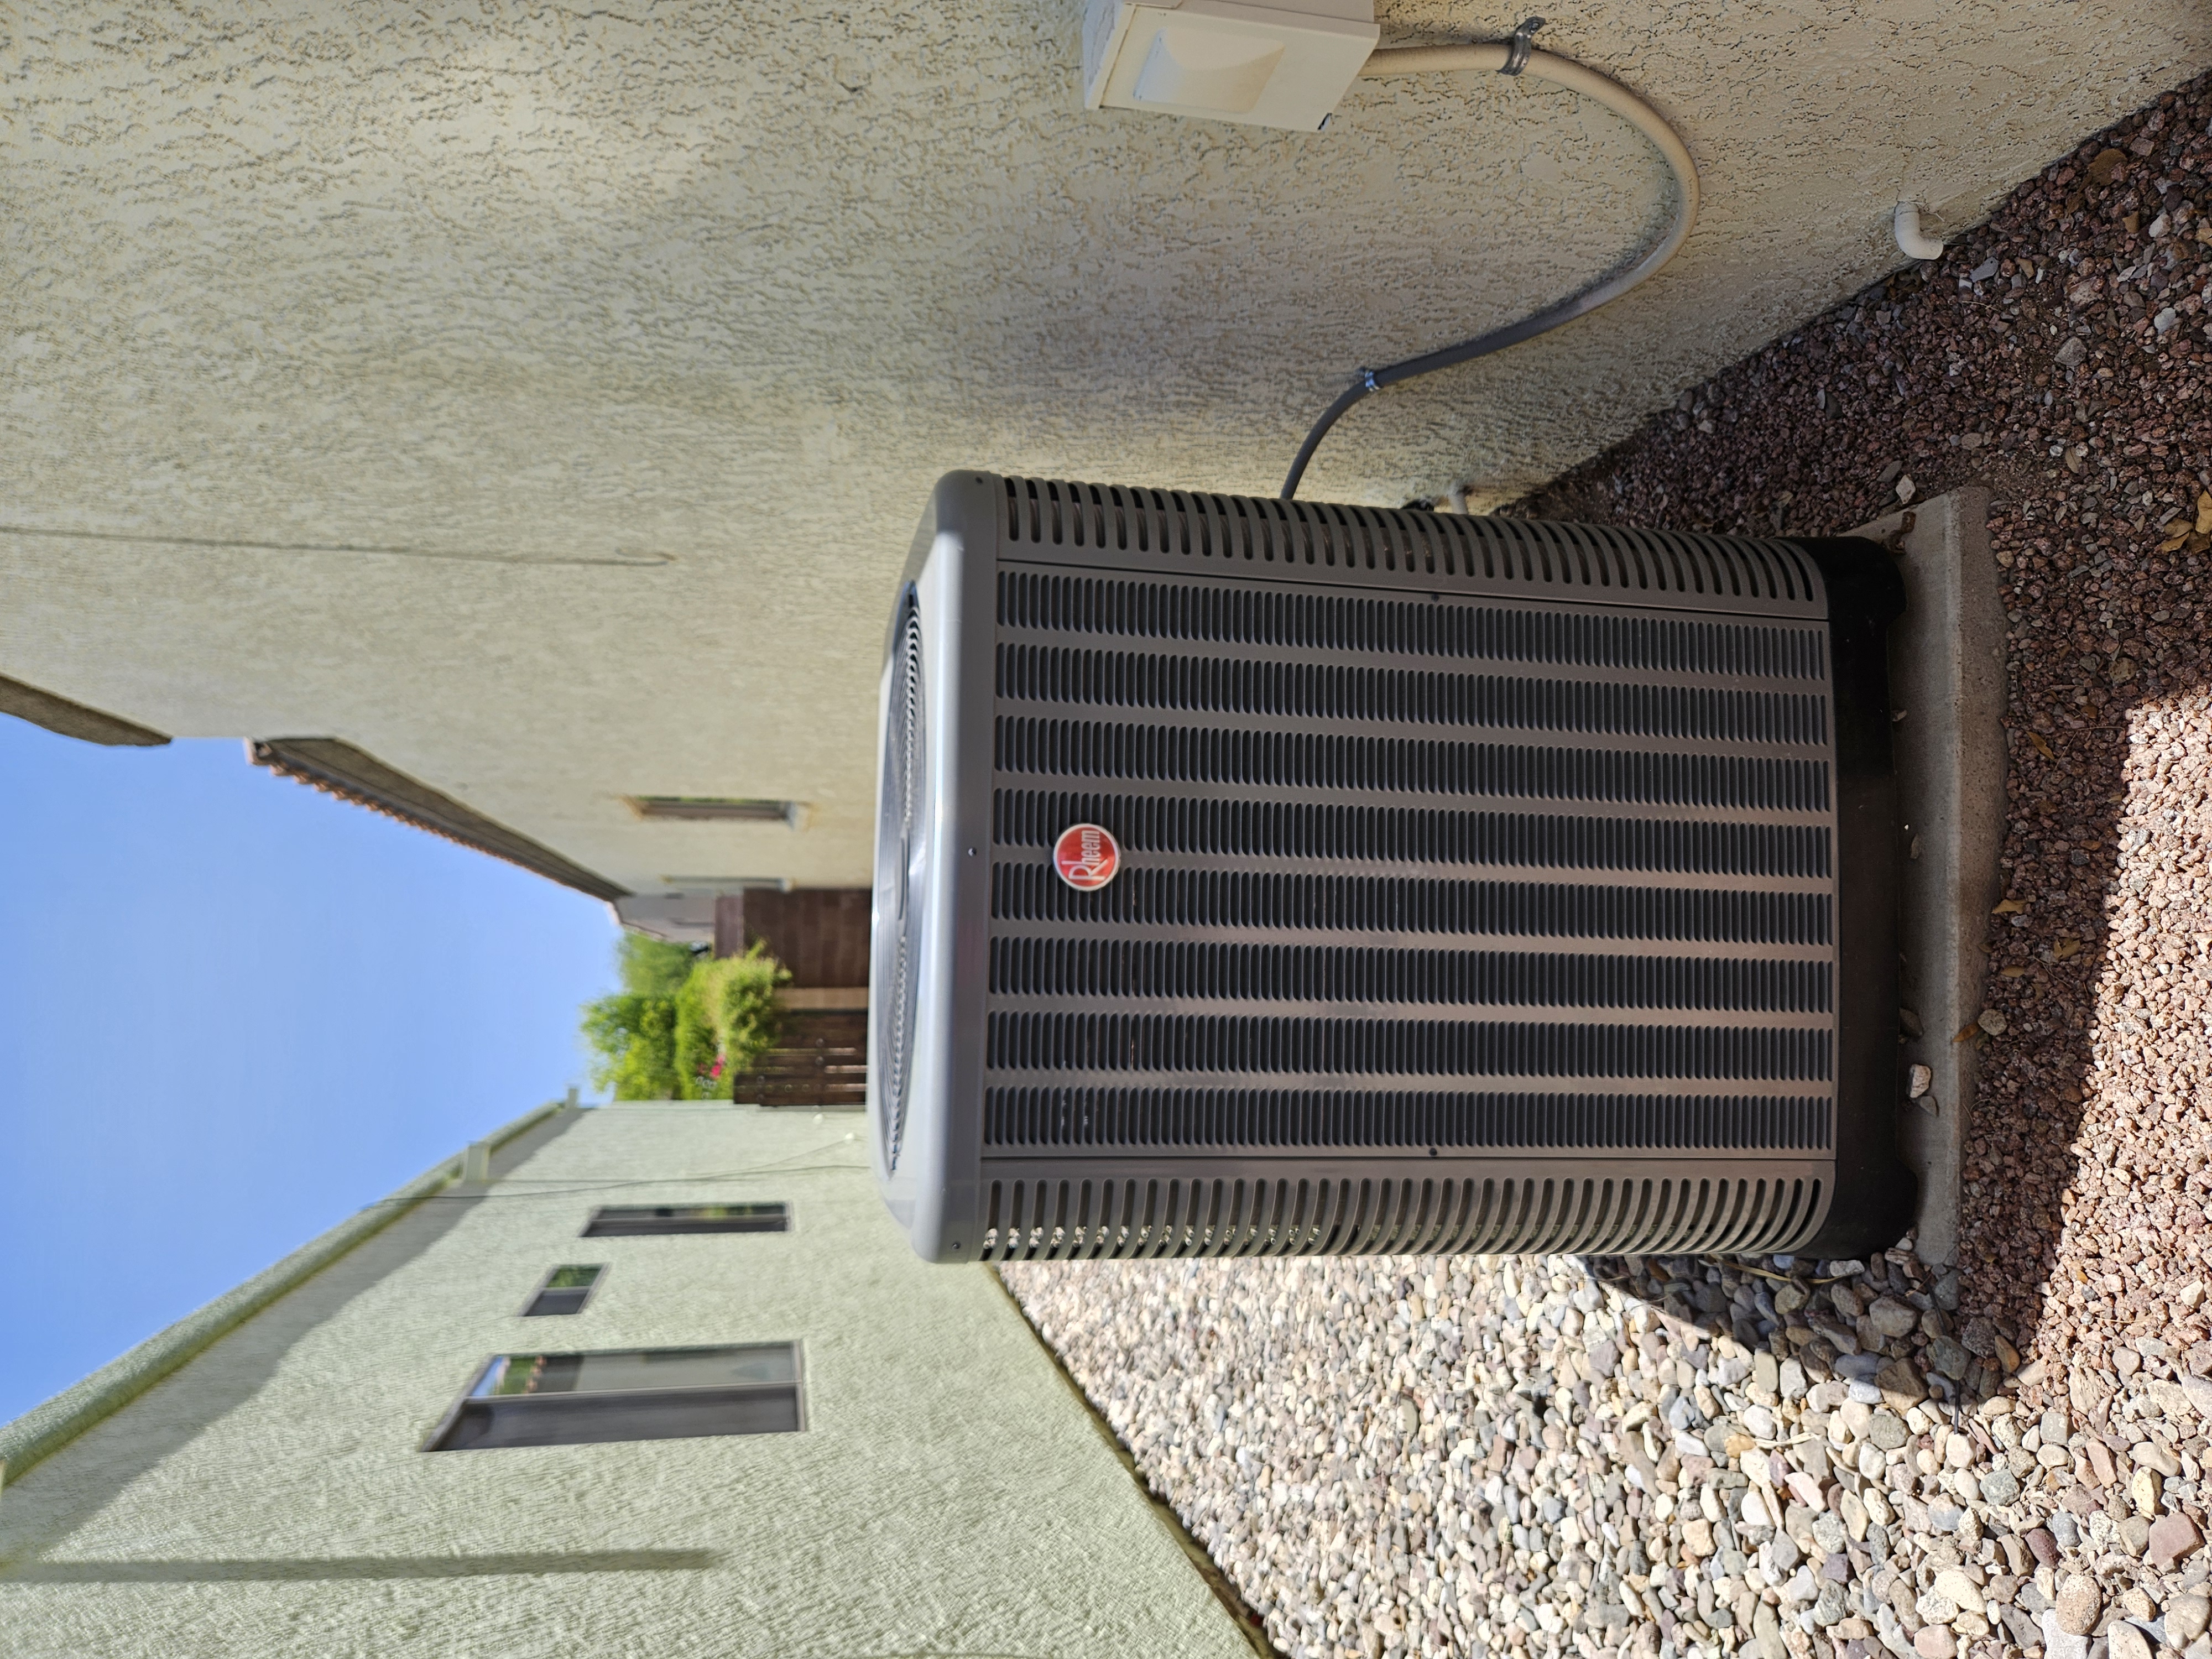 After
After
Final outside unit
Exterior condition documented after cleaning and reassembly.
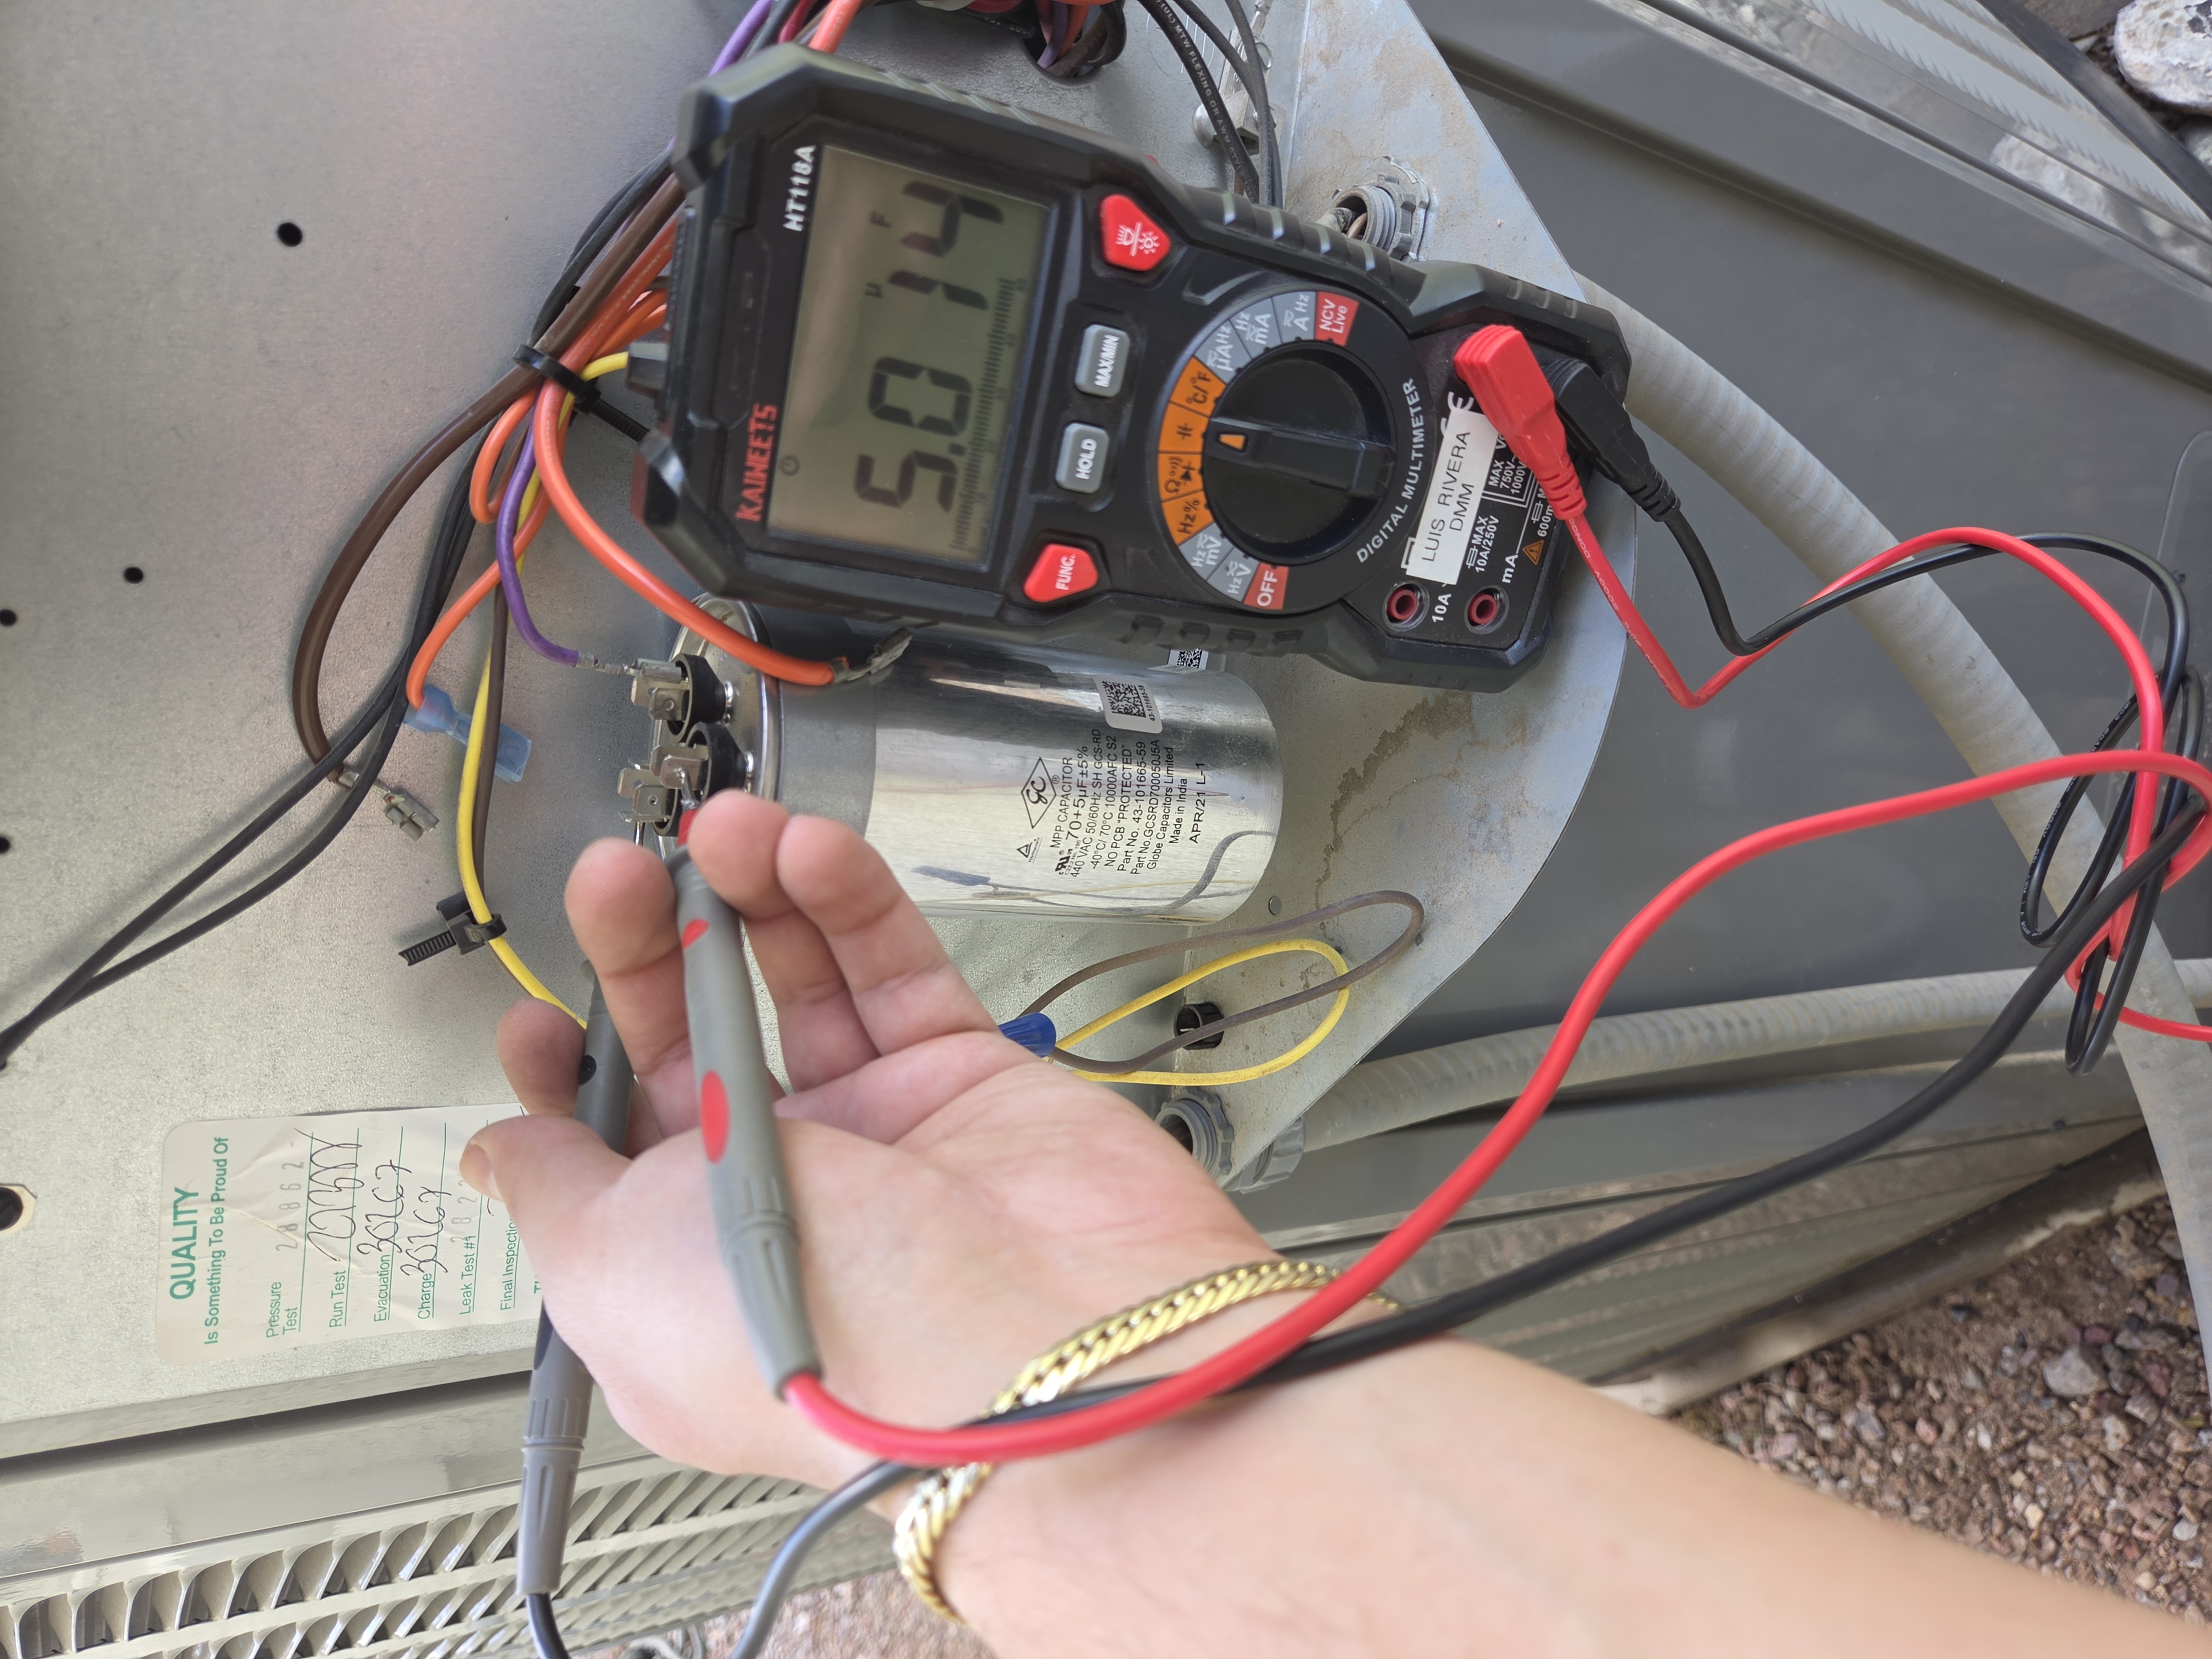 Process
Capacitor fan test
Dual run capacitor check includes FAN section target of 5.0 uF.
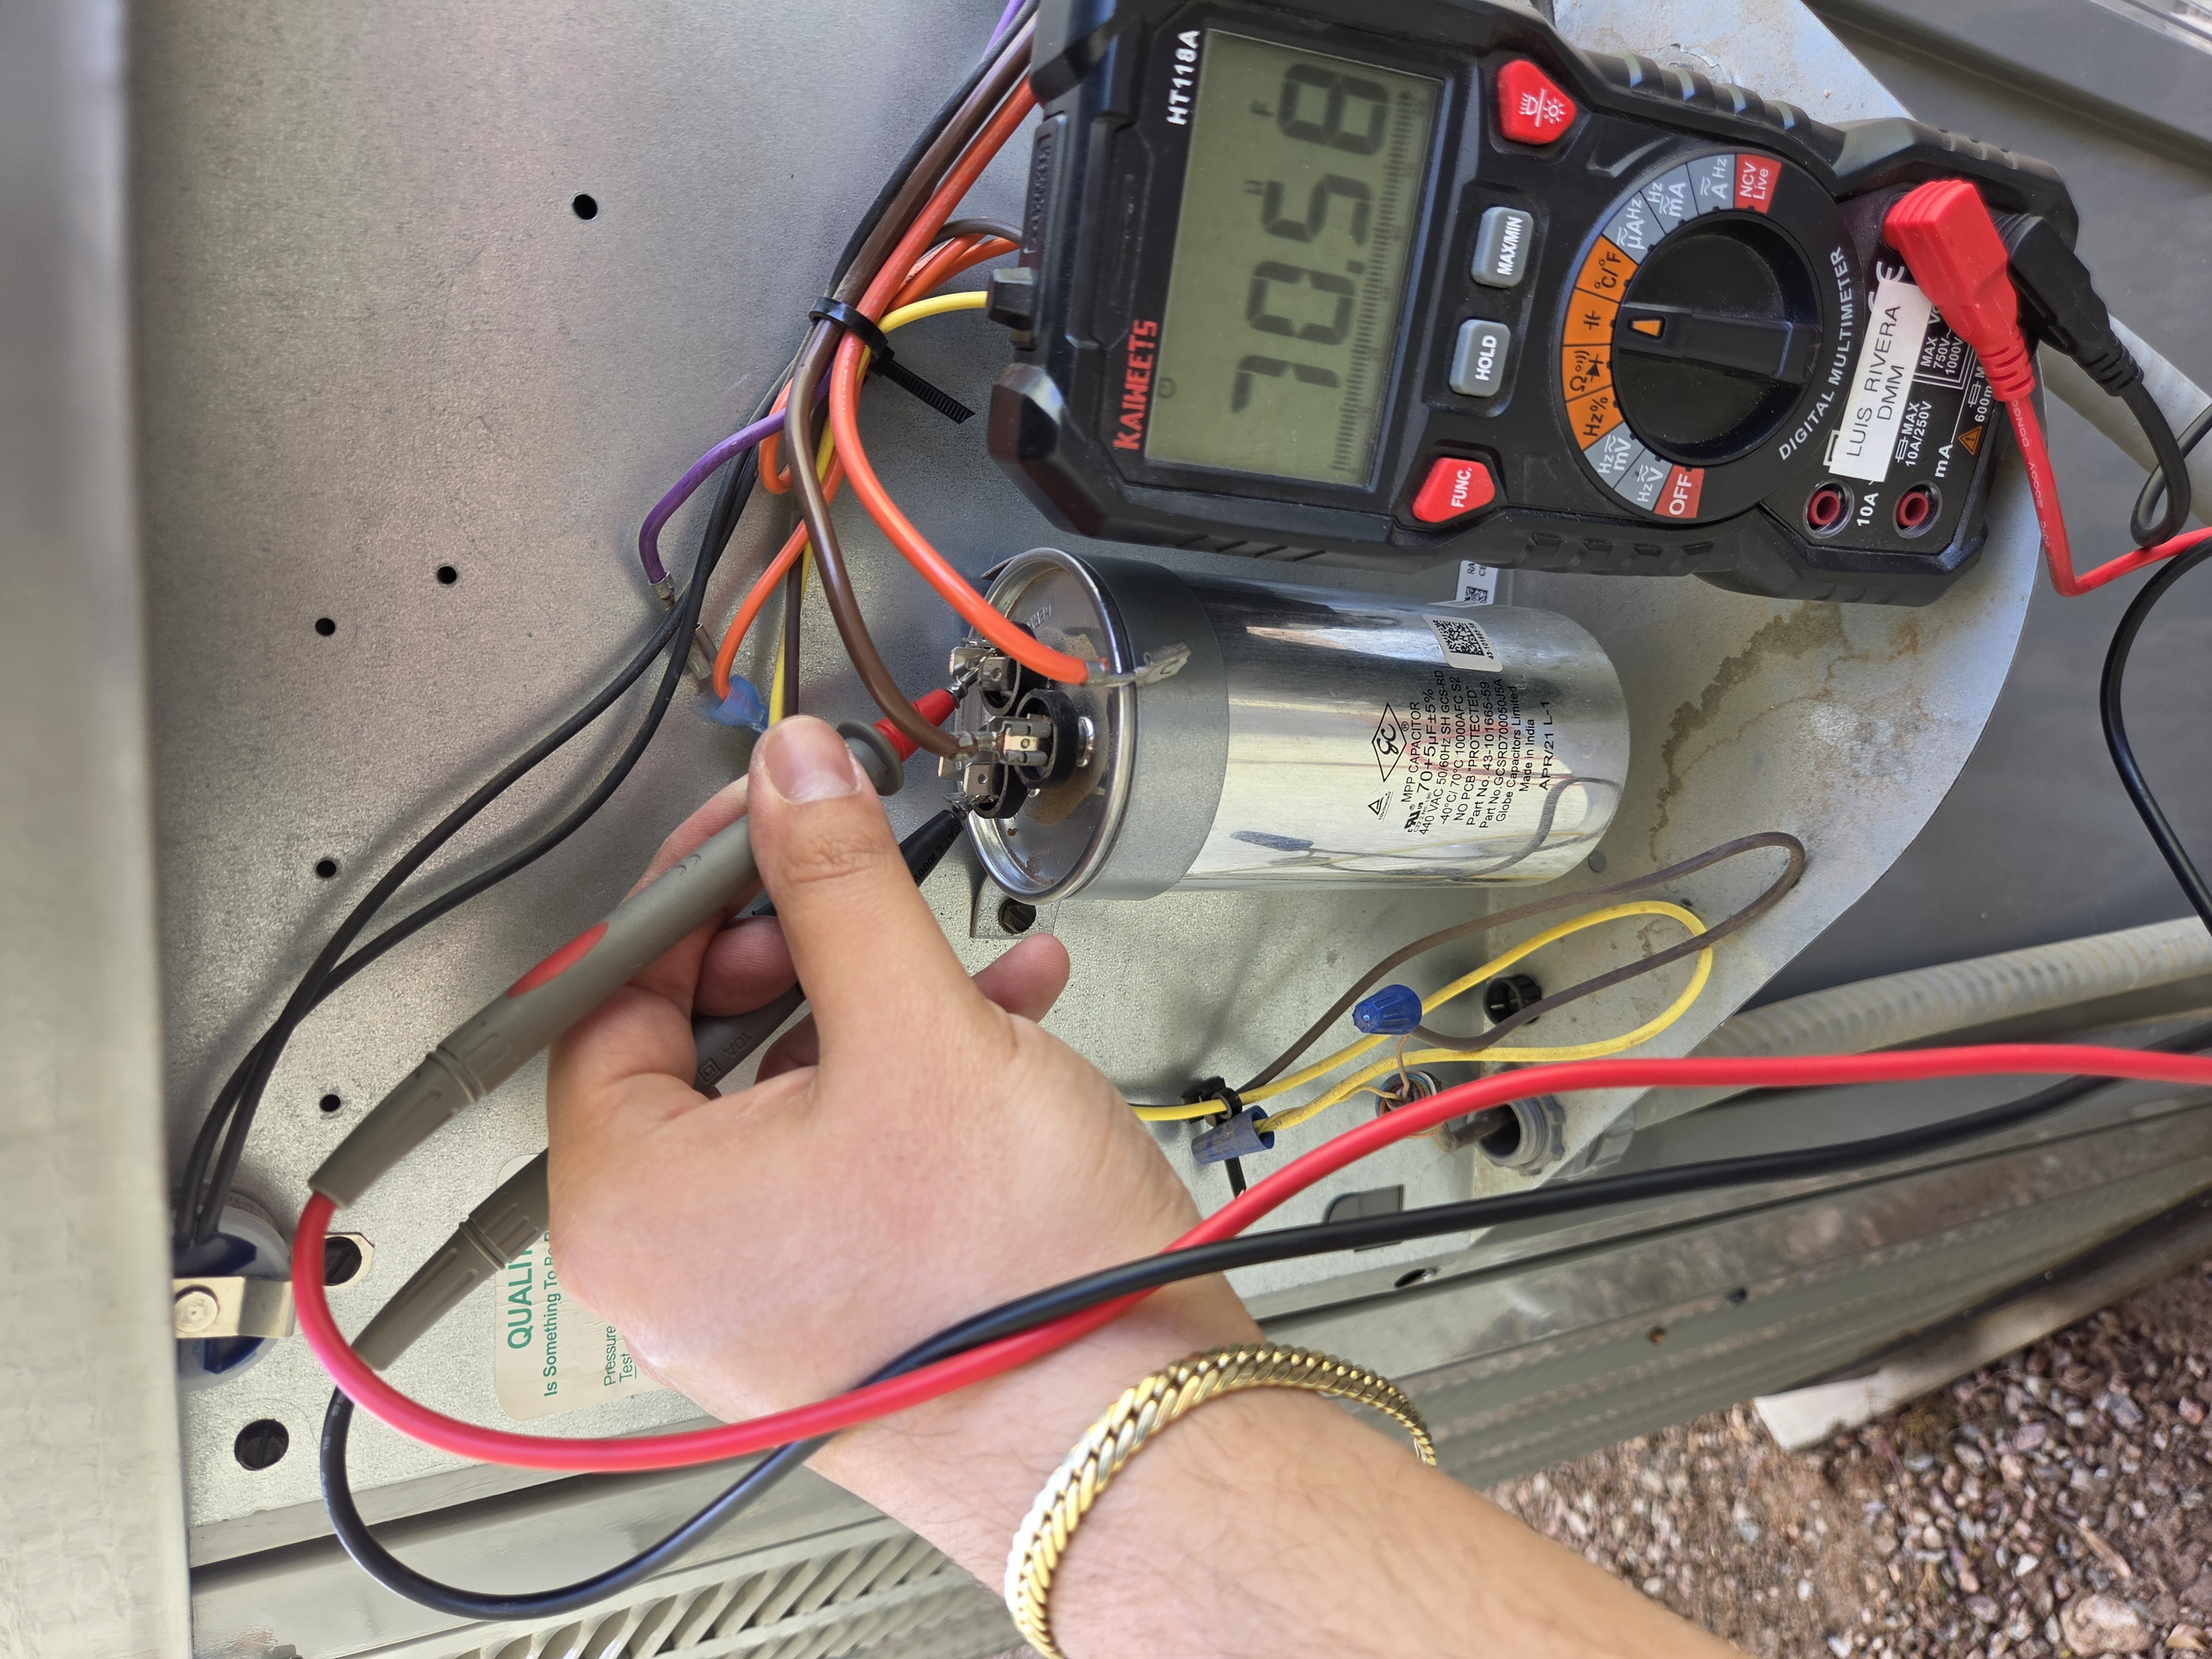 Process
Capacitor herm test
Dual run capacitor check includes HERM section target of 70.0 uF.
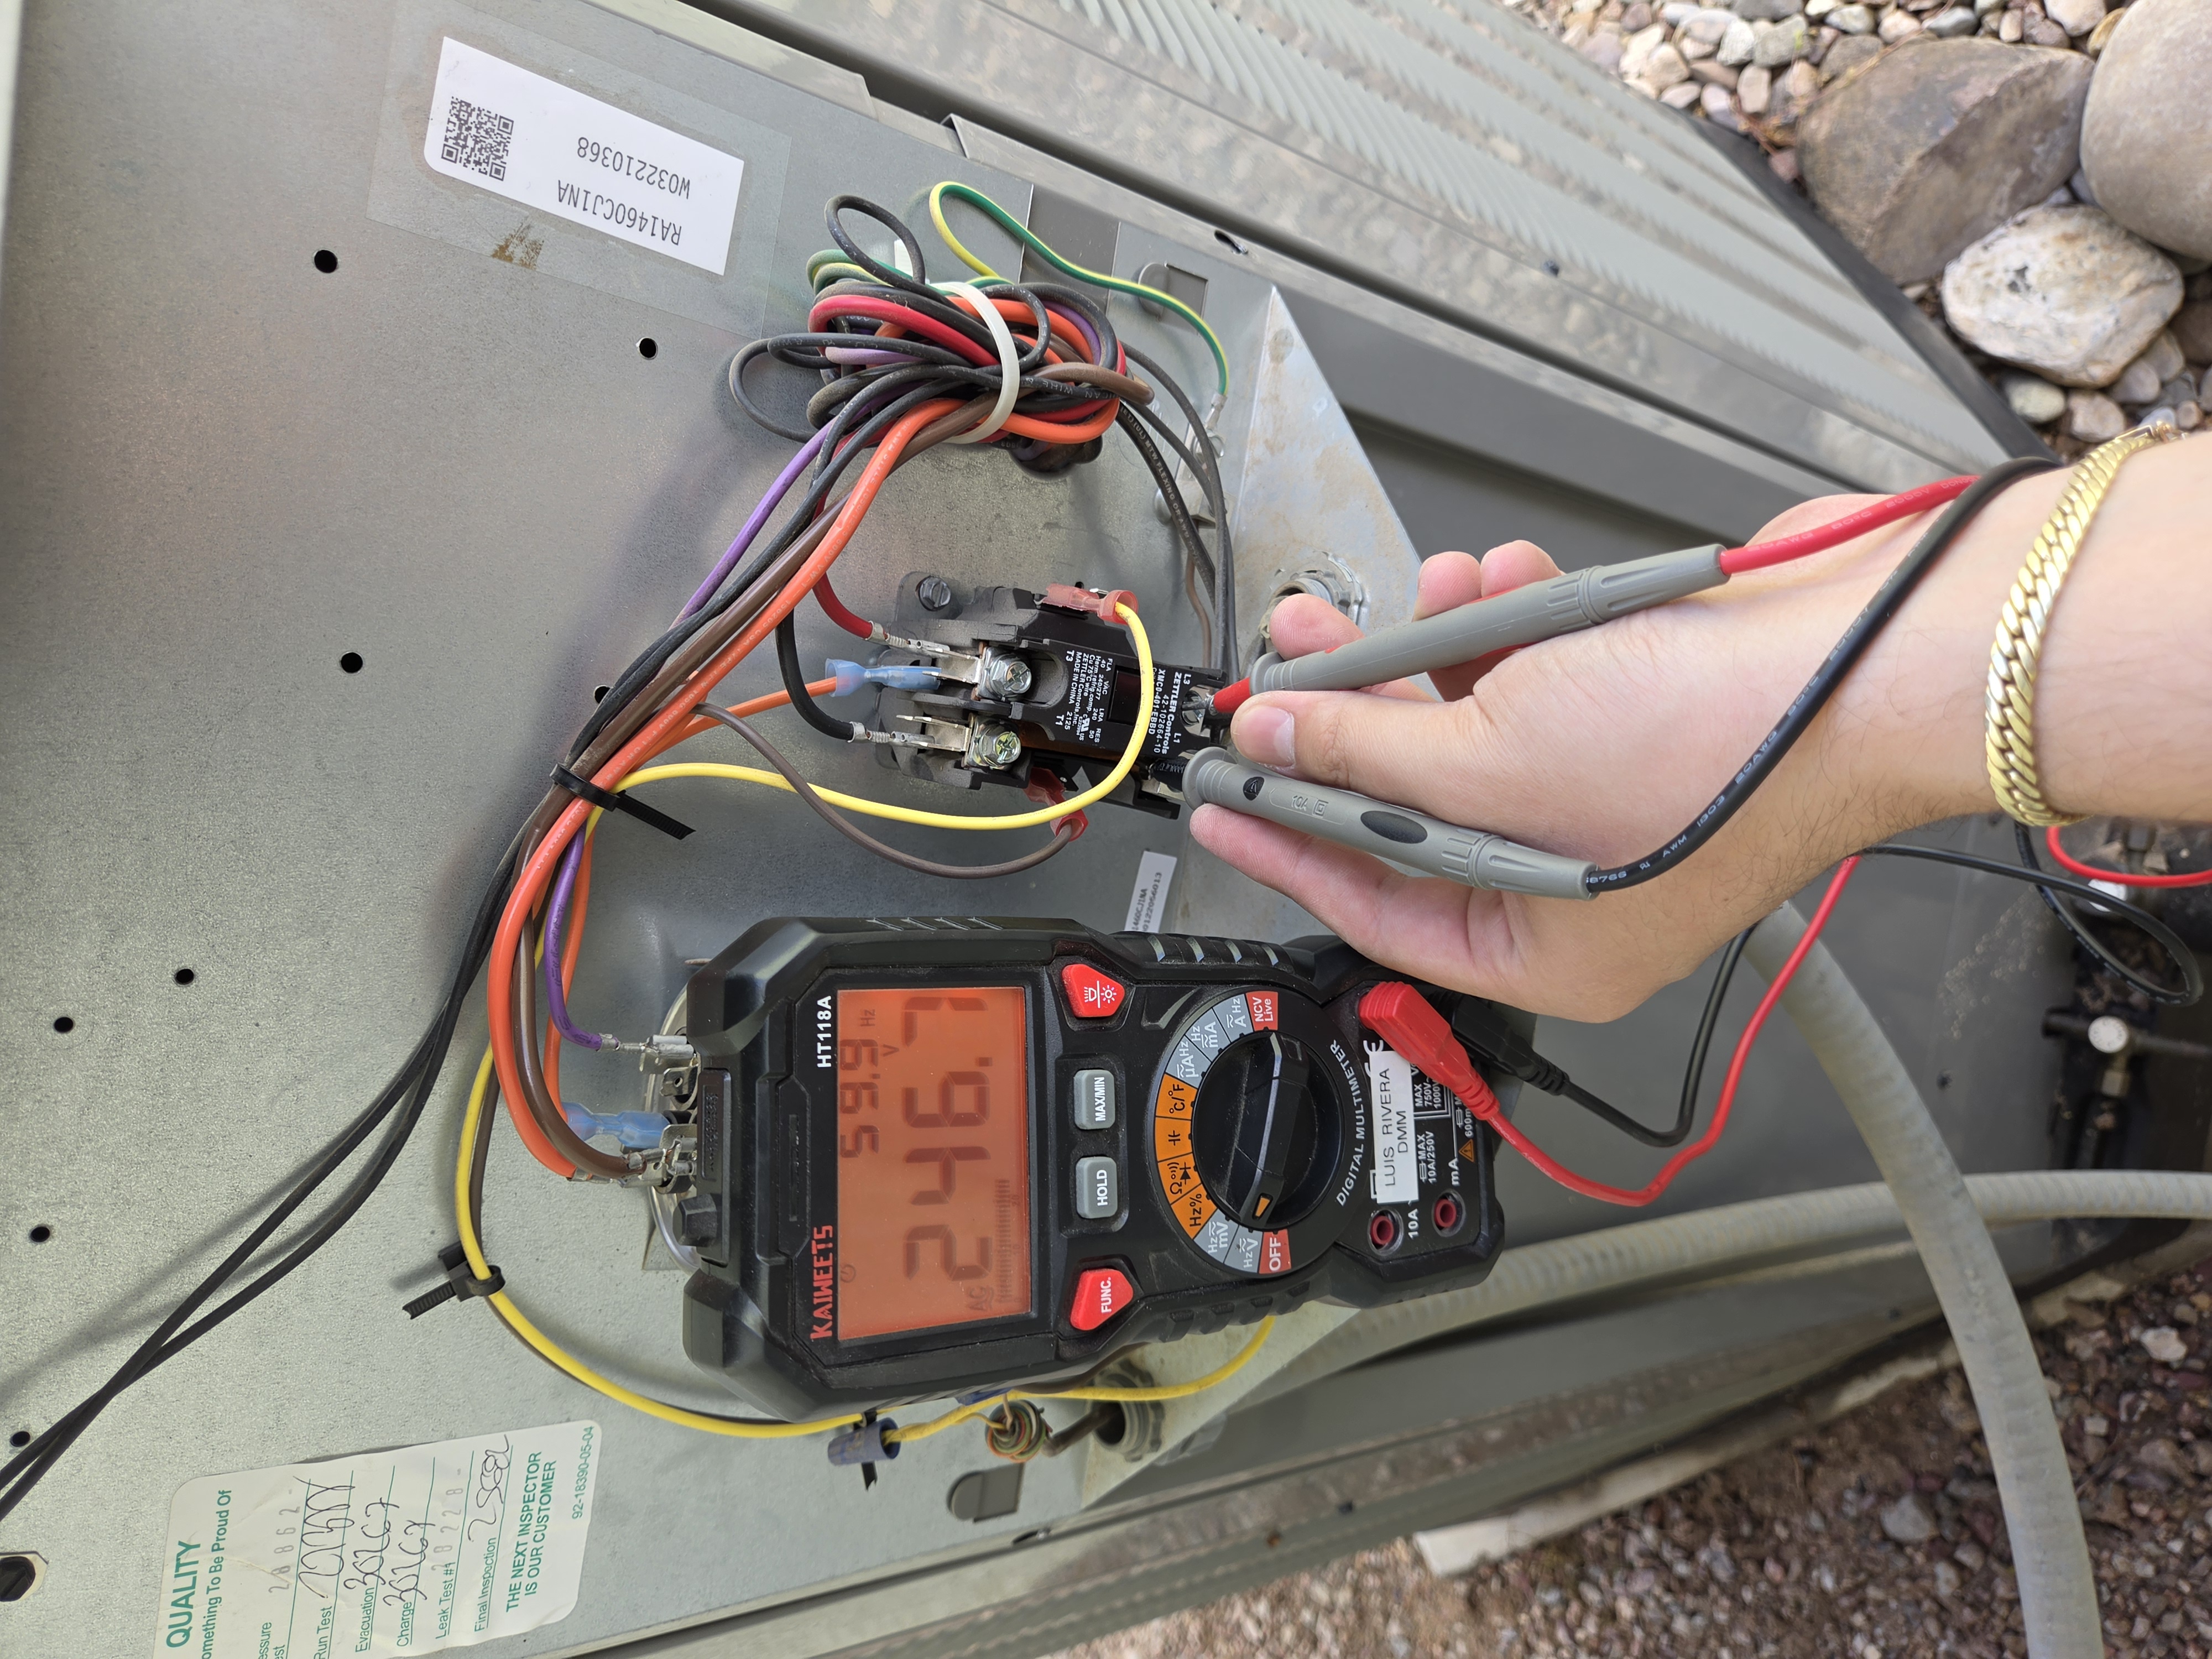 Process
Contactor AC line voltage test
Contactor check includes AC line voltage verification.
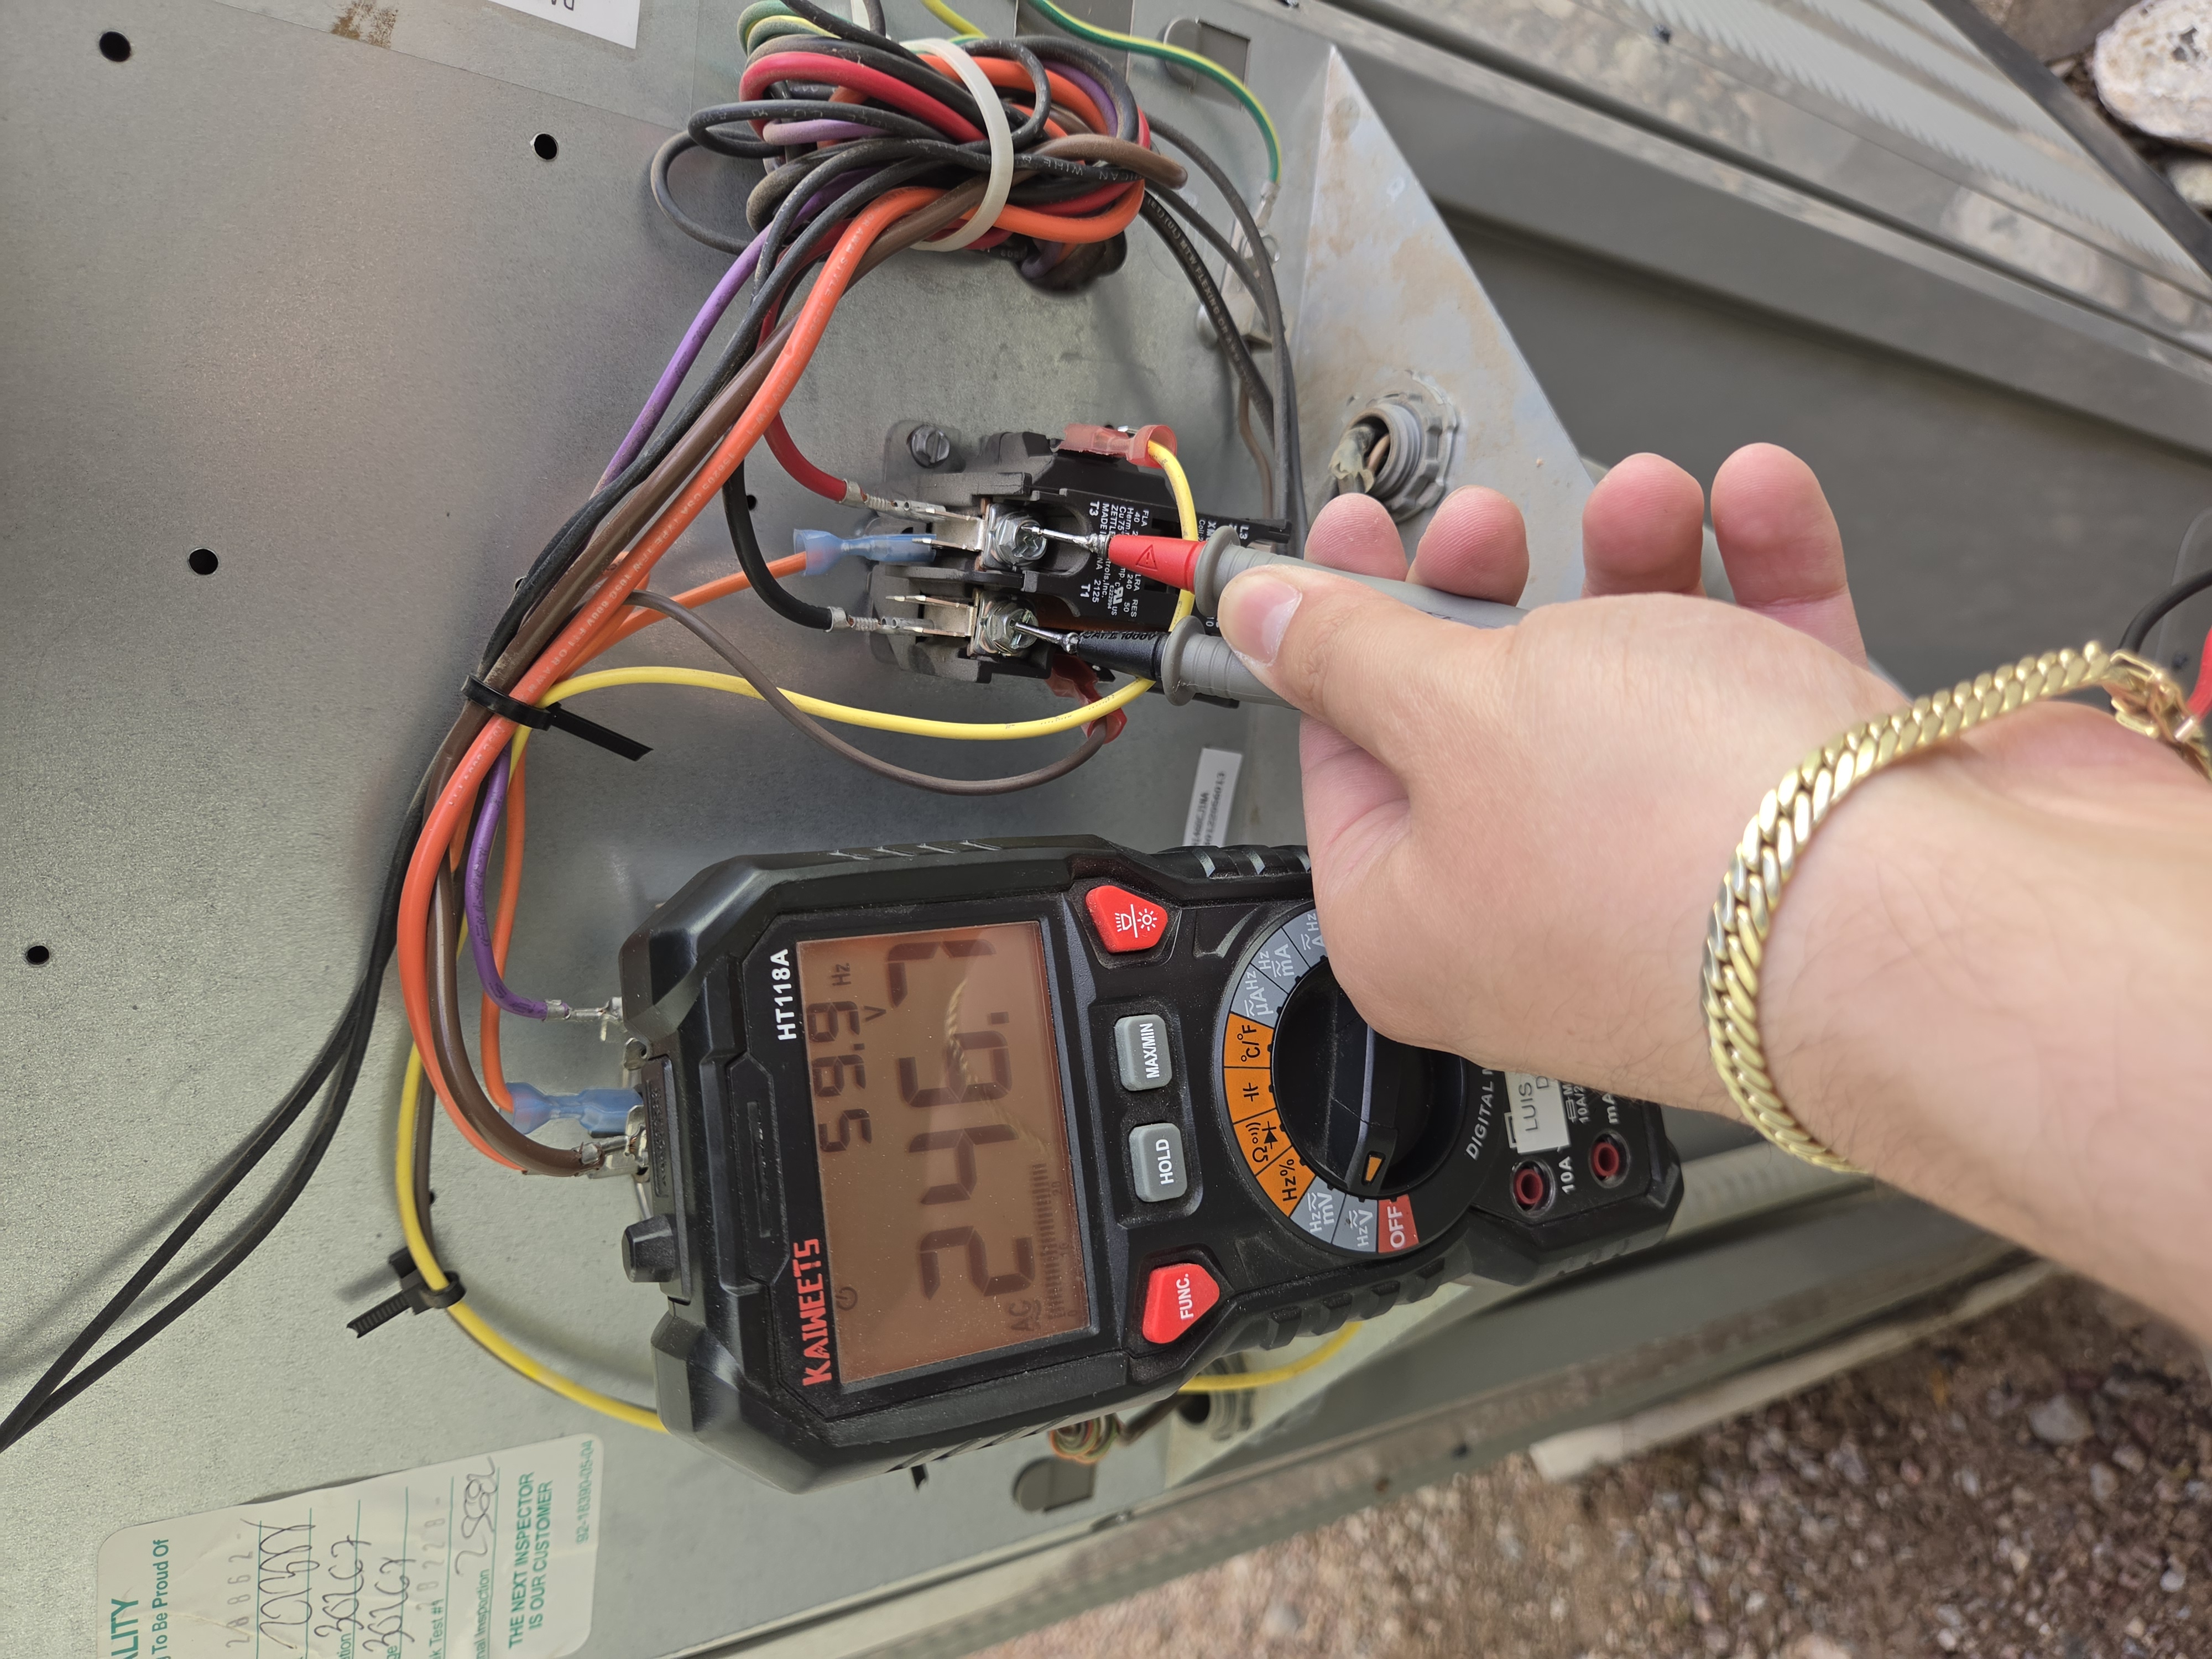 Process
Contactor AC load voltage test
Contactor check includes AC load voltage verification.
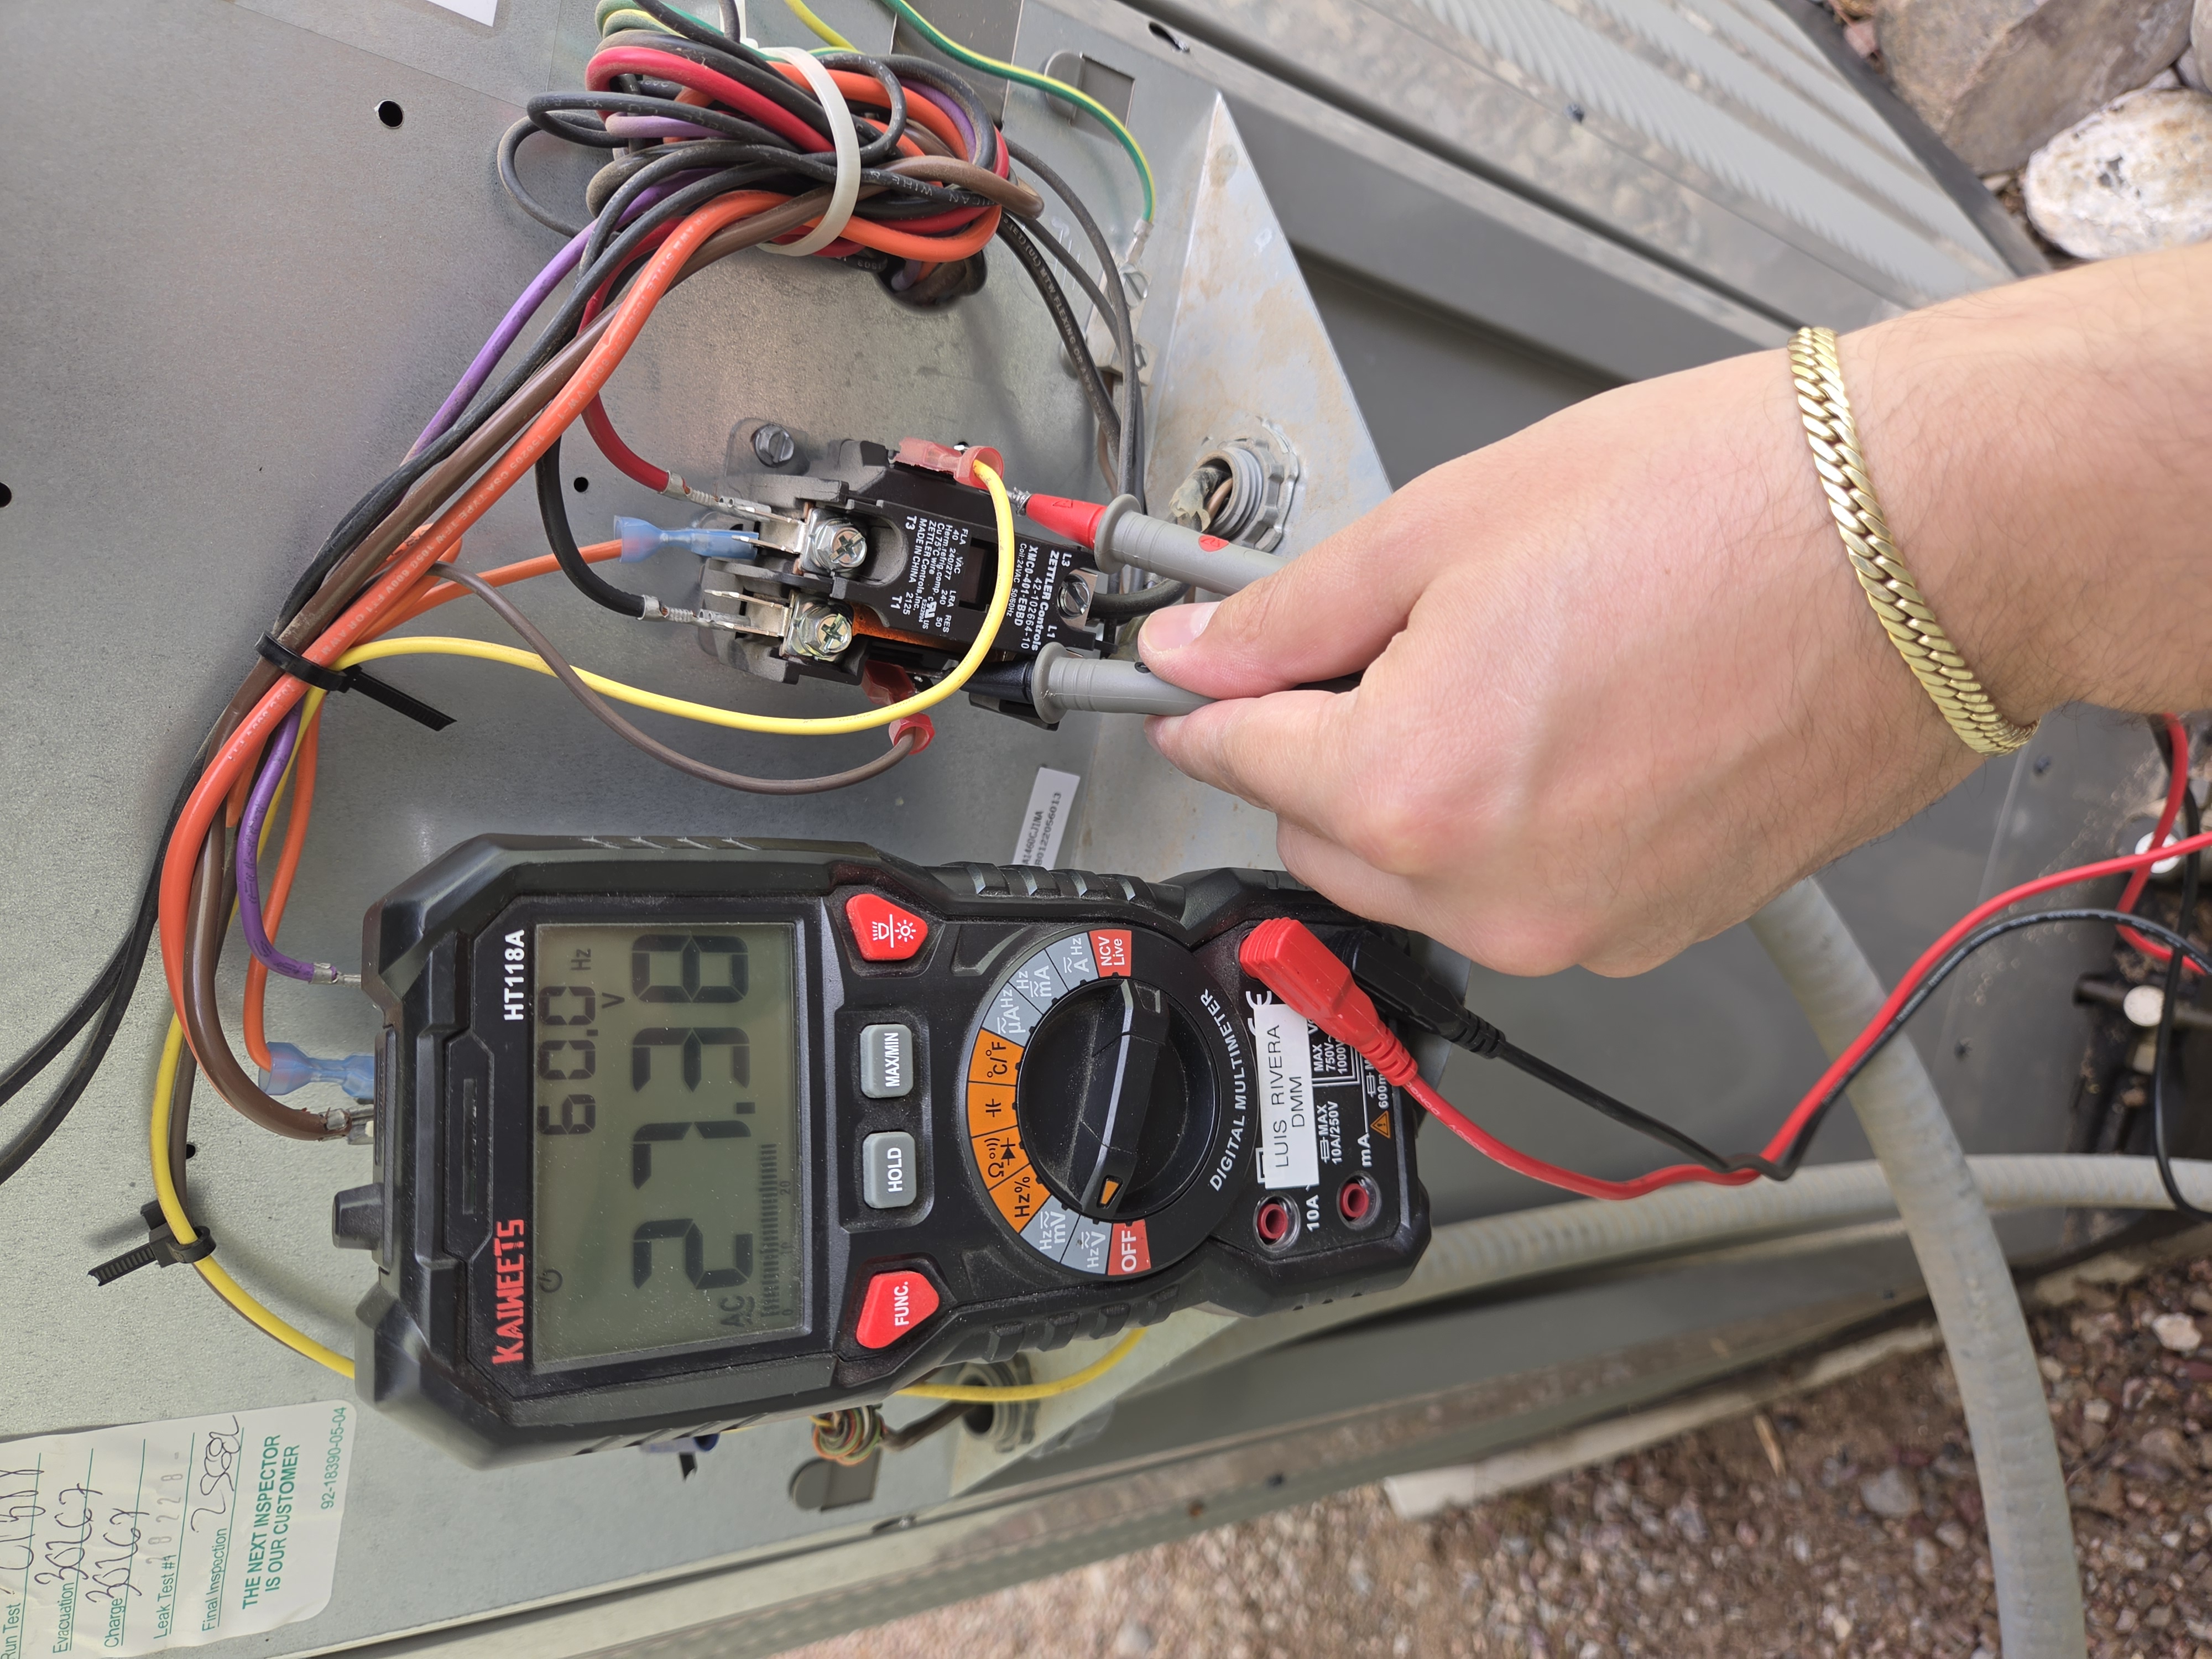 Process
Contactor AC thermostat voltage test
Contactor check includes AC thermostat voltage verification.
Pool pump replacement and related PVC work with clean layout planning, leak testing, and operational verification.
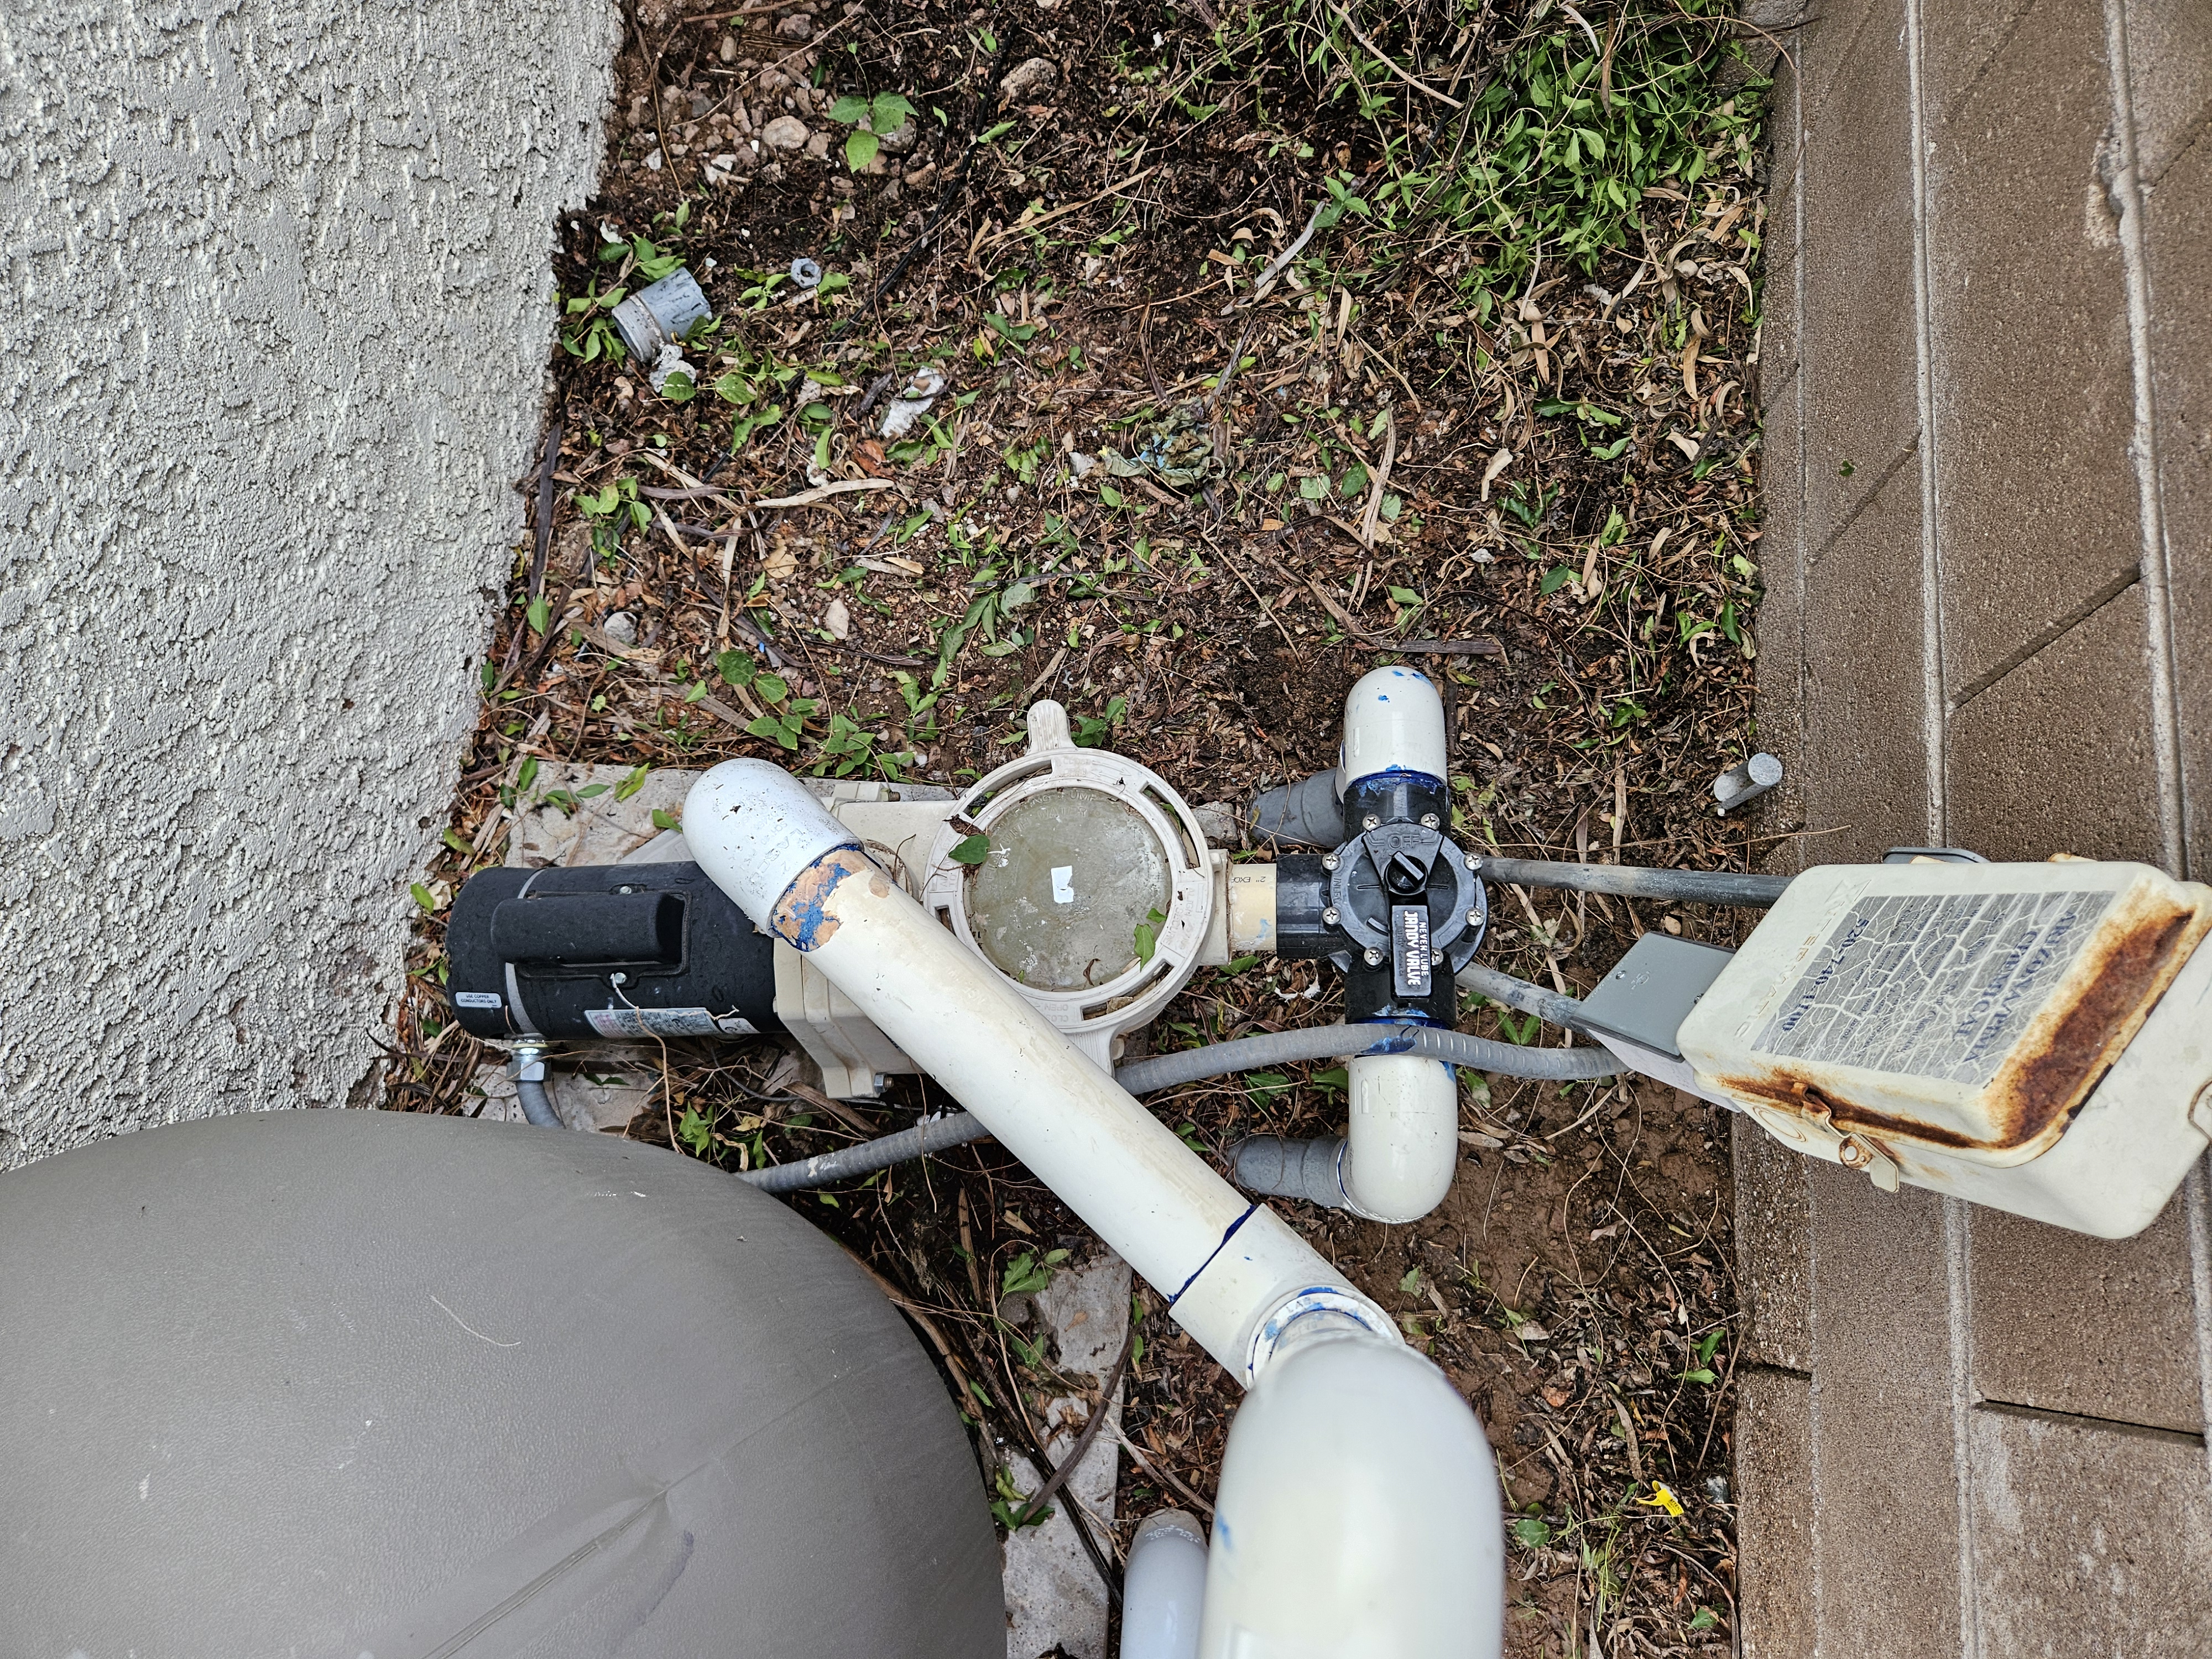 Before
Existing pump setup before replacement
Worn components documented before removal.
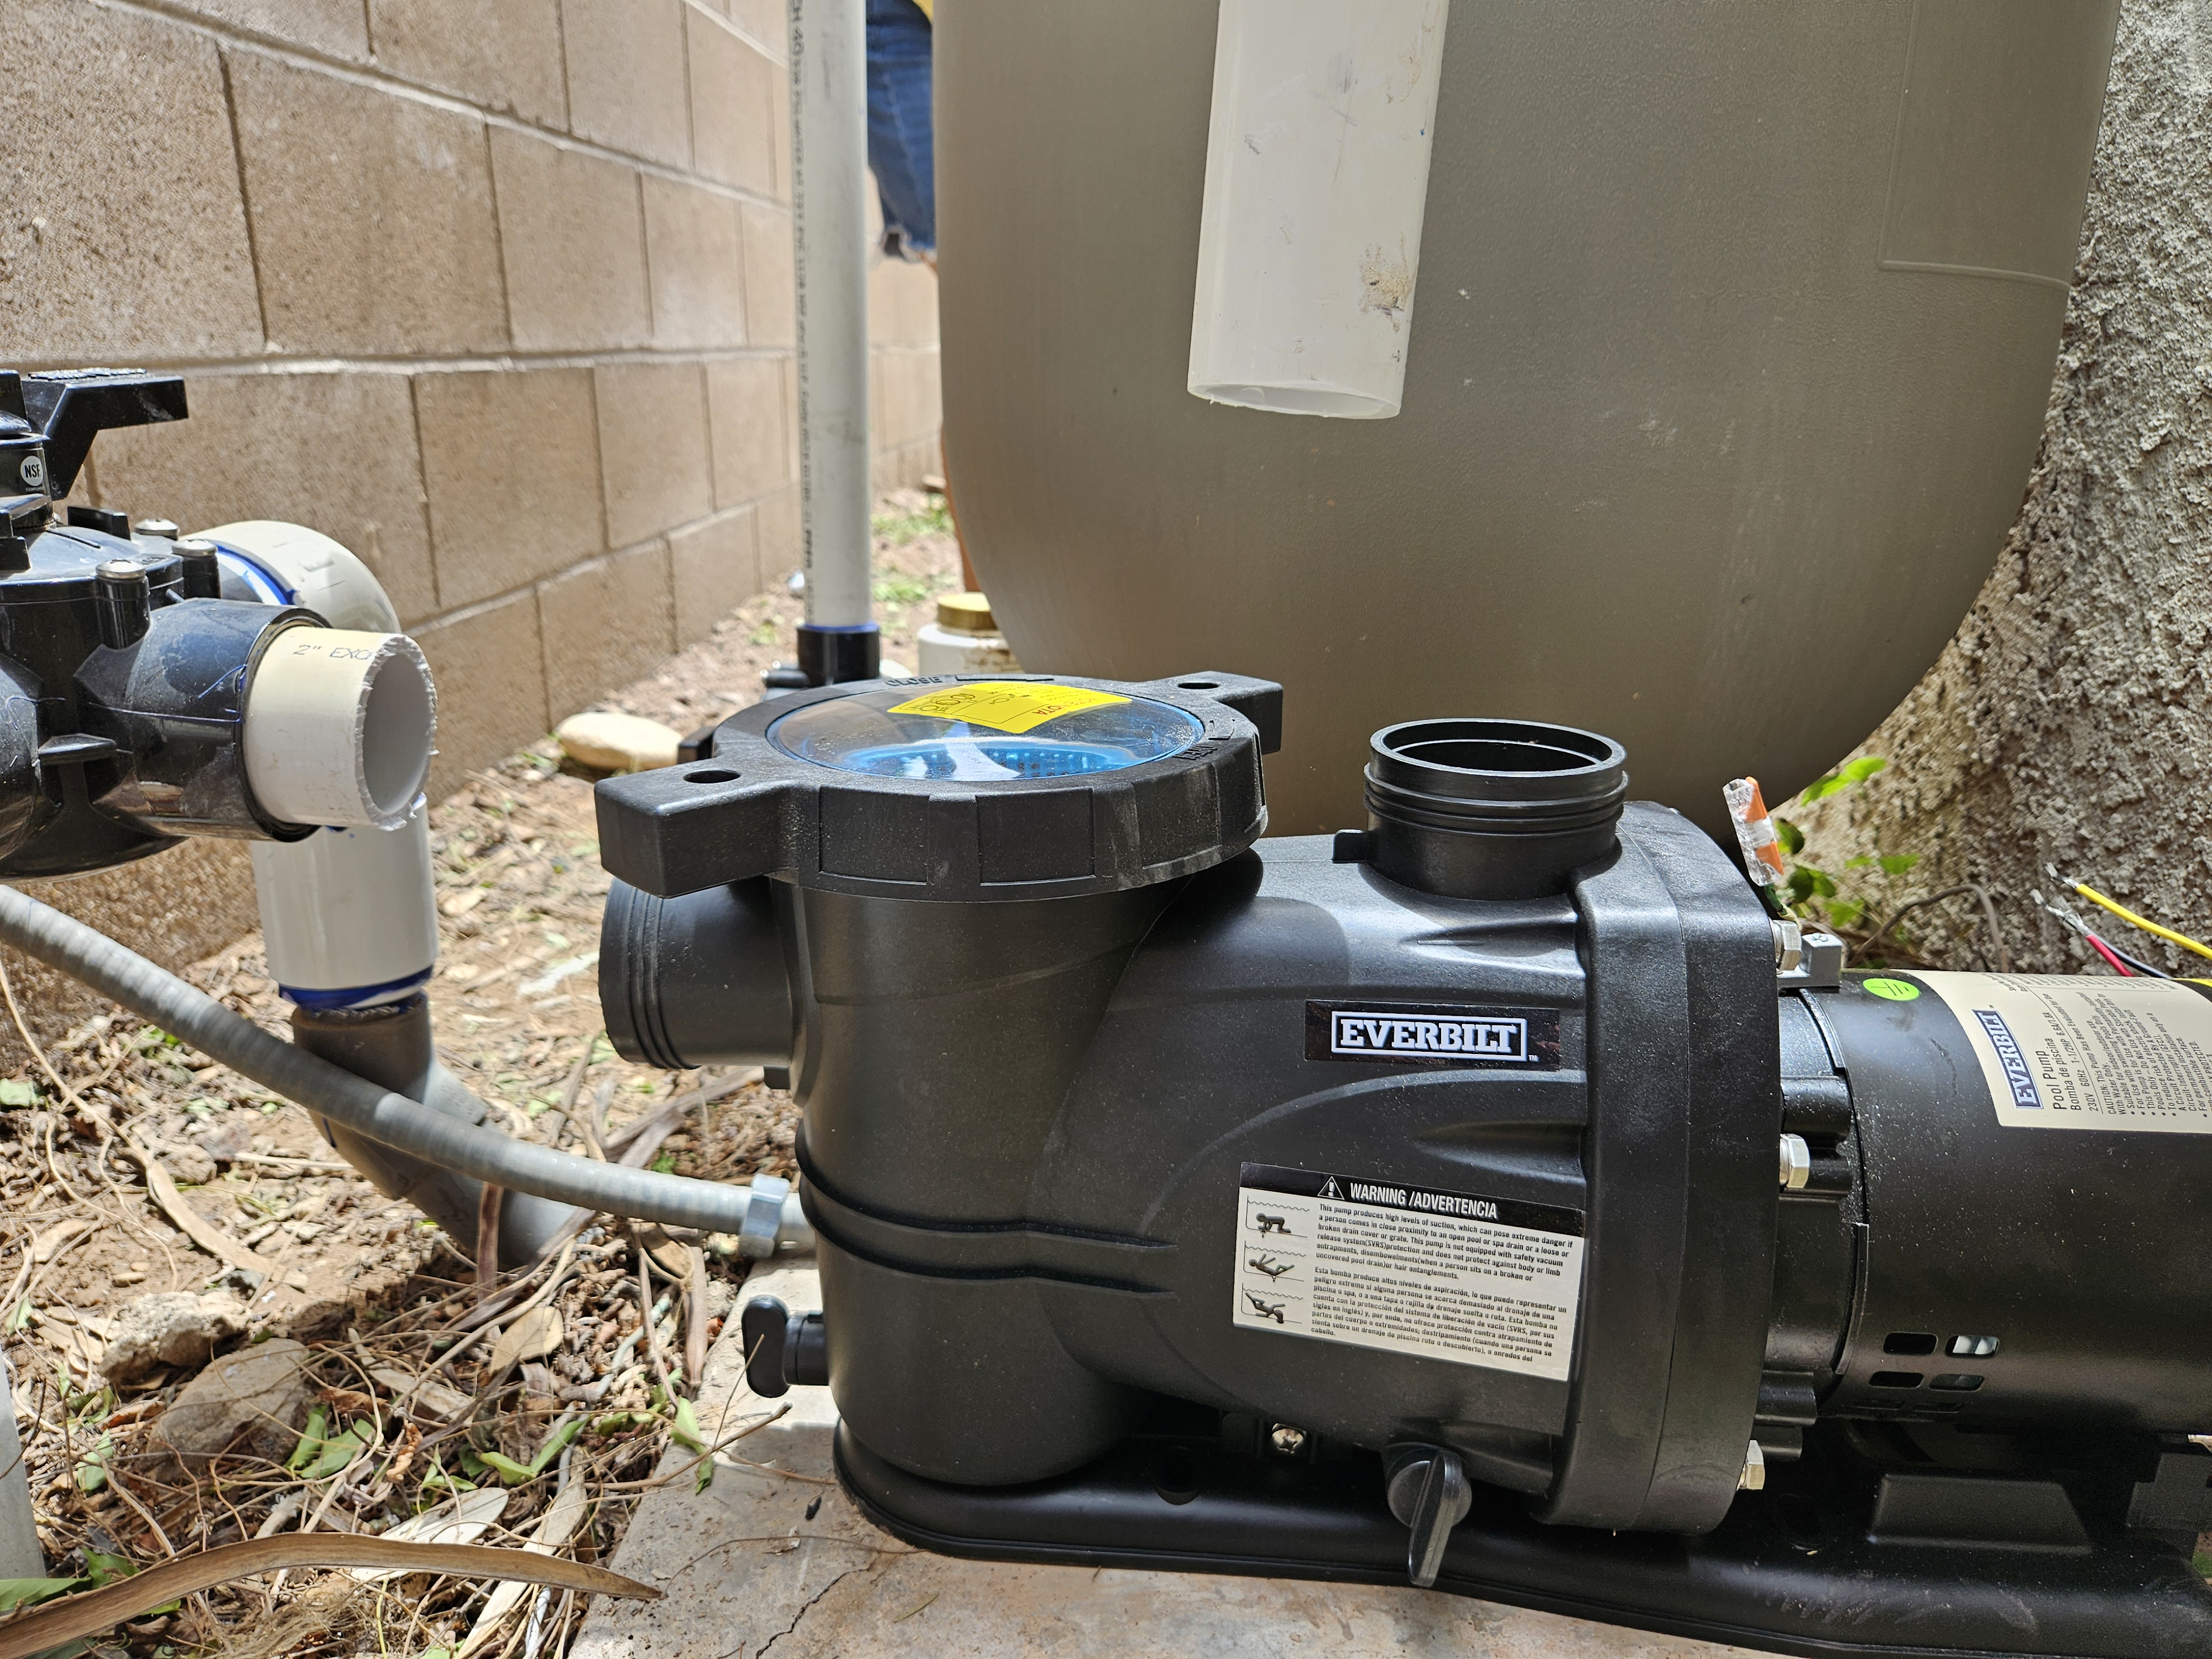 Process
Pump swap in progress
Old pump removed and new plumbing path aligned.
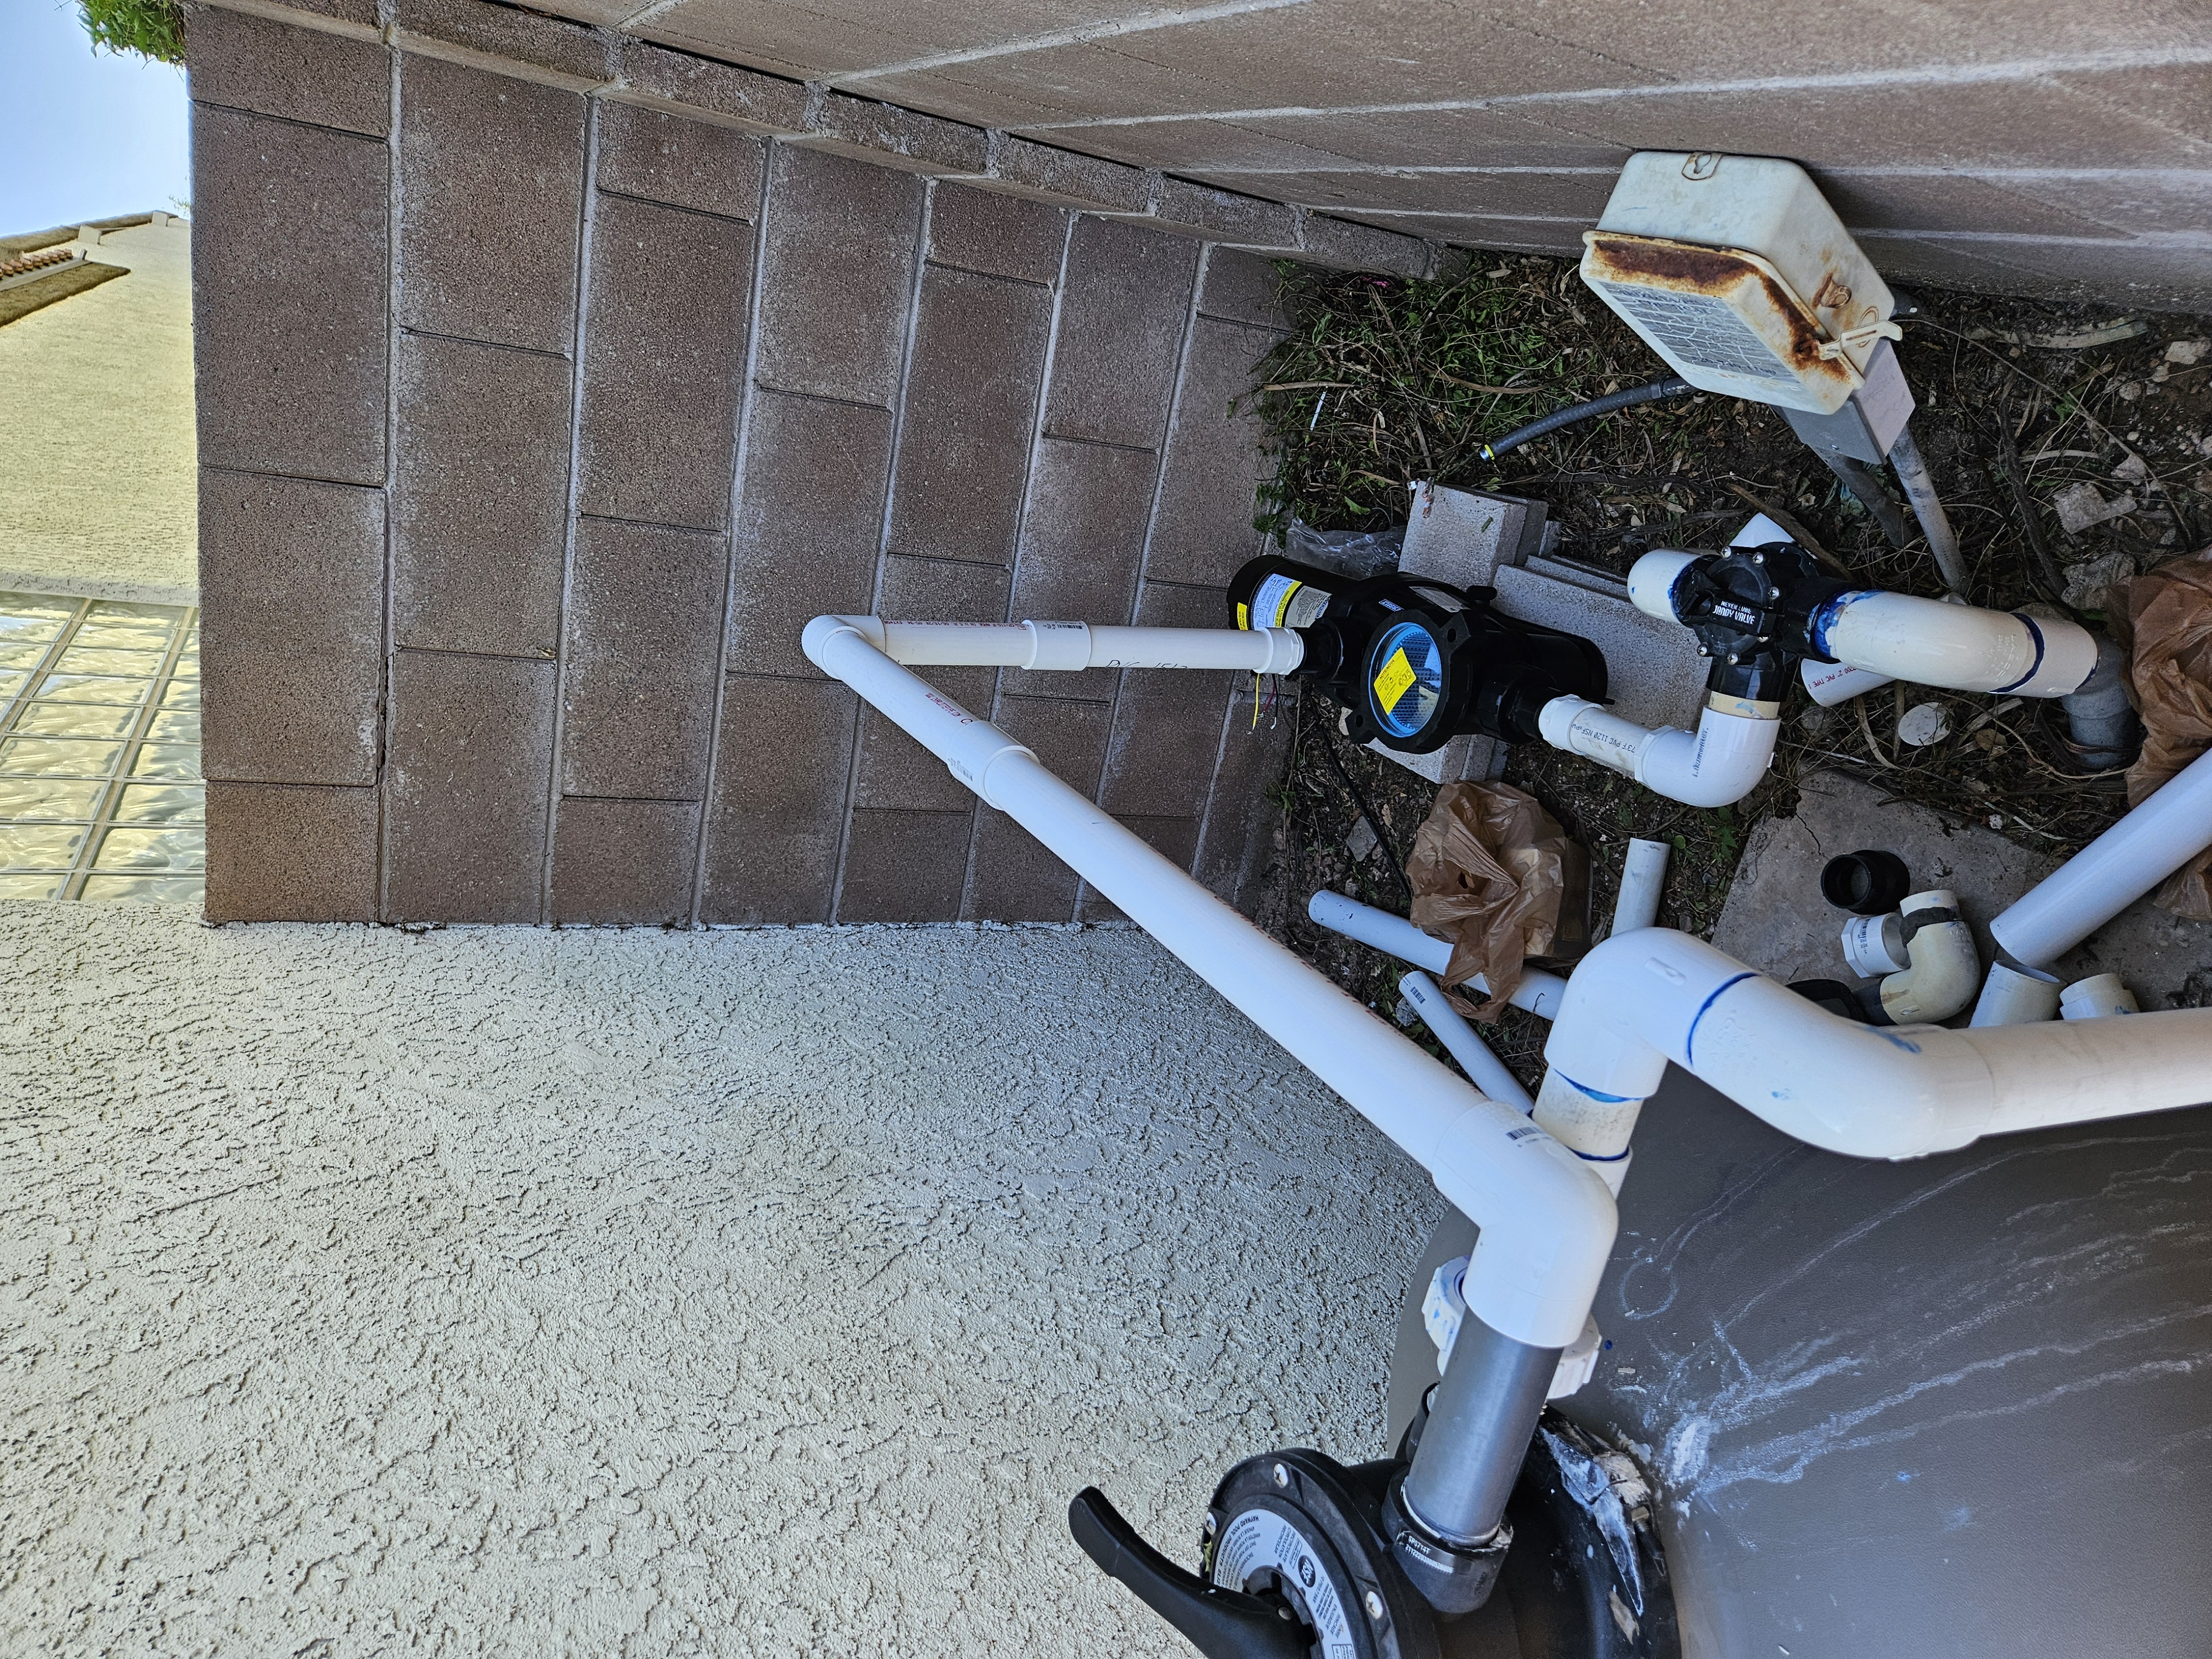 After
After
Pool pump replacement complete
Final unit placement and plumbing connections complete.
Old thermostat replacements and smart thermostat upgrades, with wiring and compatibility checks, clean wall mounting, and heating, cooling, and fan testing.
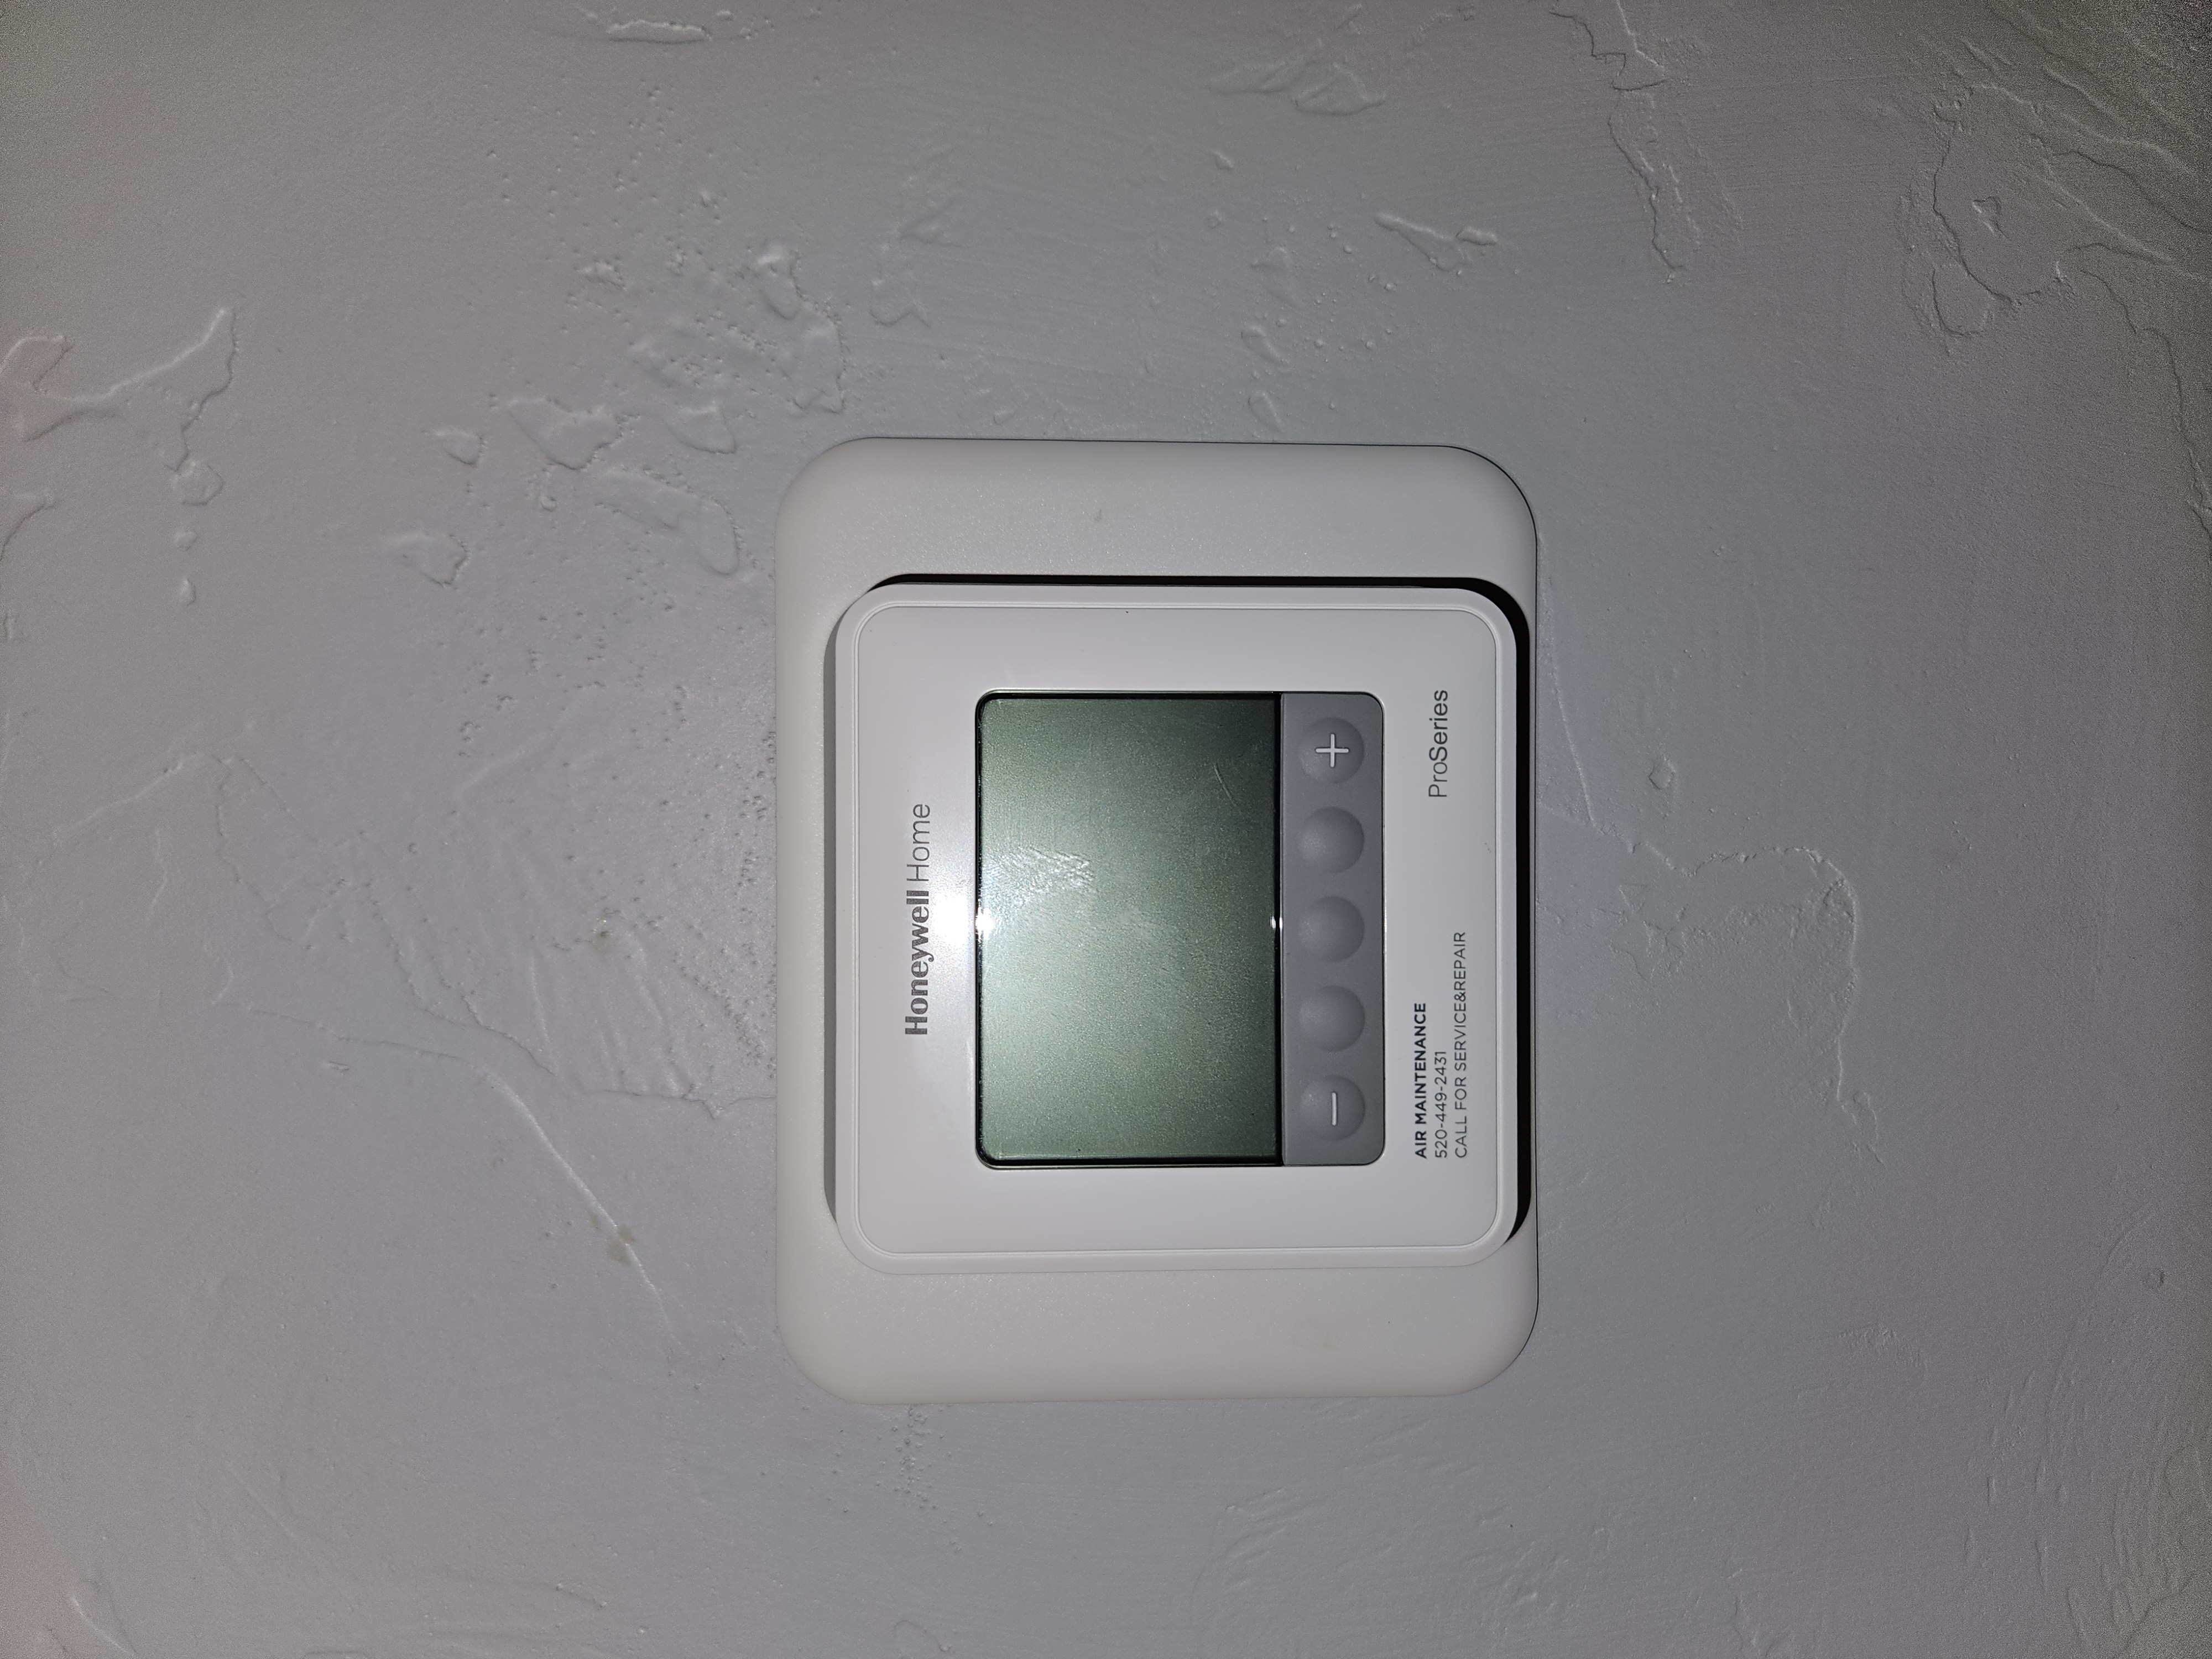 Before
Older thermostat before replacement
Original unit and wall condition documented first.
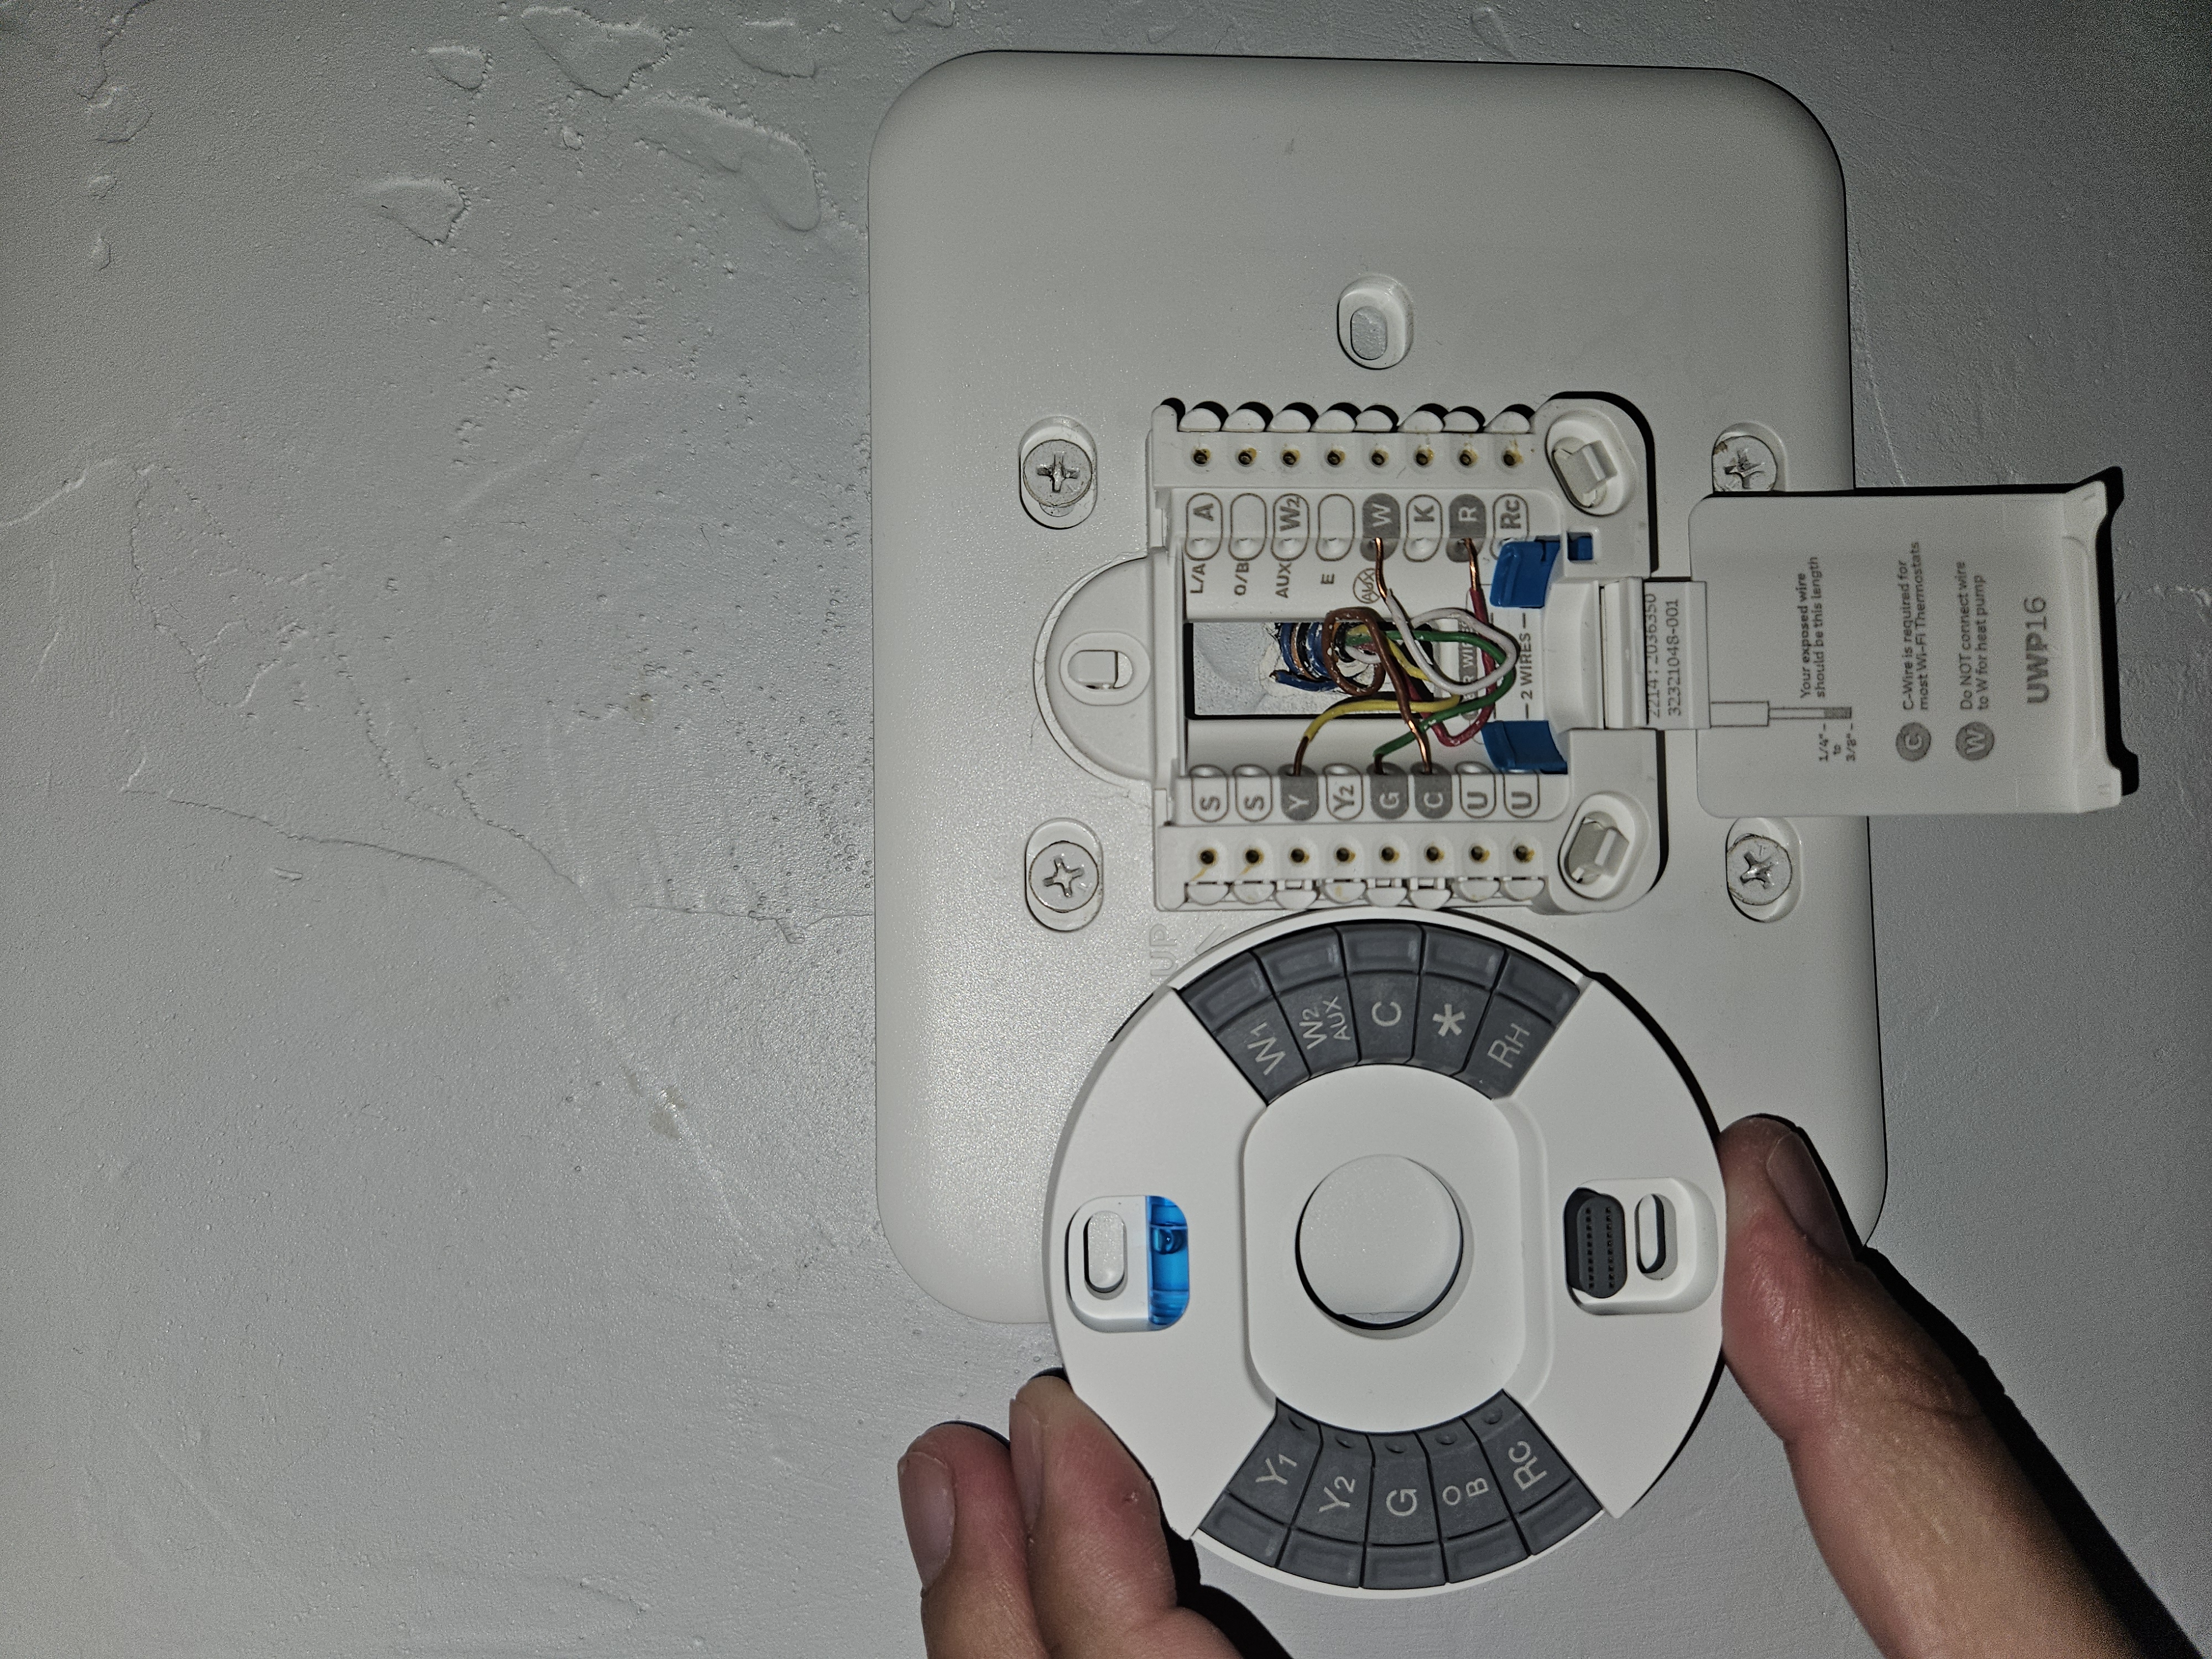 Process
Wiring and mount detail
Connection layout captured during installation.
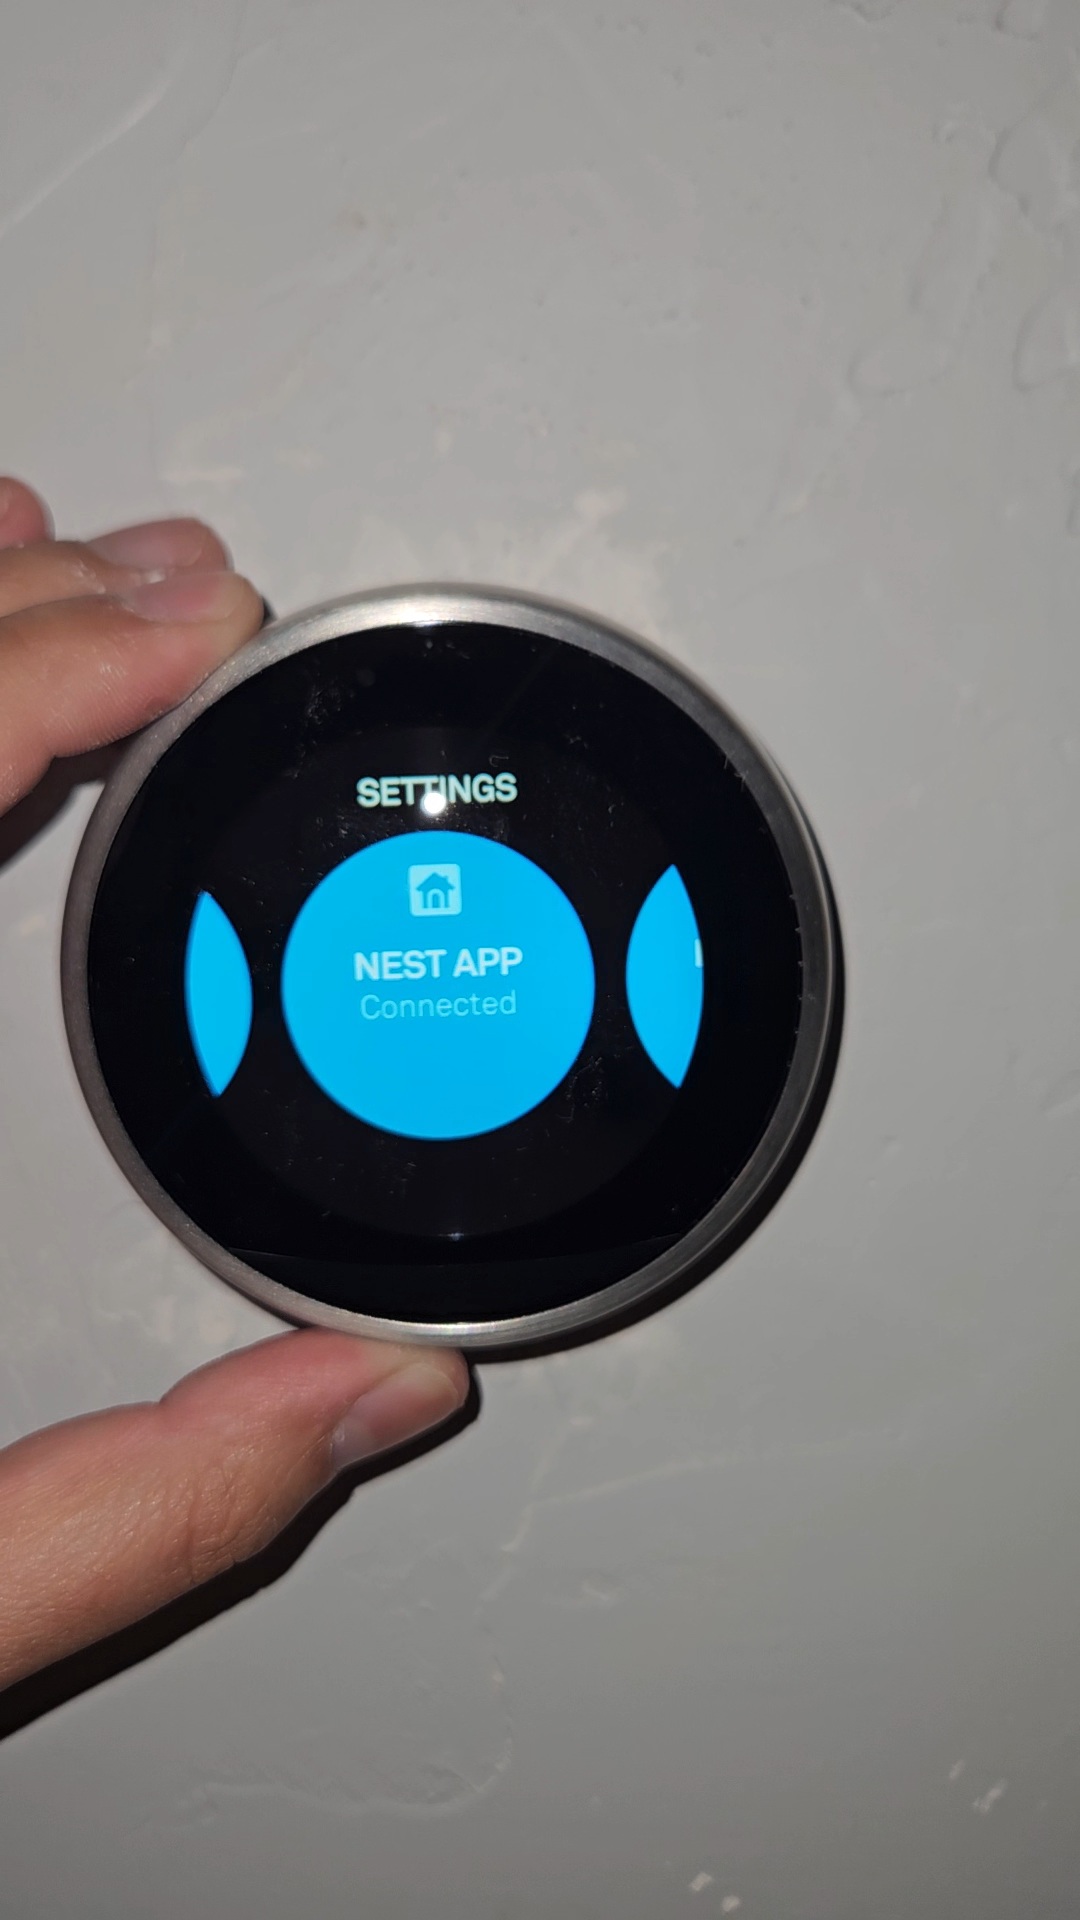 After
After
Smart thermostat install complete
Final setup with cleaner controls and appearance.
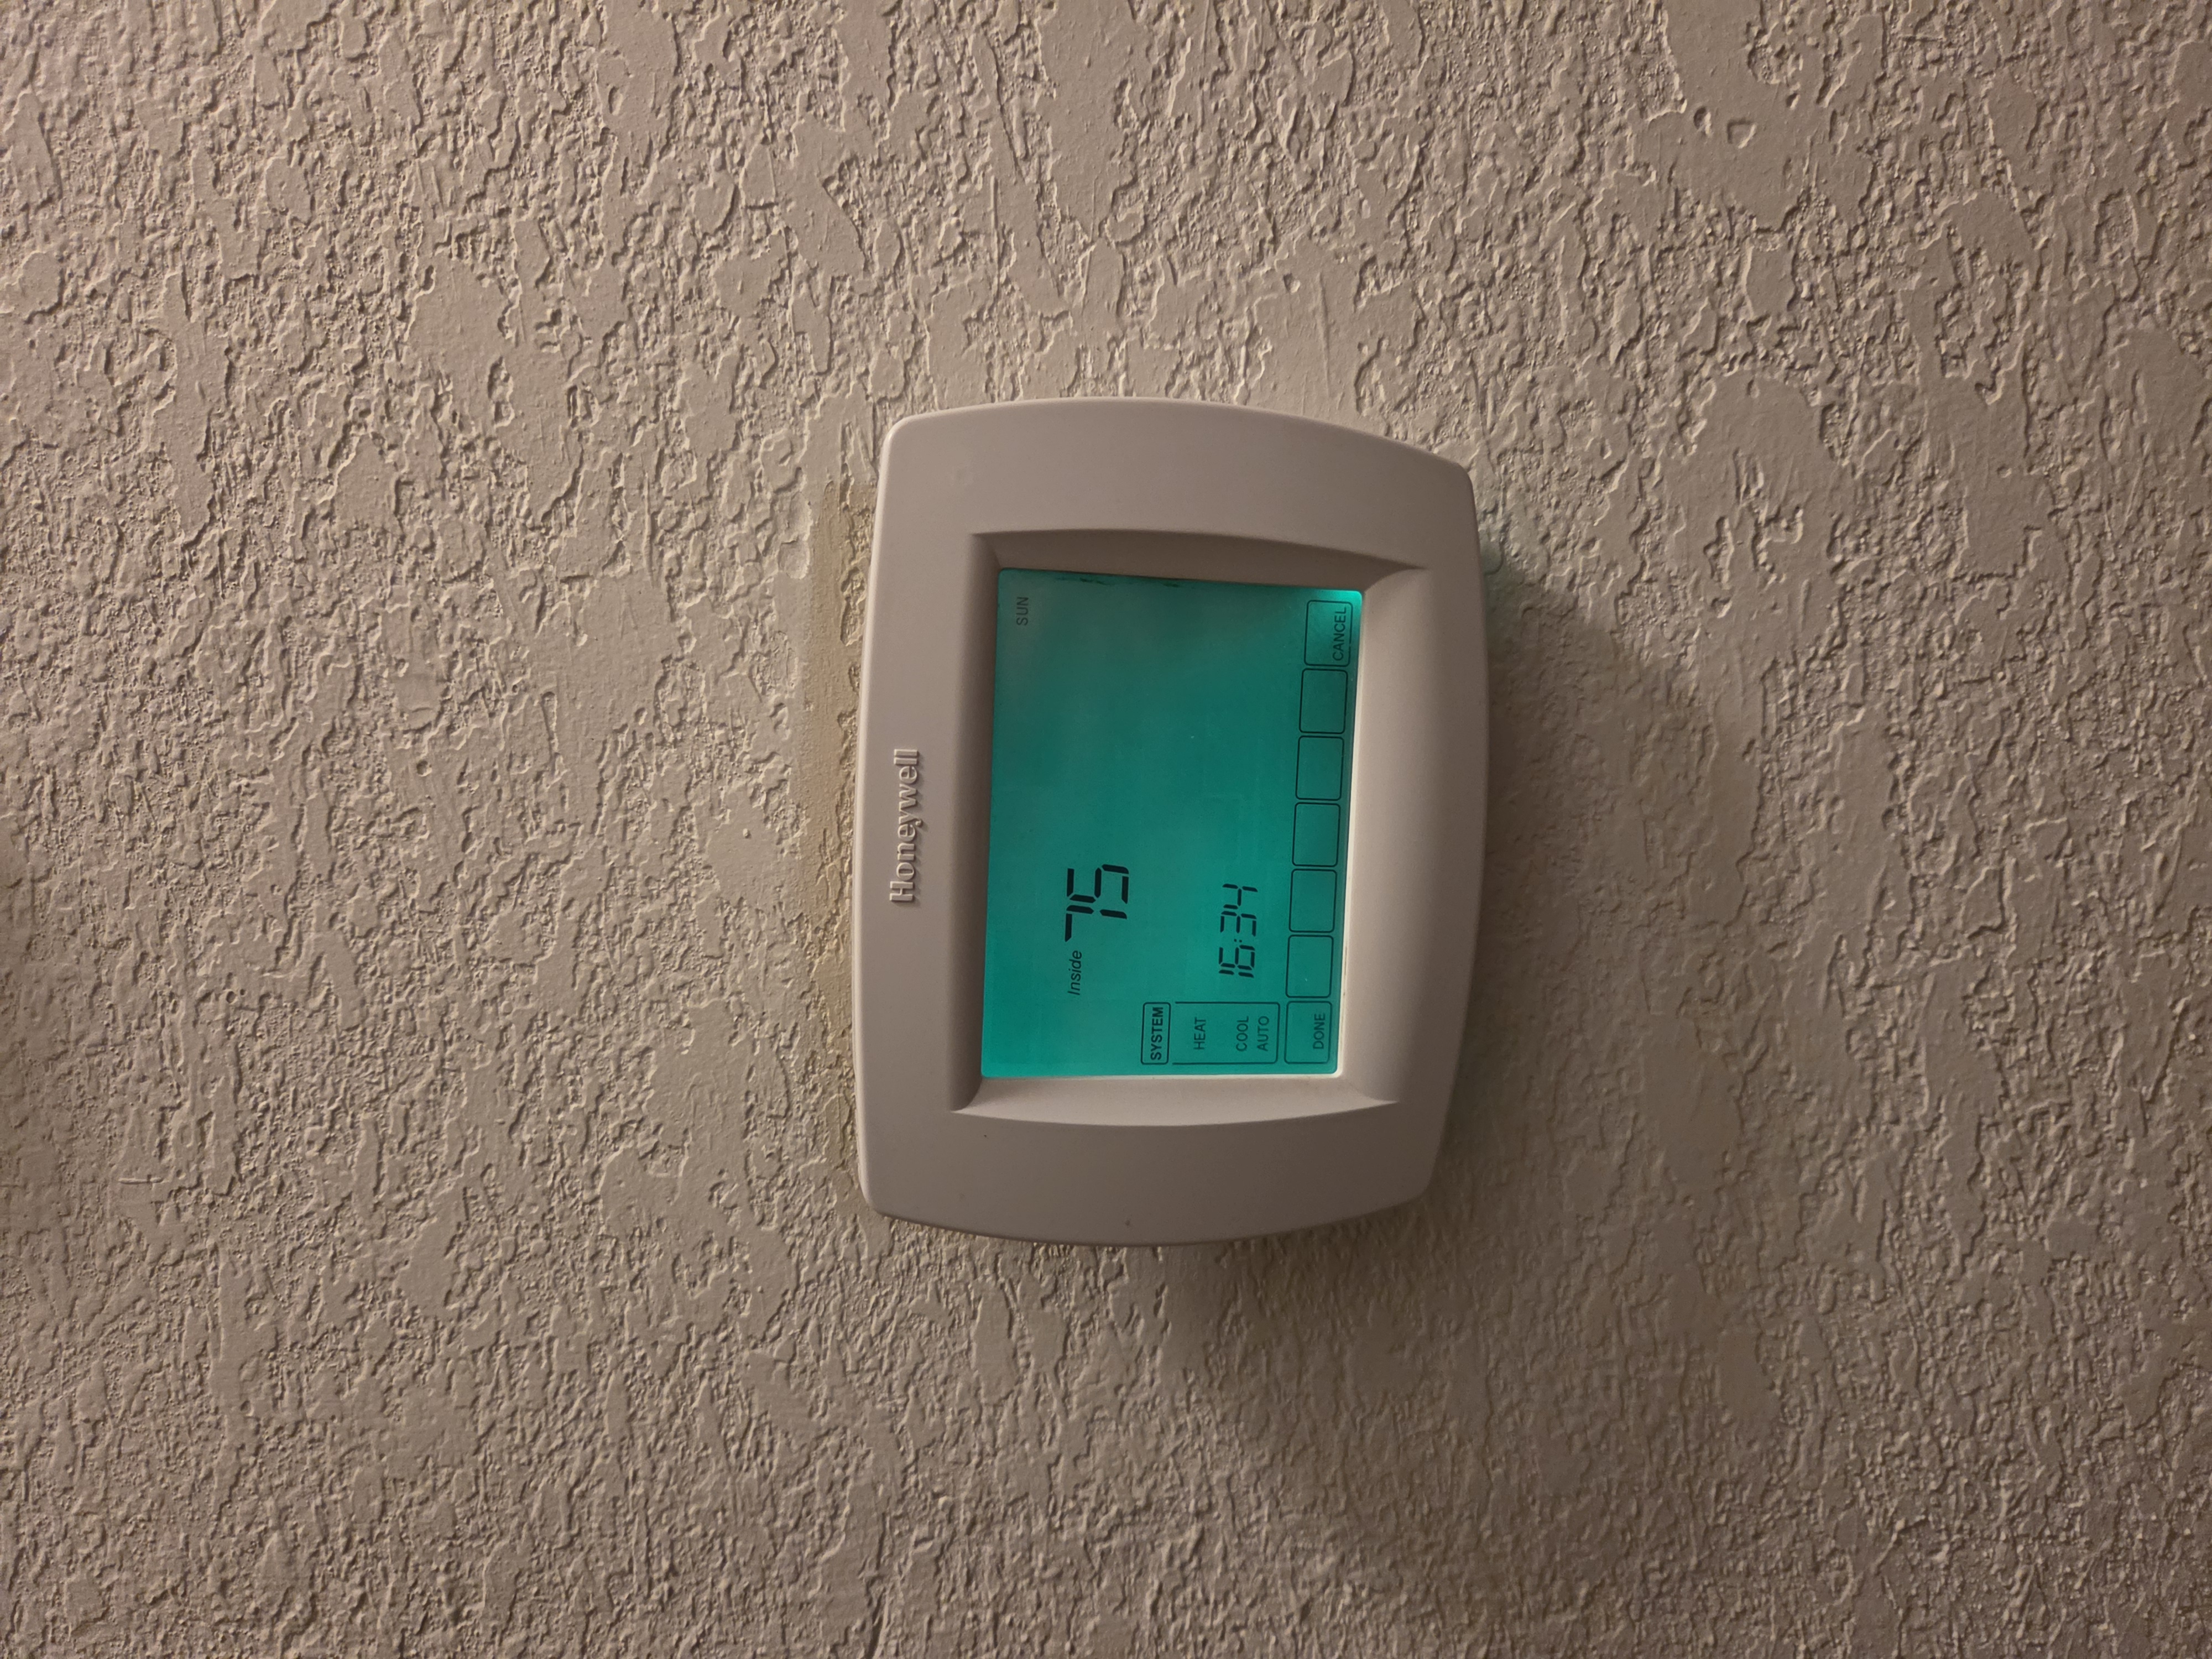 Before
Second client thermostat before upgrade
Original legacy unit baseline before replacement.
 Process
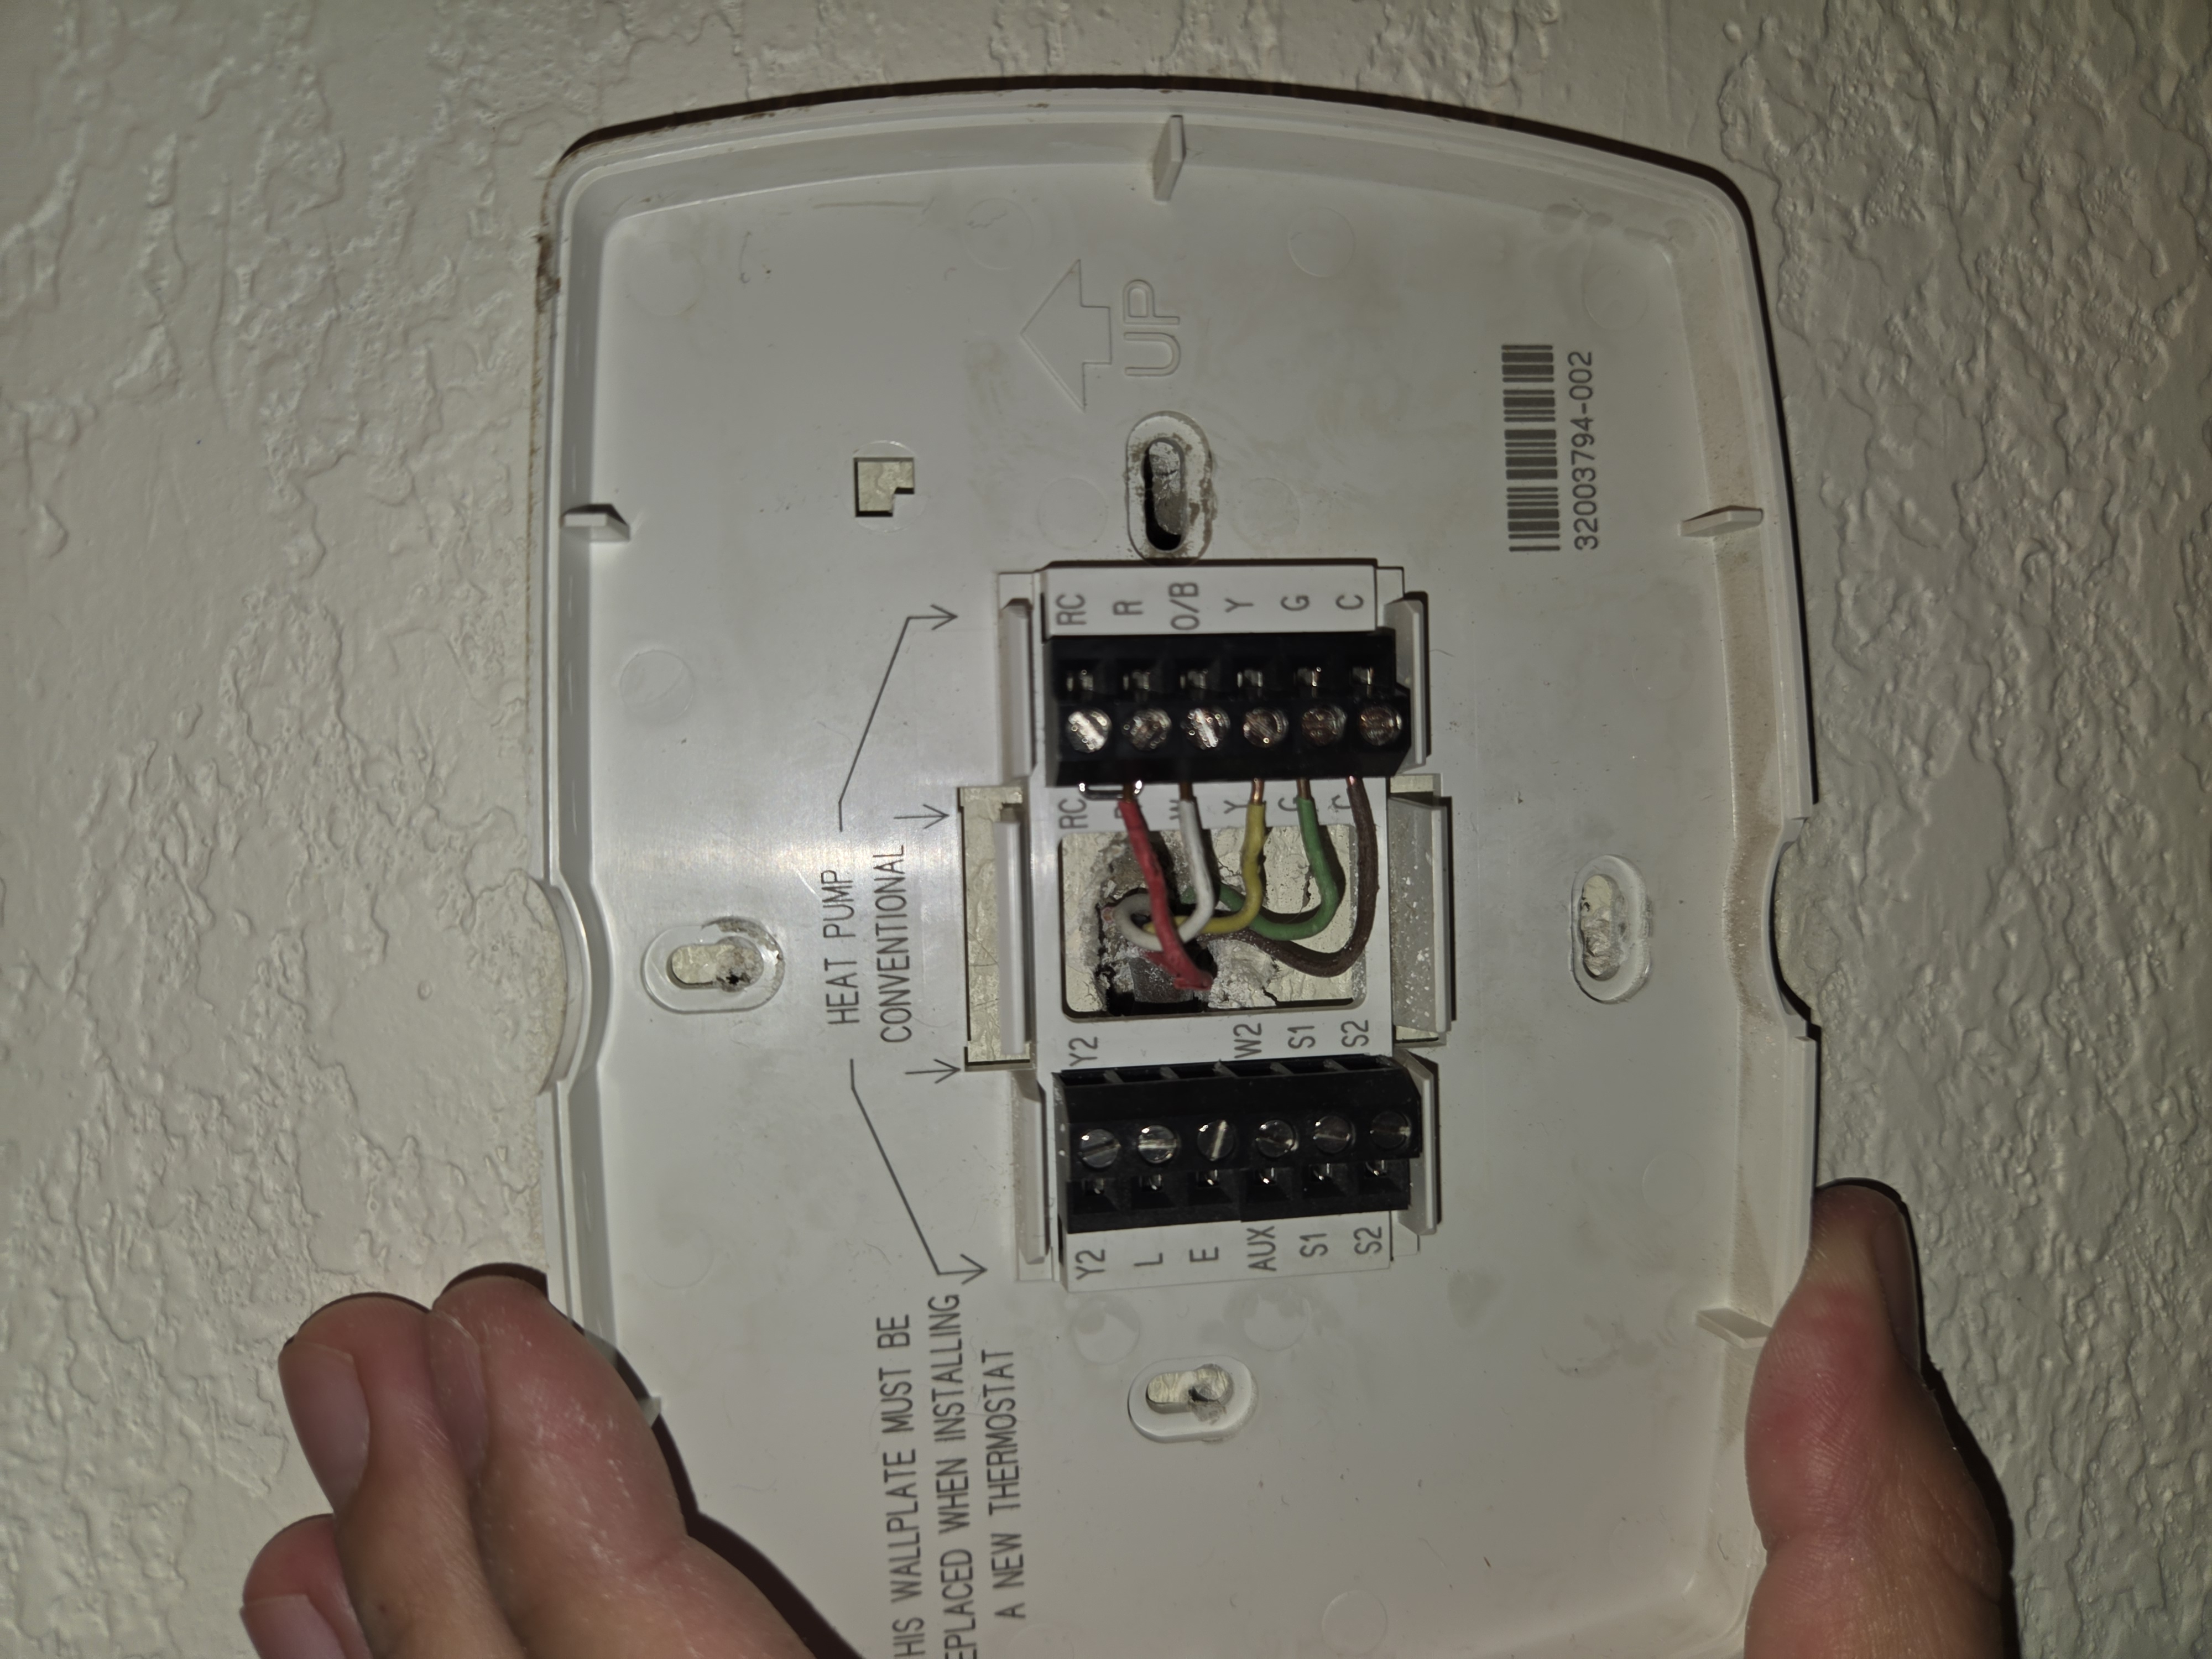
Wiring connections during install
Wire diagram and connection layout during second upgrade.
 After
After
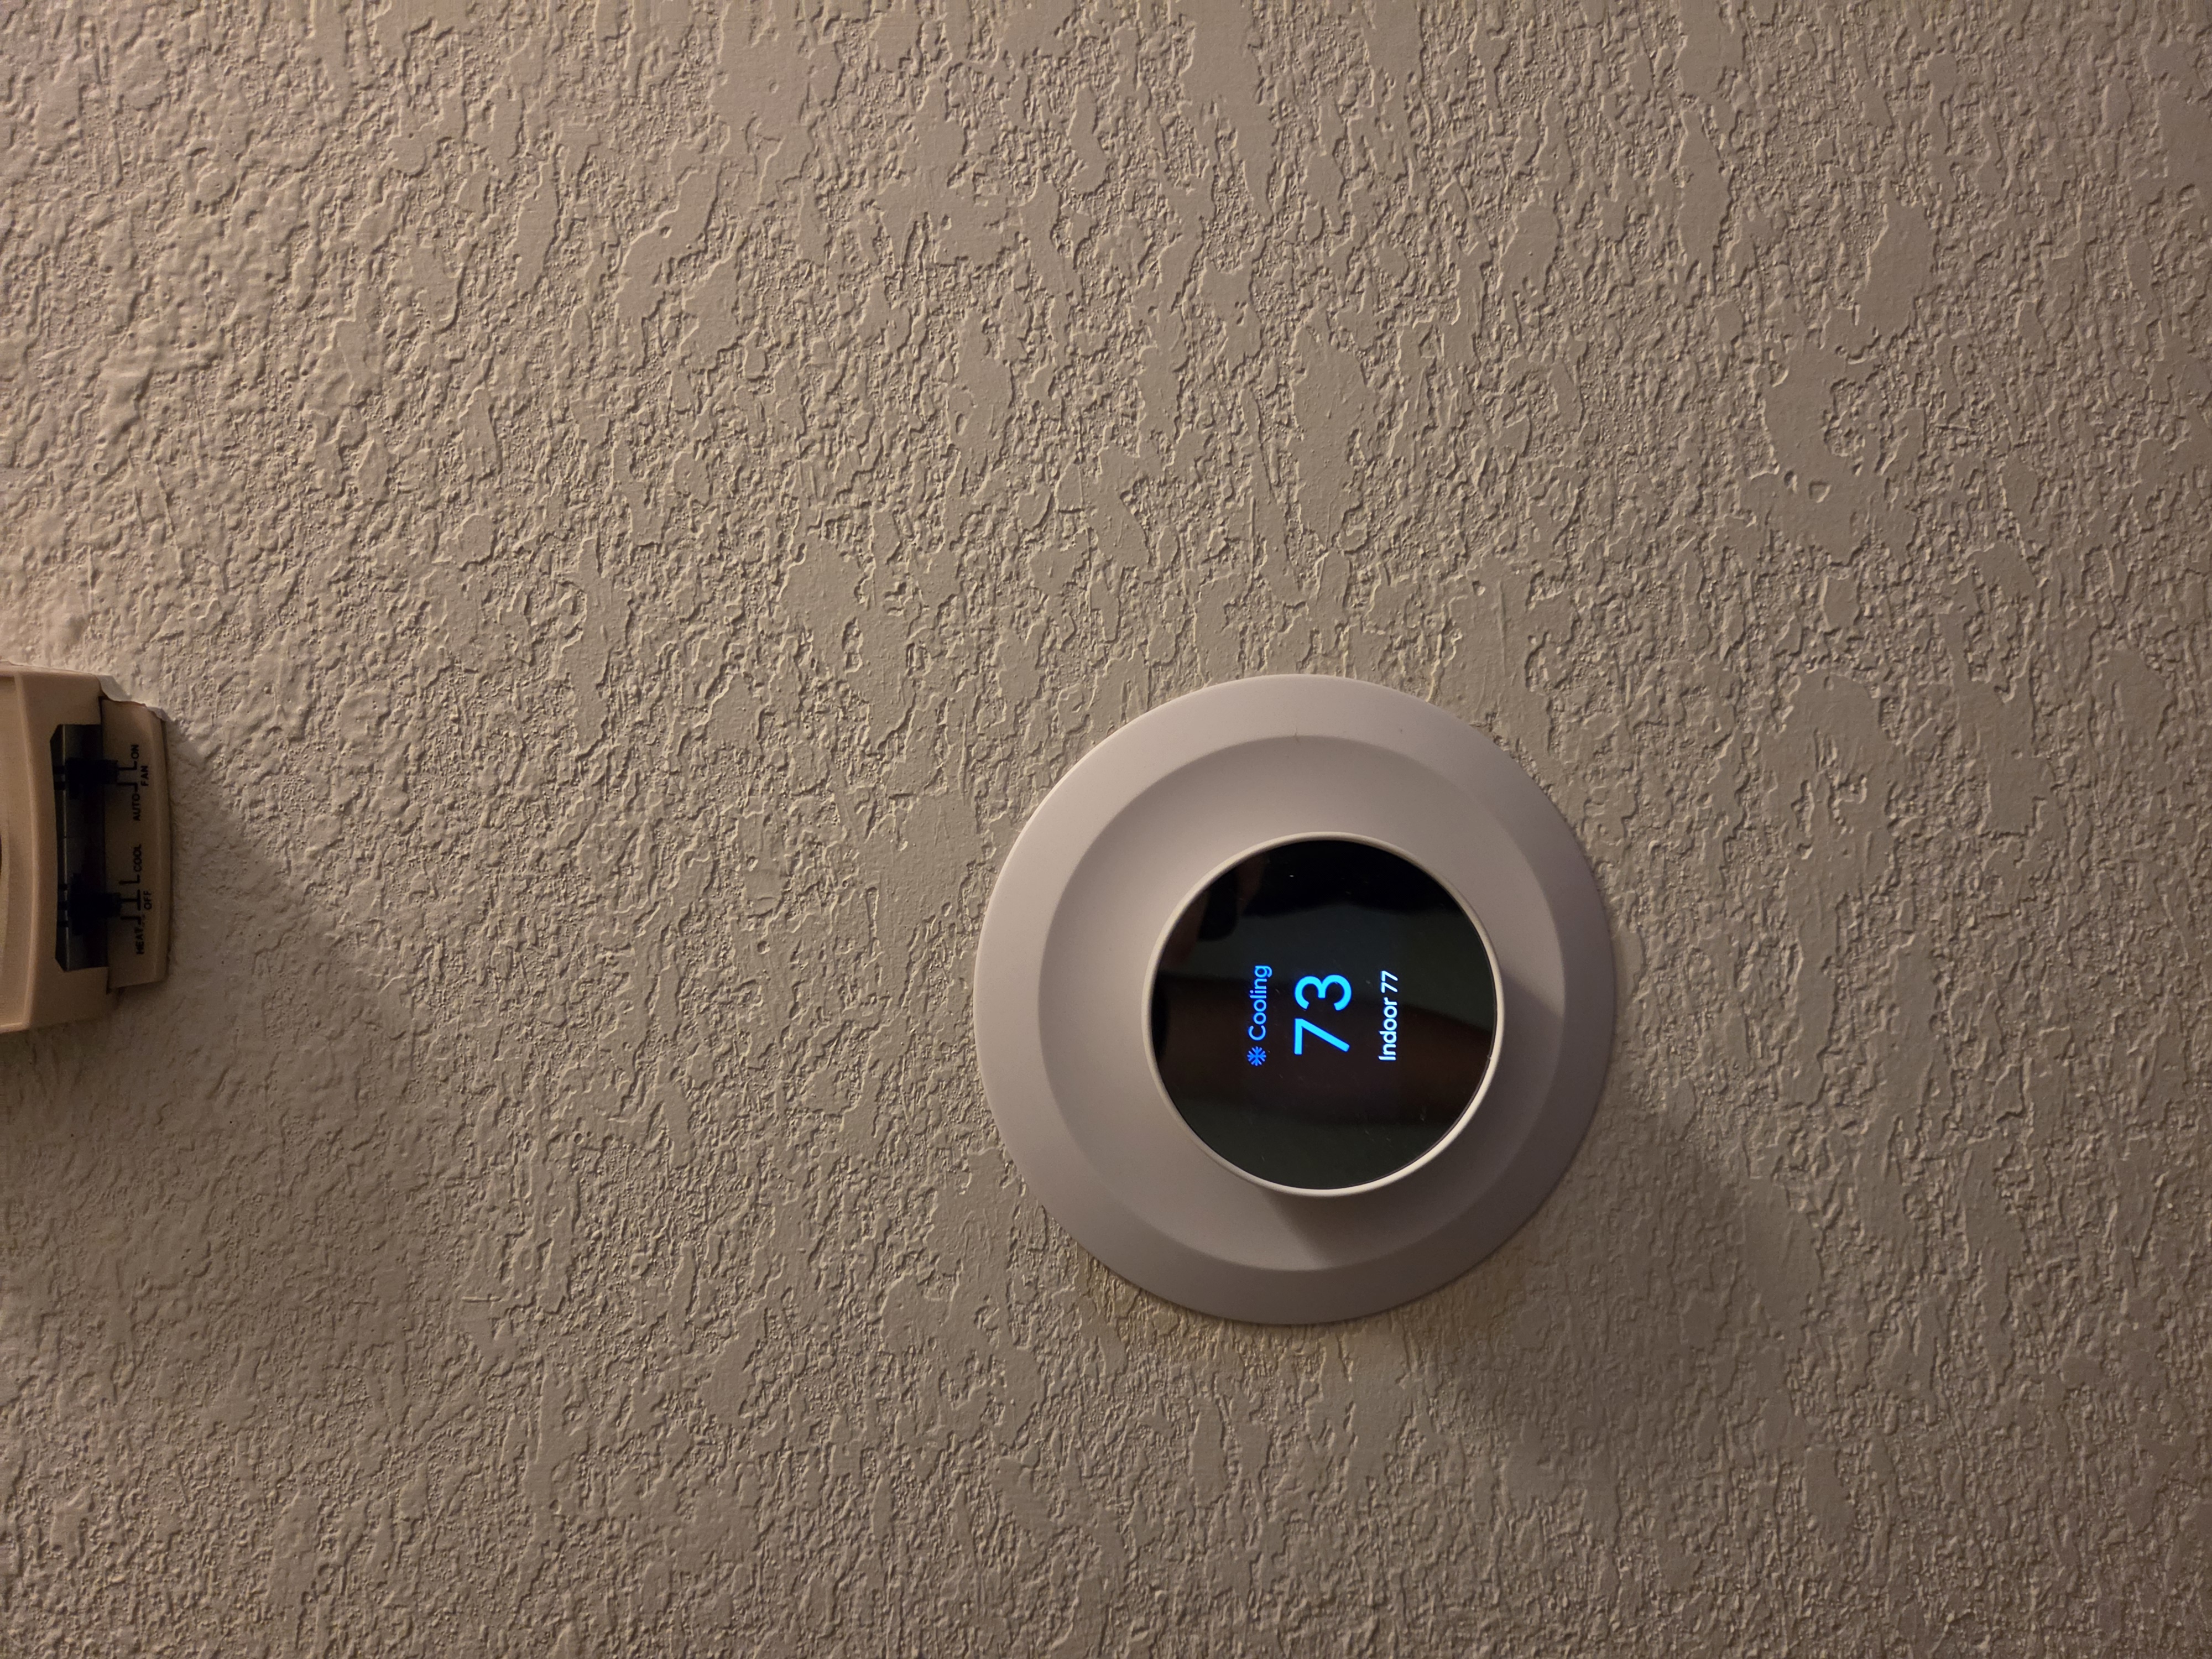
Second thermostat upgrade complete
Modern smart thermostat installed with improved efficiency controls.
Small concrete pads, from layout and form prep to mixing, pouring, and a clean, level finish.
 Before
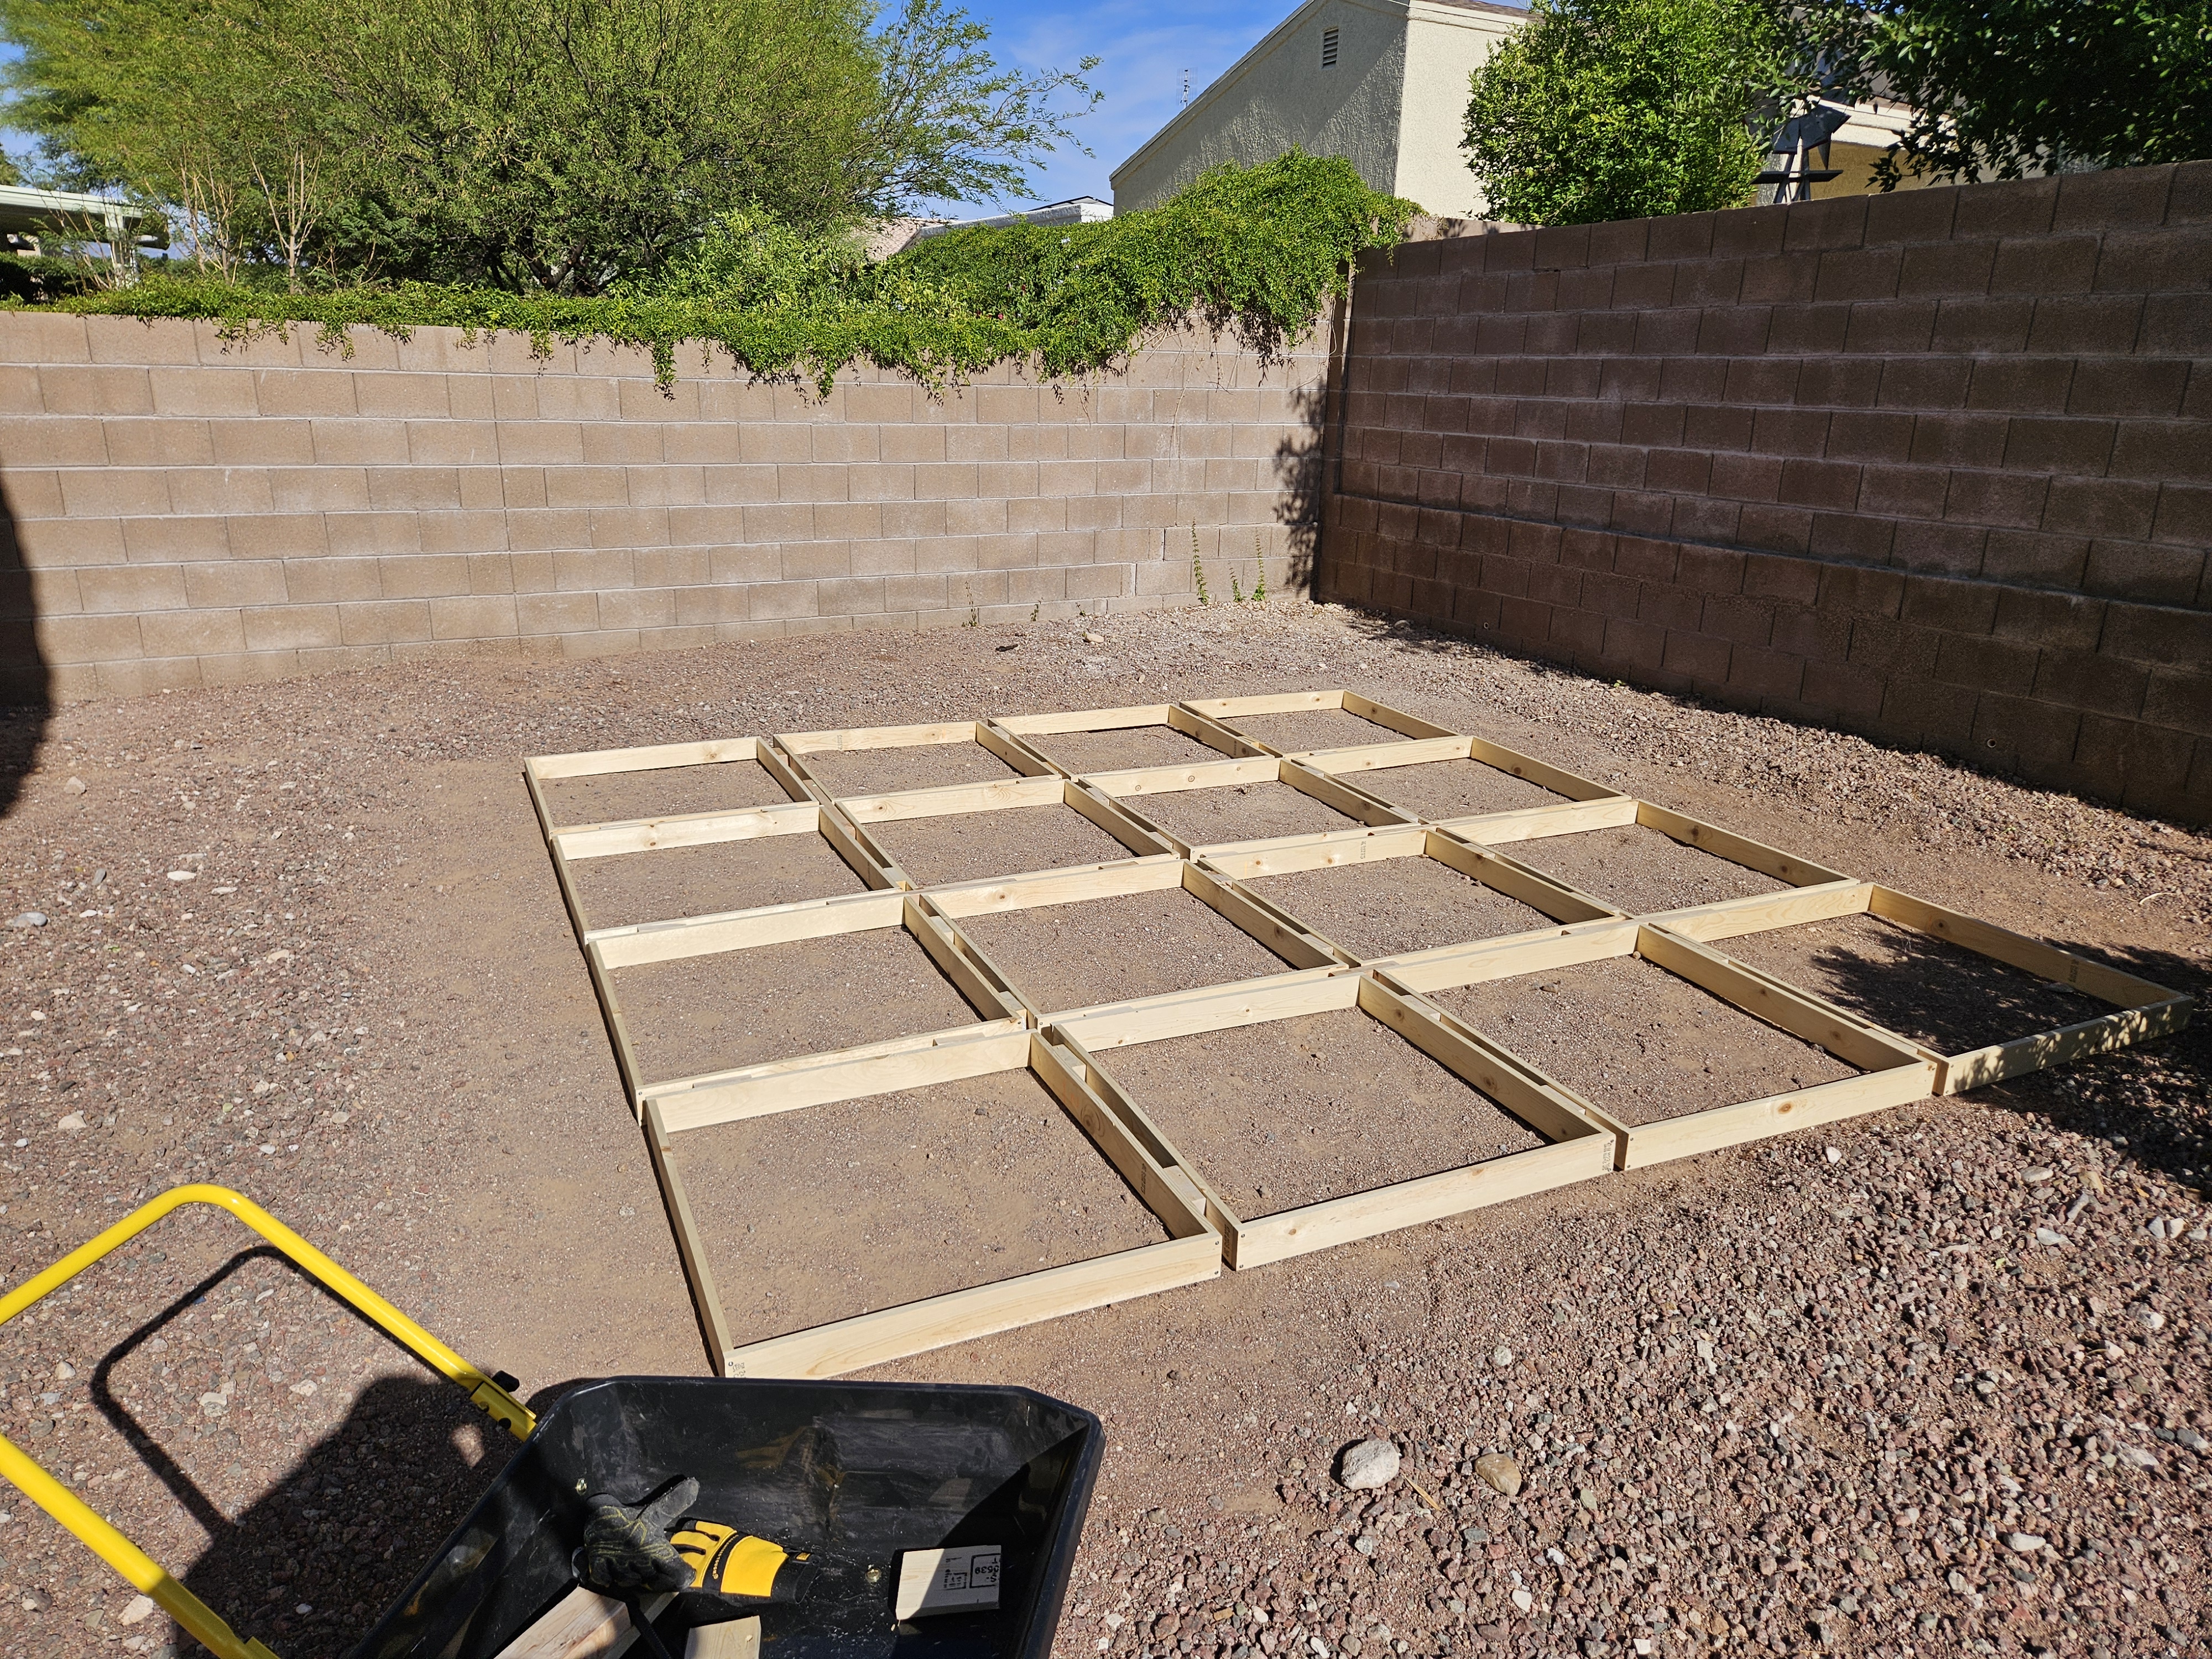
Pad layout and form spacing
Form plan staged before mixing and placement.
 Process
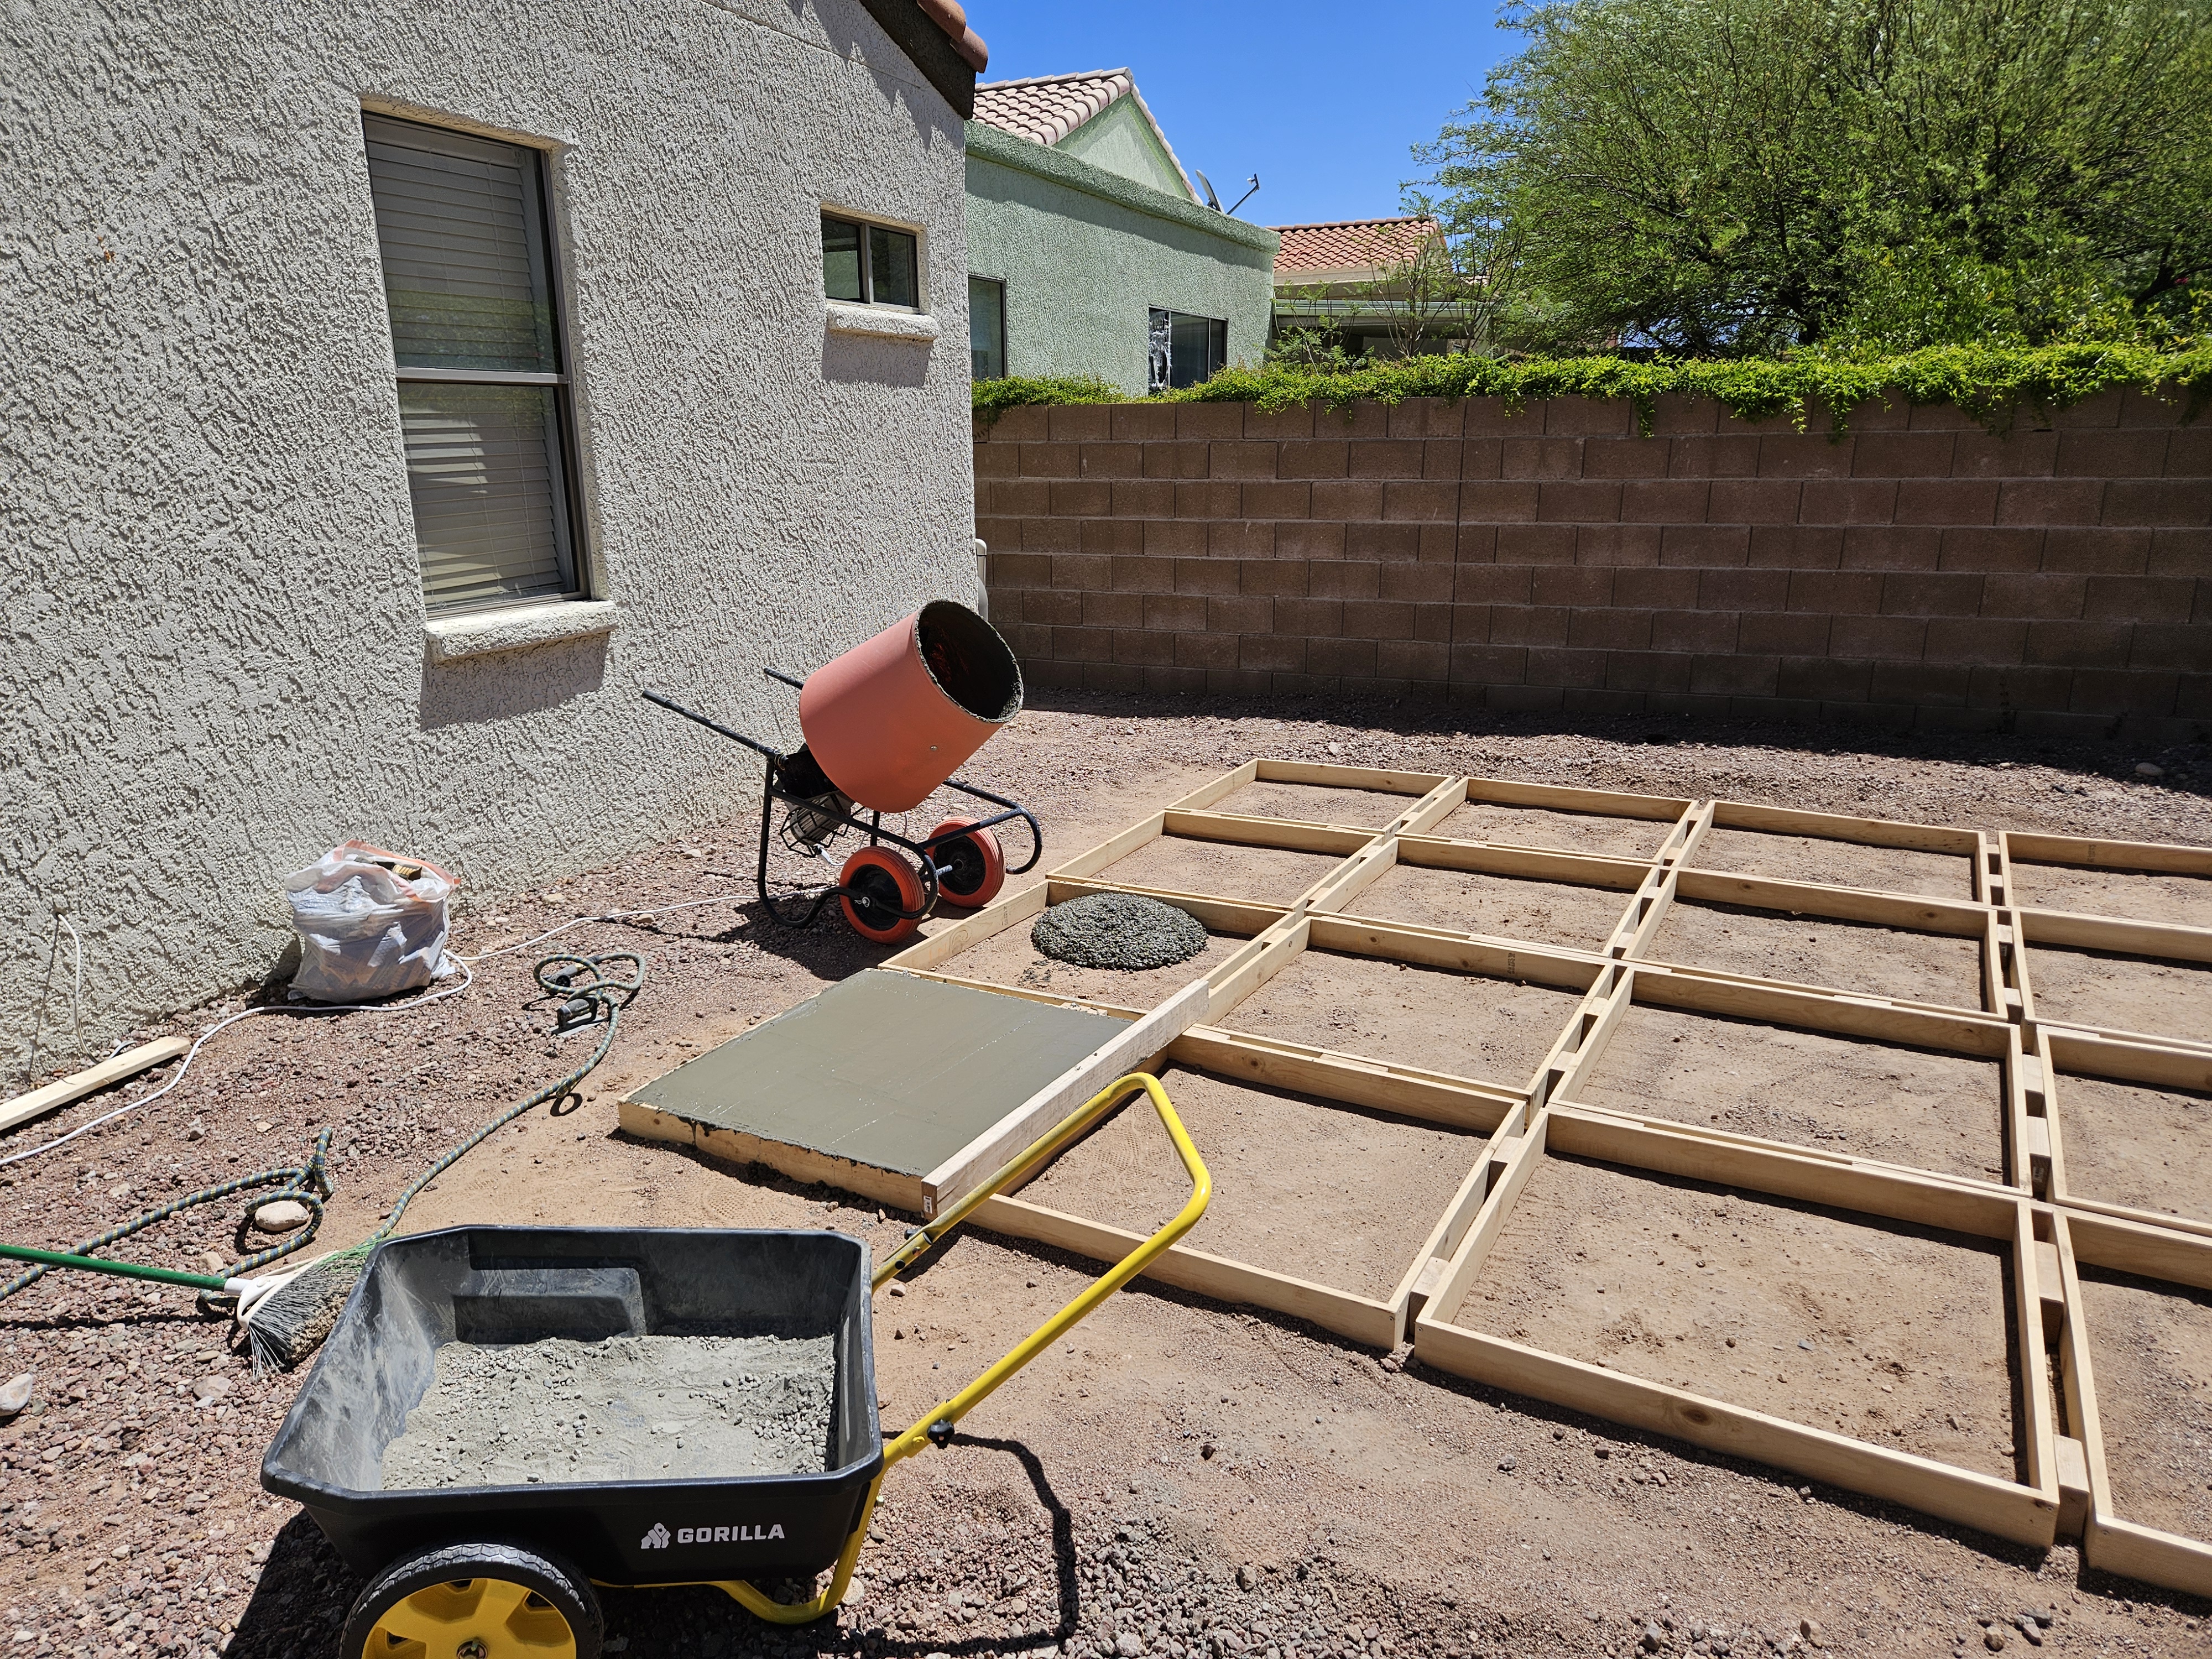
Prep and pour in progress
Mixing and placement phase during pad creation.
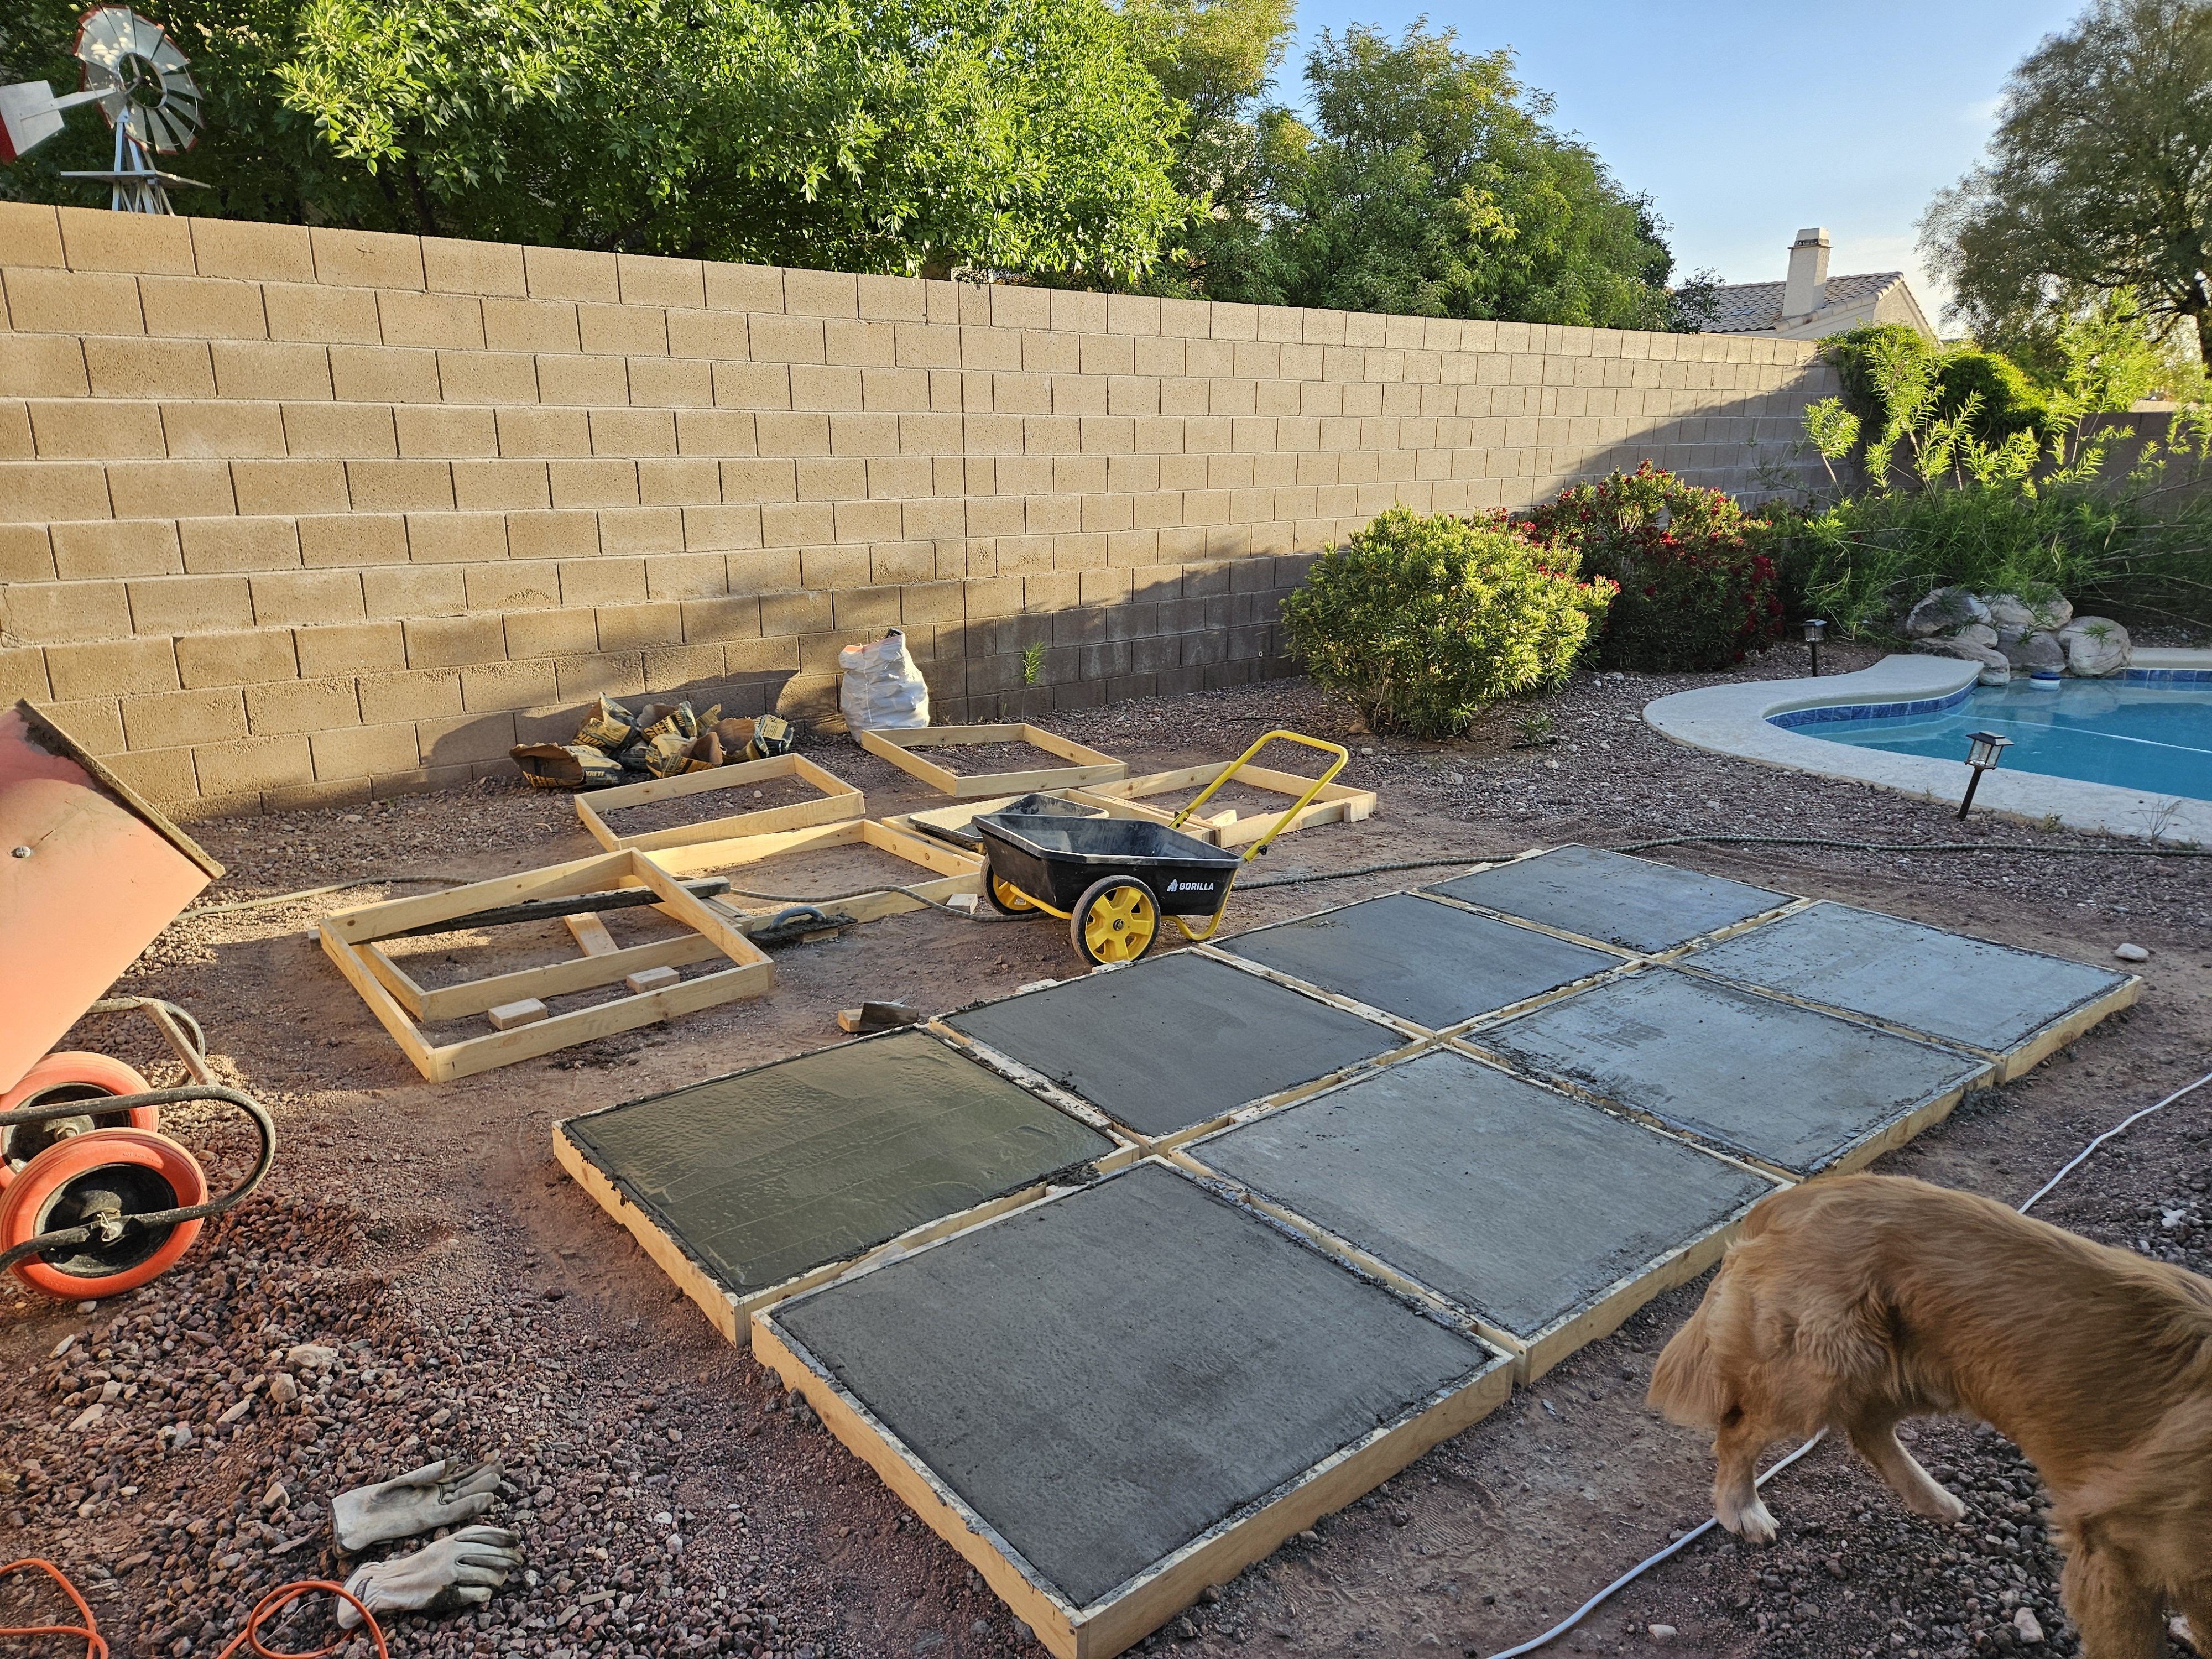 Process
Prep and pour in progress, half complete.
Mixing and placement phase during pad creation.
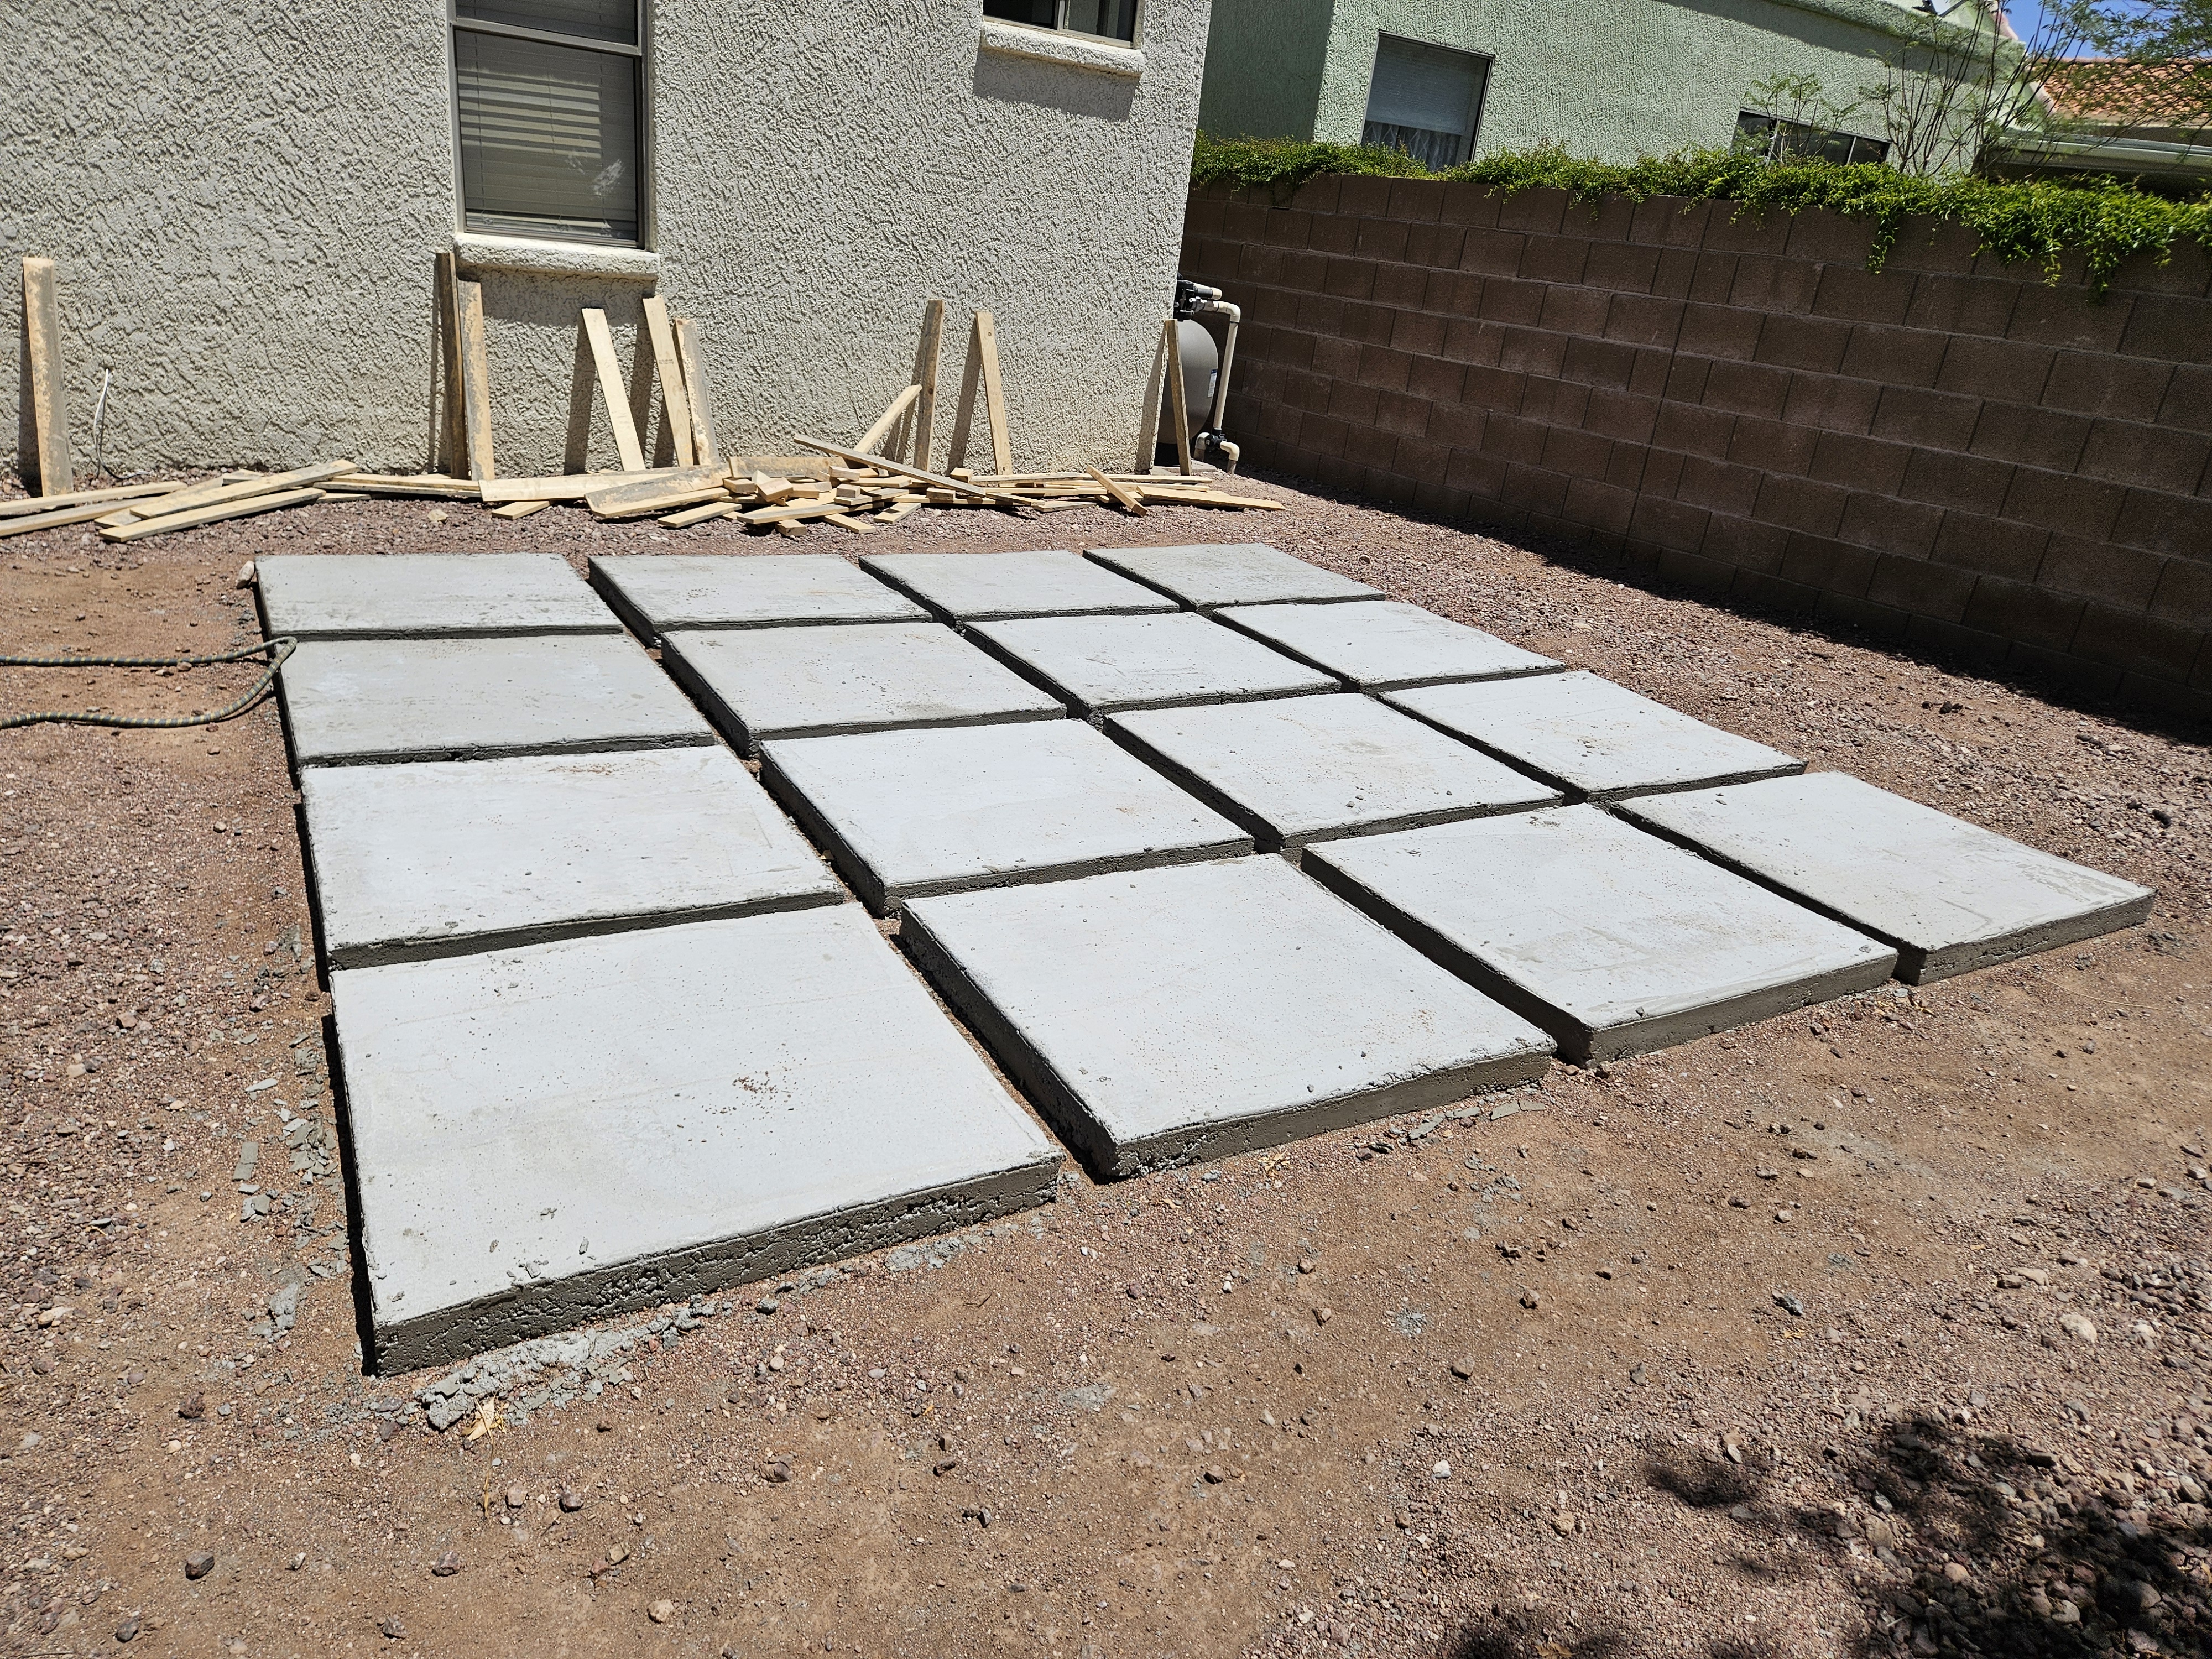 After
After
Finished concrete pads
Final grid with uniform spacing and finish.
Send a few photos, your general location, and a short description. I’ll let you know whether the project is a good fit and provide pricing when the scope is clear.